
Set timezone
AI Overview
Set the time zone the Tipo app uses to display and manage appointment times, including the calendar, appointment details, and availability setup. This helps avoid scheduling mistakes when your store, team, or customers are in different time zones.
View moreView less
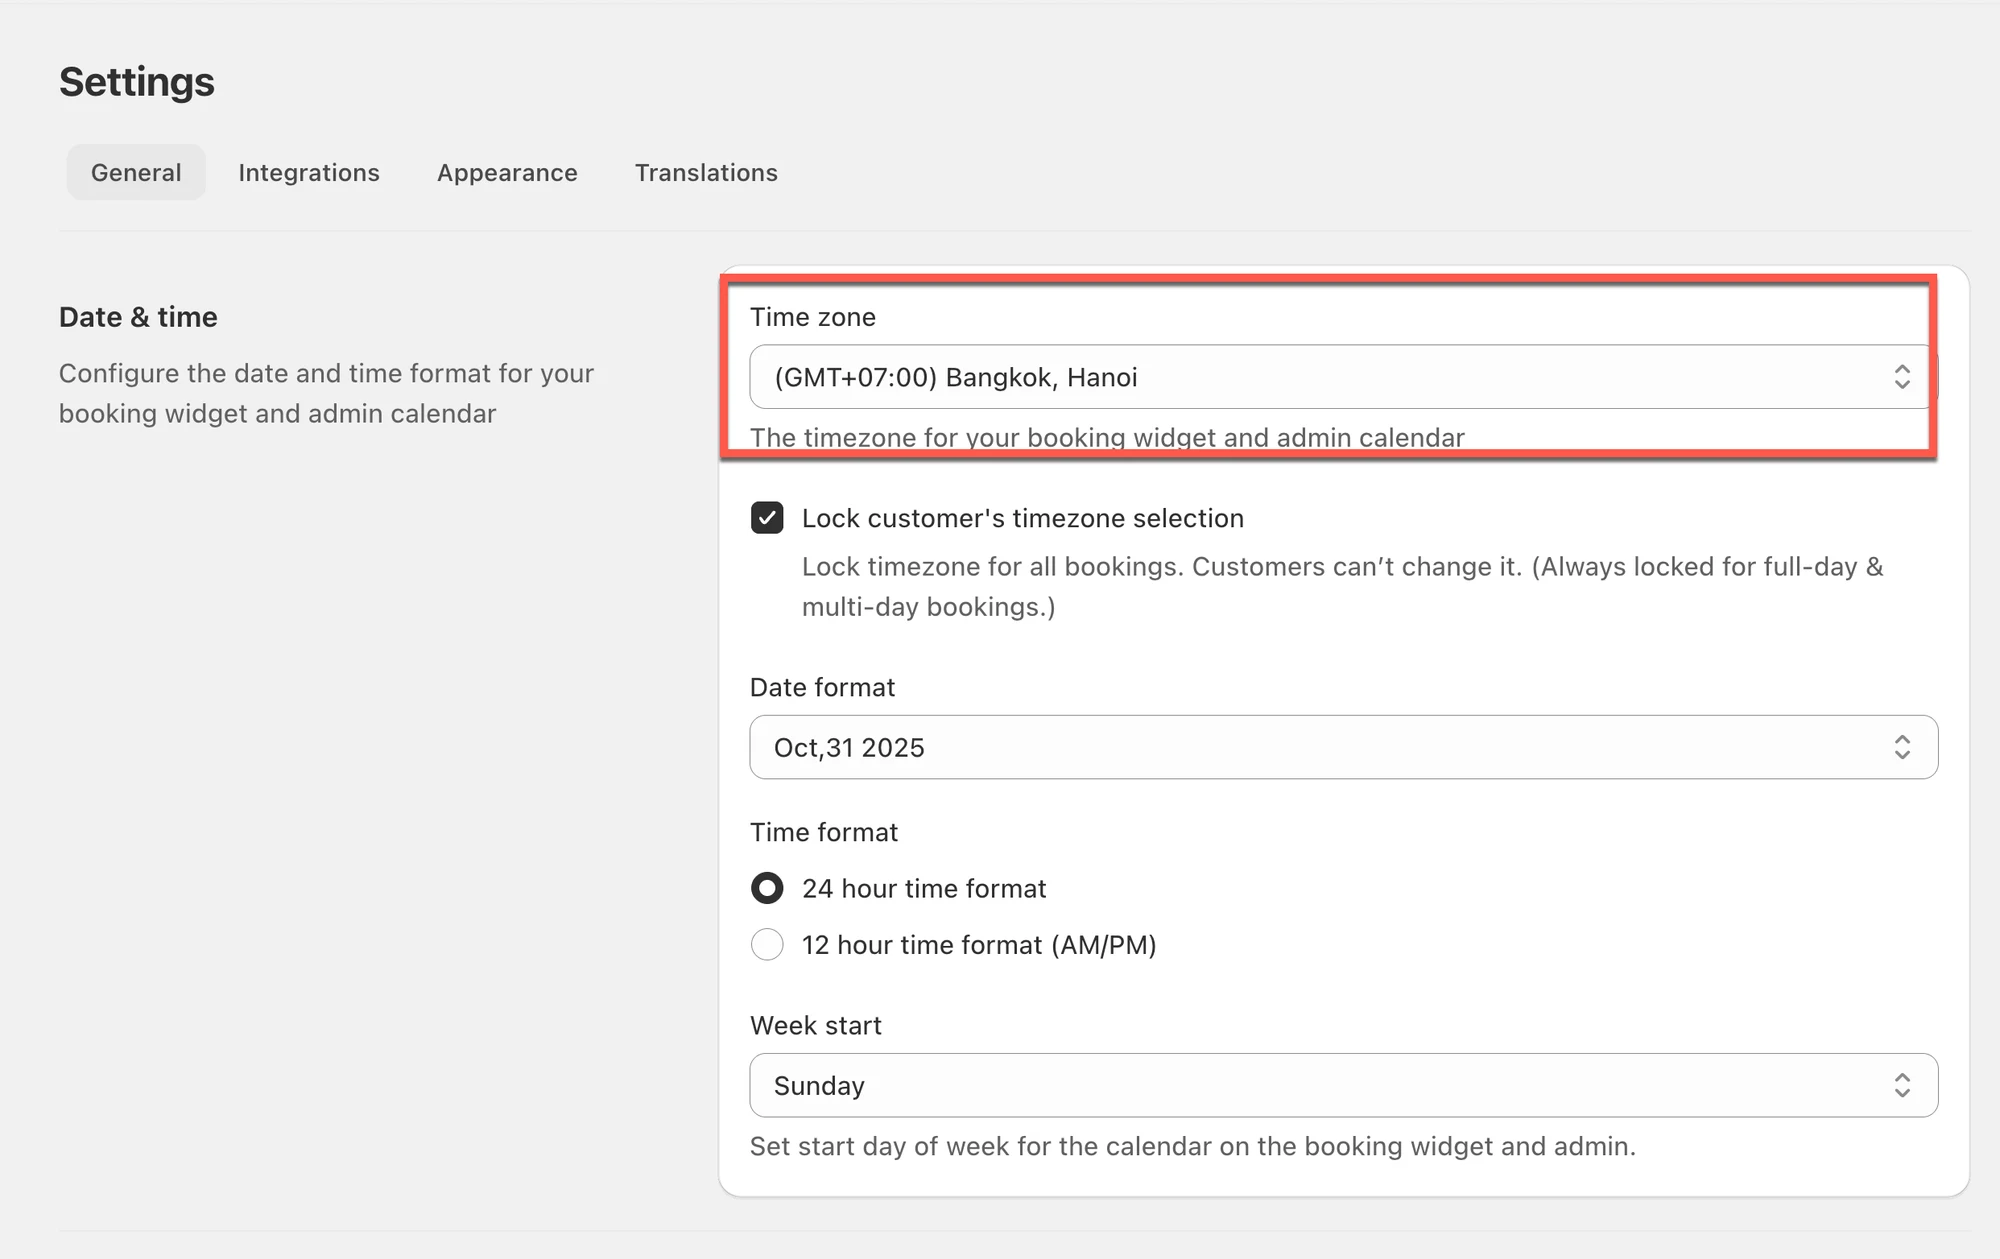
- Open the app, click Settings > General.
- In Date time, under Timezone, select your time zone.
- Click Save.
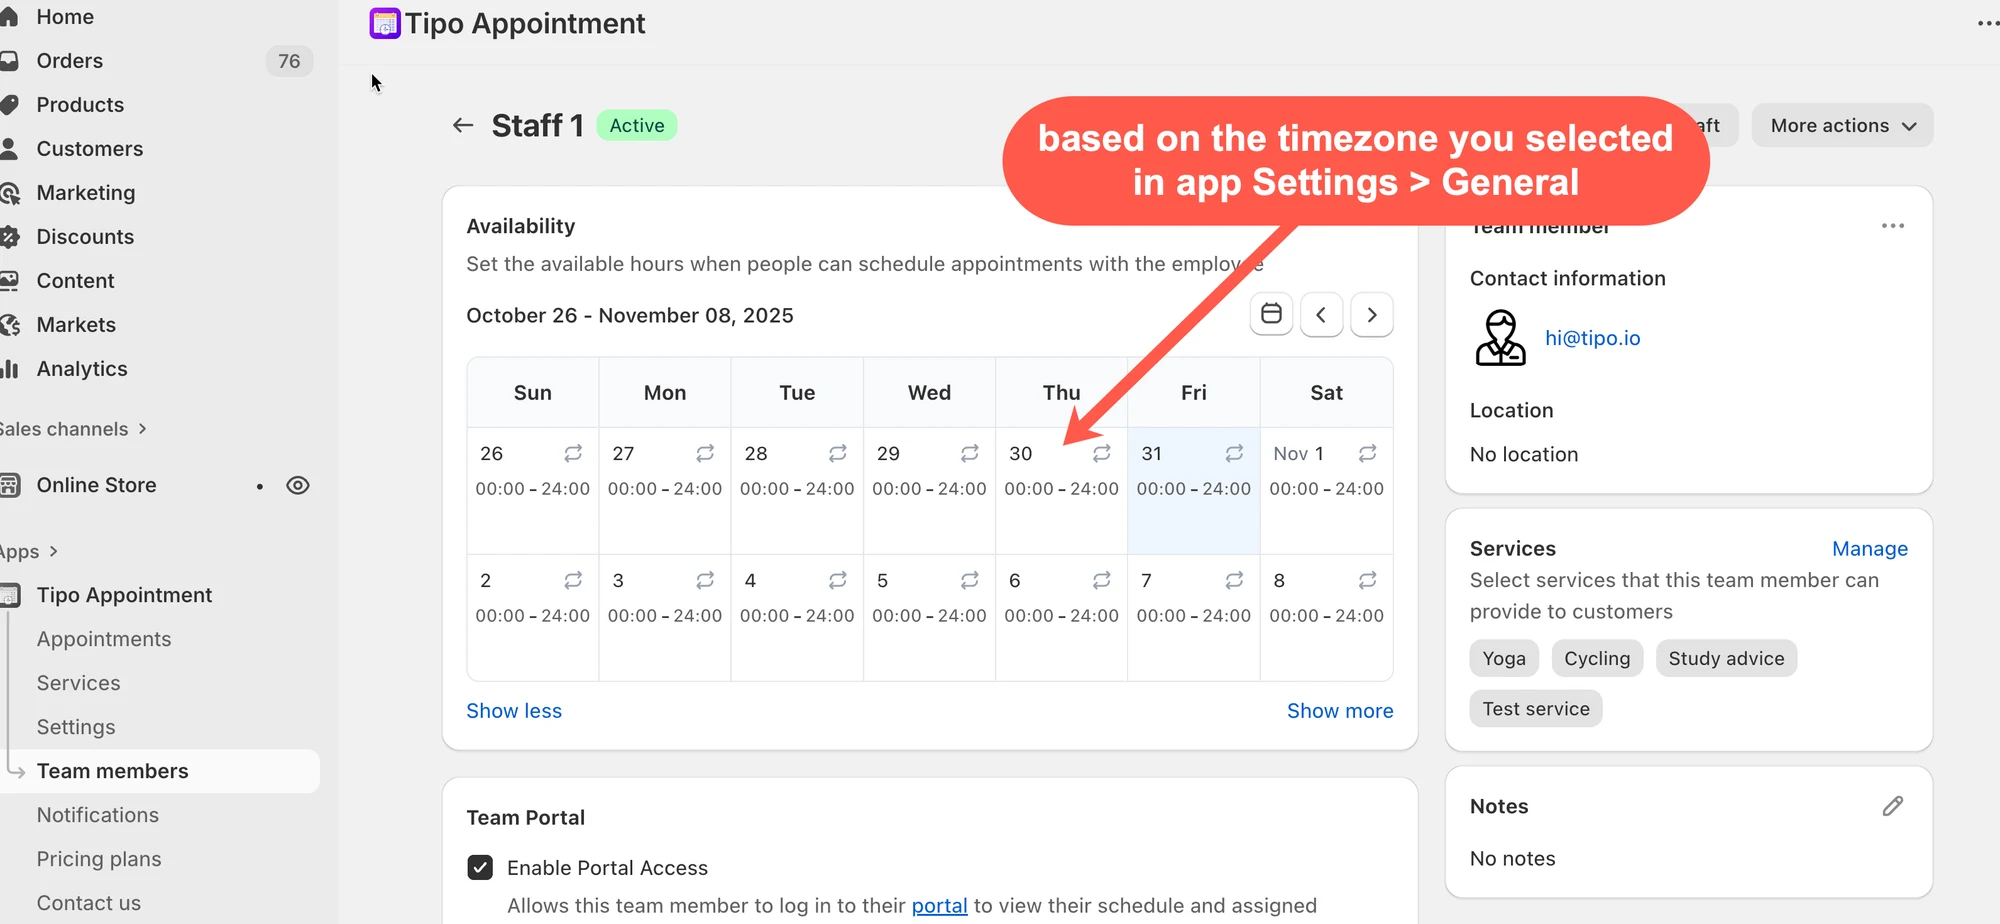
- Times you pick when setting service availability and appointment times shown in the app follow this time zone.
Summary generated by AI. It can make mistakes, so check the full guide below.
Use these settings to control how dates and times appear in the admin calendar and booking flow. This helps you avoid scheduling mistakes when your store, team, or customers are in different time zone
🕒 Set your time zone for appointments
Section titled “🕒 Set your time zone for appointments”✅ What this setting does
Section titled “✅ What this setting does”When you set a time zone, the app will use it to display and manage appointment times in the app (calendar, appointment details, and availability setup).
Steps
- Open the app > click Settings > General
- In Date time > Timezone > select your timezone
- Click Save
This time zone is applied to the date time you select to set up available dates in the service detail in the app. It is applied to the appointments in the app too.
✅ What changes after you save?
Section titled “✅ What changes after you save?”After updating the time zone:
- The time you pick when setting availability in a service follows this time zone.
- The appointment date/time shown inside the app also follows this time zone.
🙋 Still need support?
If you still need help, please feel free to contact us at hi@tipo.io. We’ll be happy to assist you further.