
HubSpot integration
Connect Tipo to HubSpot to automatically create contacts when customers book appointments.
🔑 Step 1: Find HubSpot portal ID
Section titled “🔑 Step 1: Find HubSpot portal ID”1. From the URL
When you are logged into HubSpot, your back-end URLs should include your unique portal ID:

This also applies with you open a page editor, design tools, reporting, content settings, or any other HubSpot back-end pages. Each should include your unique portal ID.
2. From the user dropdown
The second option also requires you to log into your HubSpot portal.
Once logged in, click on your profile on the top right of the page.
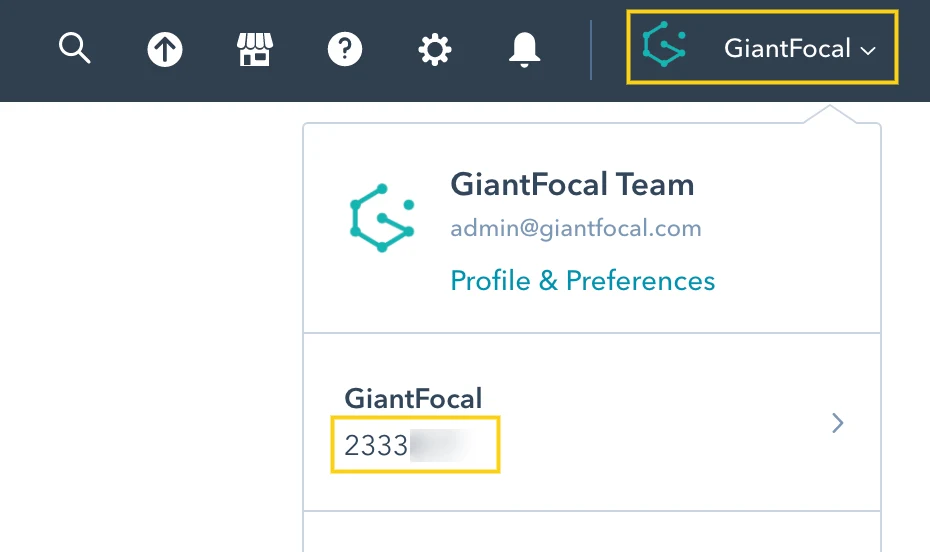
Your unique portal ID can be found in the dropdown, under the portal name to be specific.
🔑 Step 2: Find Access token
Section titled “🔑 Step 2: Find Access token”Please view this guide to find your API key
⚙️ Step 3: Configure HubSpot integration in the app
Section titled “⚙️ Step 3: Configure HubSpot integration in the app”- Open the app > click Settings > Integrations > find HubSpot
- Turn Activate ON
- Paste the API key and Portal ID to the fields
- Click Save
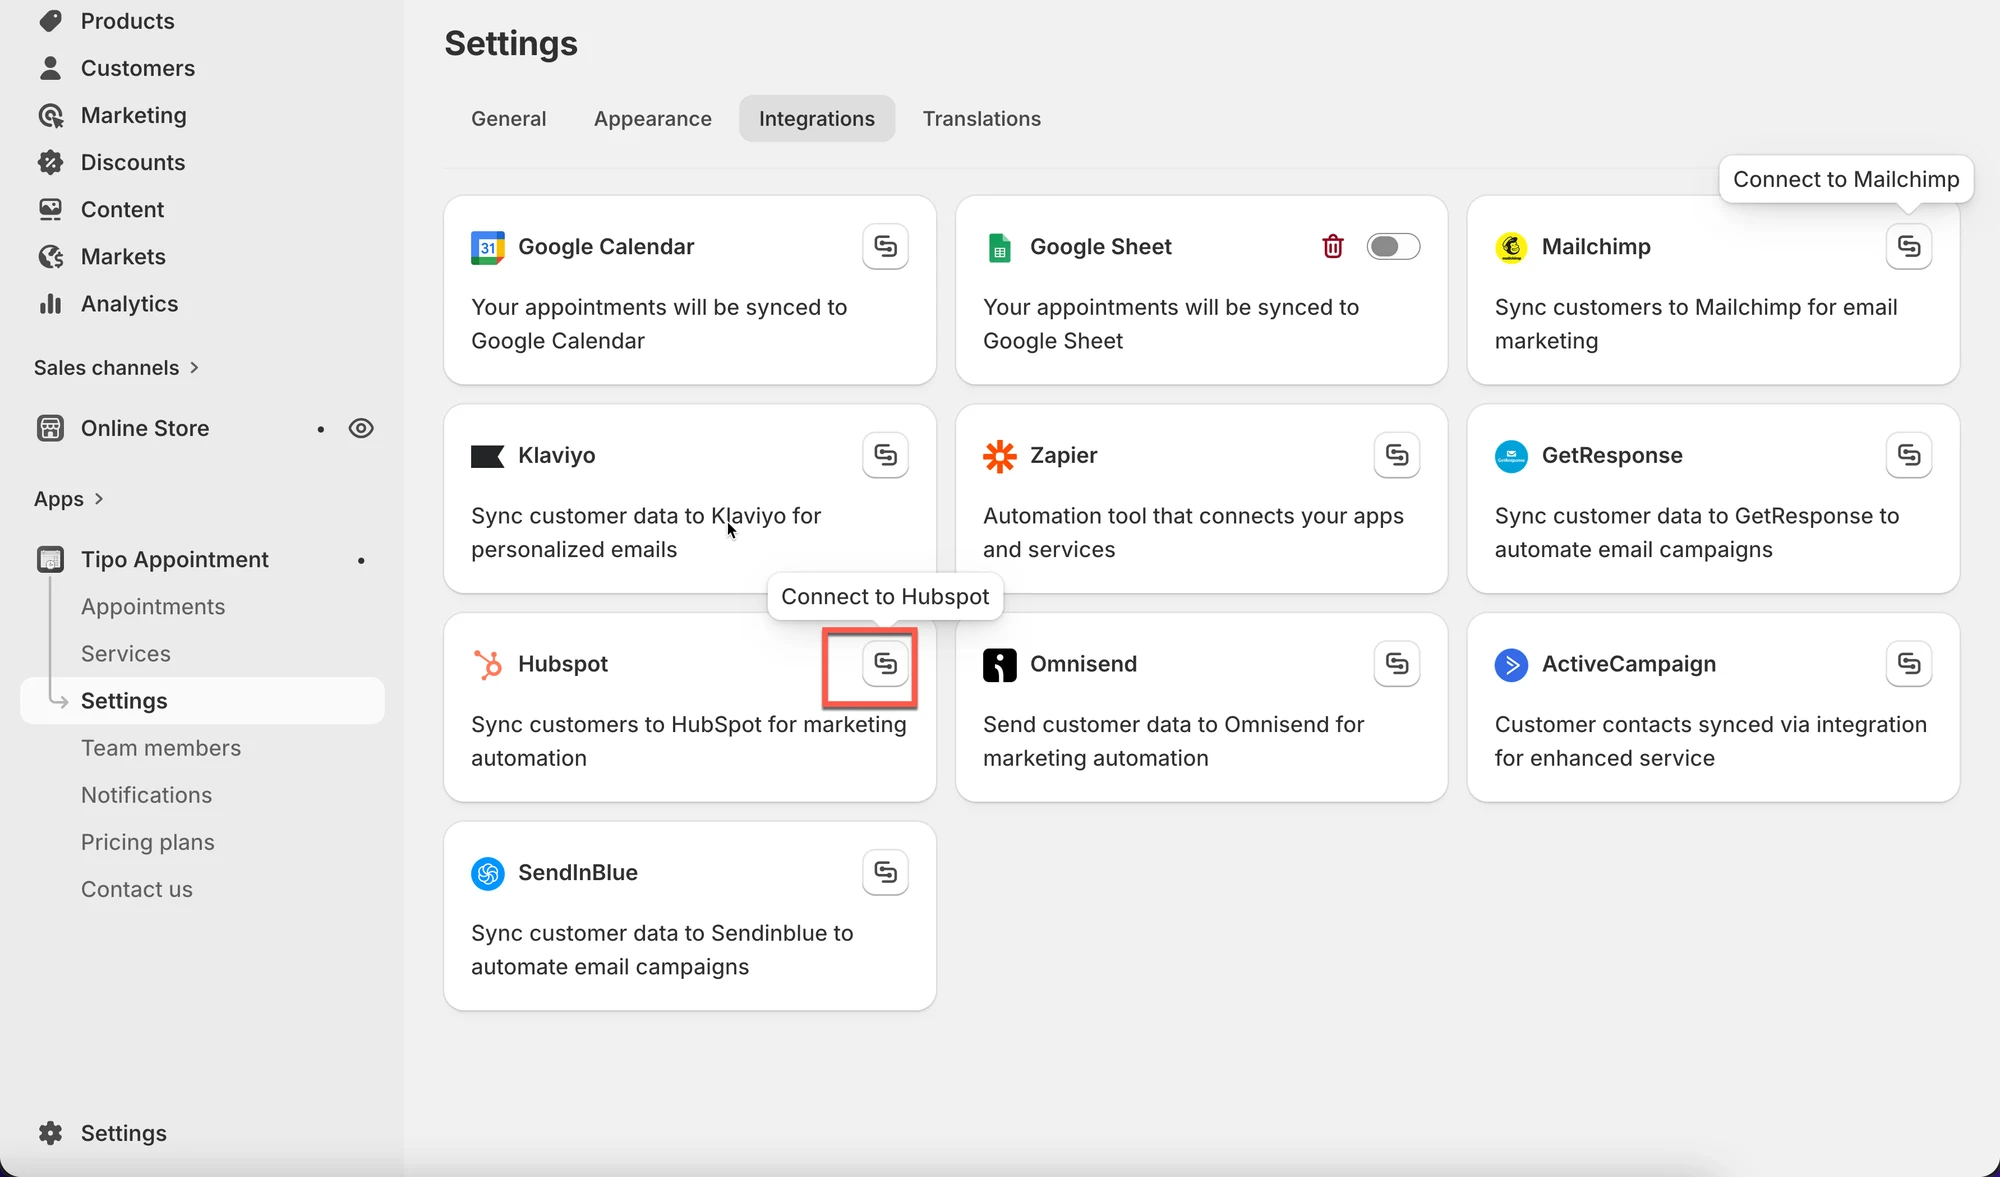
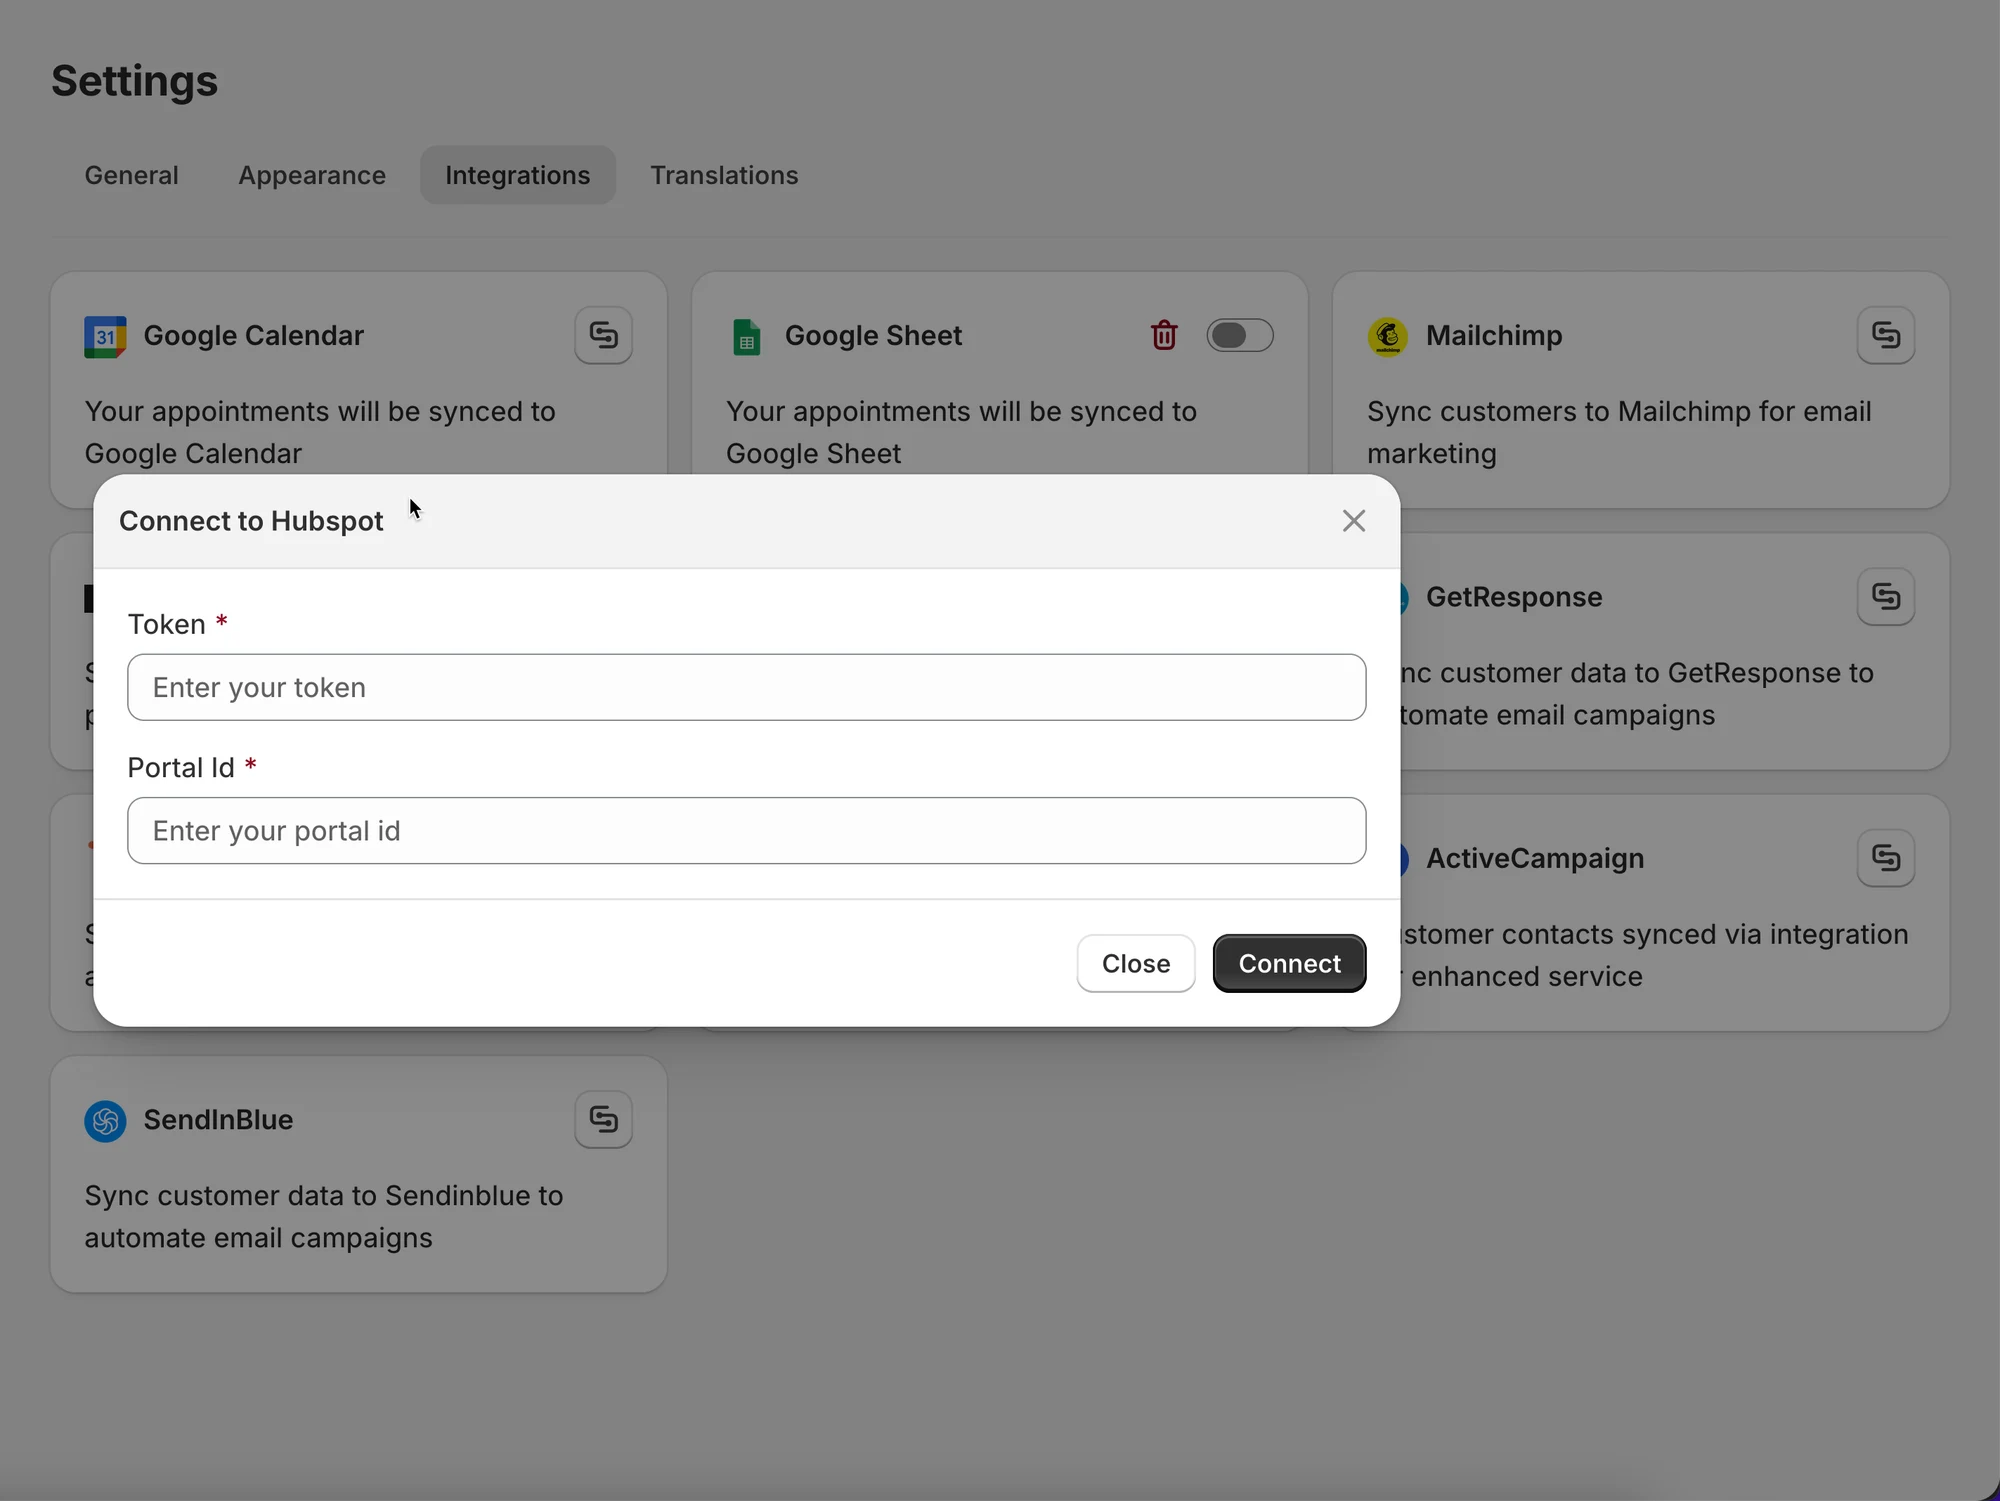
After the appointment is booked, the data will be added to the contact list in Hubspot.
✅ Test the integration
Section titled “✅ Test the integration”- Create a test booking with a real email address
- Open HubSpot → Contacts
- Confirm the contact appears or is updated
🙋 Still need support?
If you still need help, please feel free to contact us at hi@tipo.io. We’ll be happy to assist you further.