
Team Portal Guide (For Staff)
AI Overview
A guide for staff using the Tipo Appointment Booking team portal to check their schedule, manage their own appointments, and set availability without store admin access. Login uses an emailed link instead of a password. Which menu items and actions you see depends on the permissions your manager has granted.
View moreView less
- Open the login link from your manager, enter your email, and click the link sent to your inbox.
- Appointment actions (Approve, Reschedule, Cancel, manual create) apply only to appointments where you are the assigned staff member.
- Set availability by clicking a date, entering Start time and End time, choosing how to apply it, and saving.
- Your manager assigns services; ask them if a service is missing.
Summary generated by AI. It can make mistakes, so check the full guide below.
Welcome! Your team portal lets you check your schedule, manage your own appointments, and set your availability — all in one place, without needing access to the store’s admin.
🔗 How to Log In
Section titled “🔗 How to Log In”Your manager will send you a portal login link.
Open the link and enter your email address.
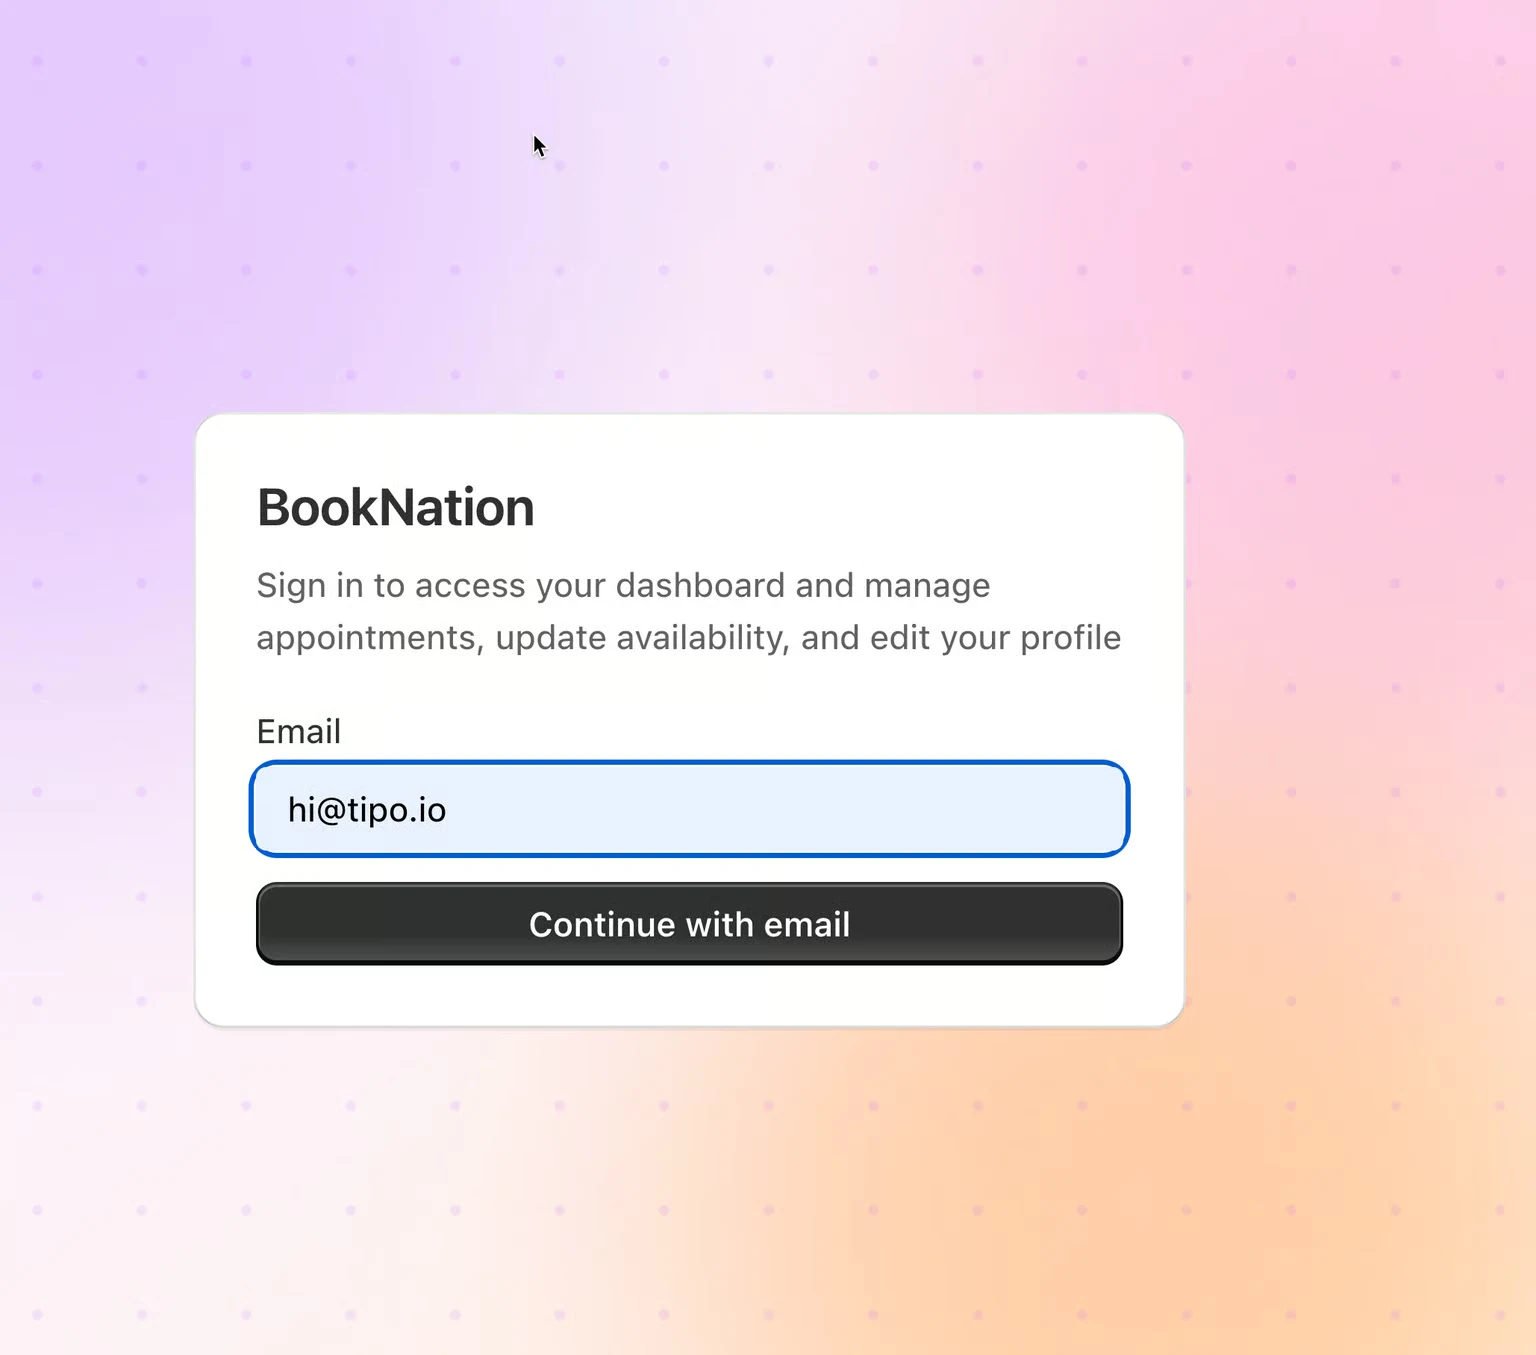
Check your inbox — a login link will be sent to that email.
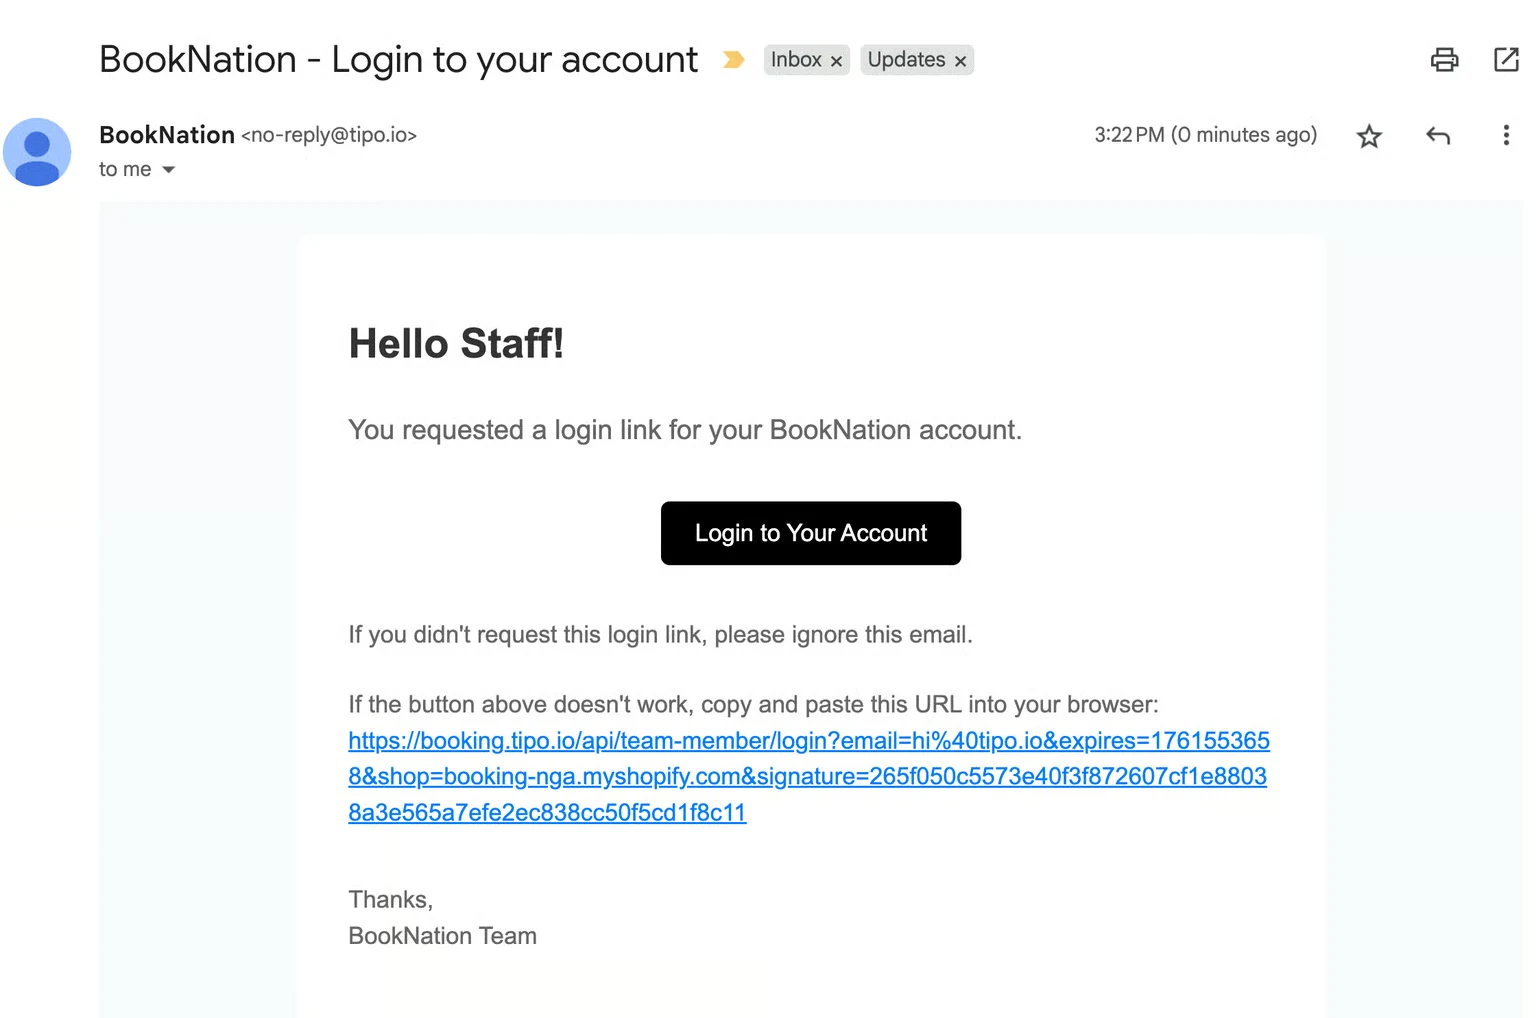
Click the link in the email to access your dashboard.
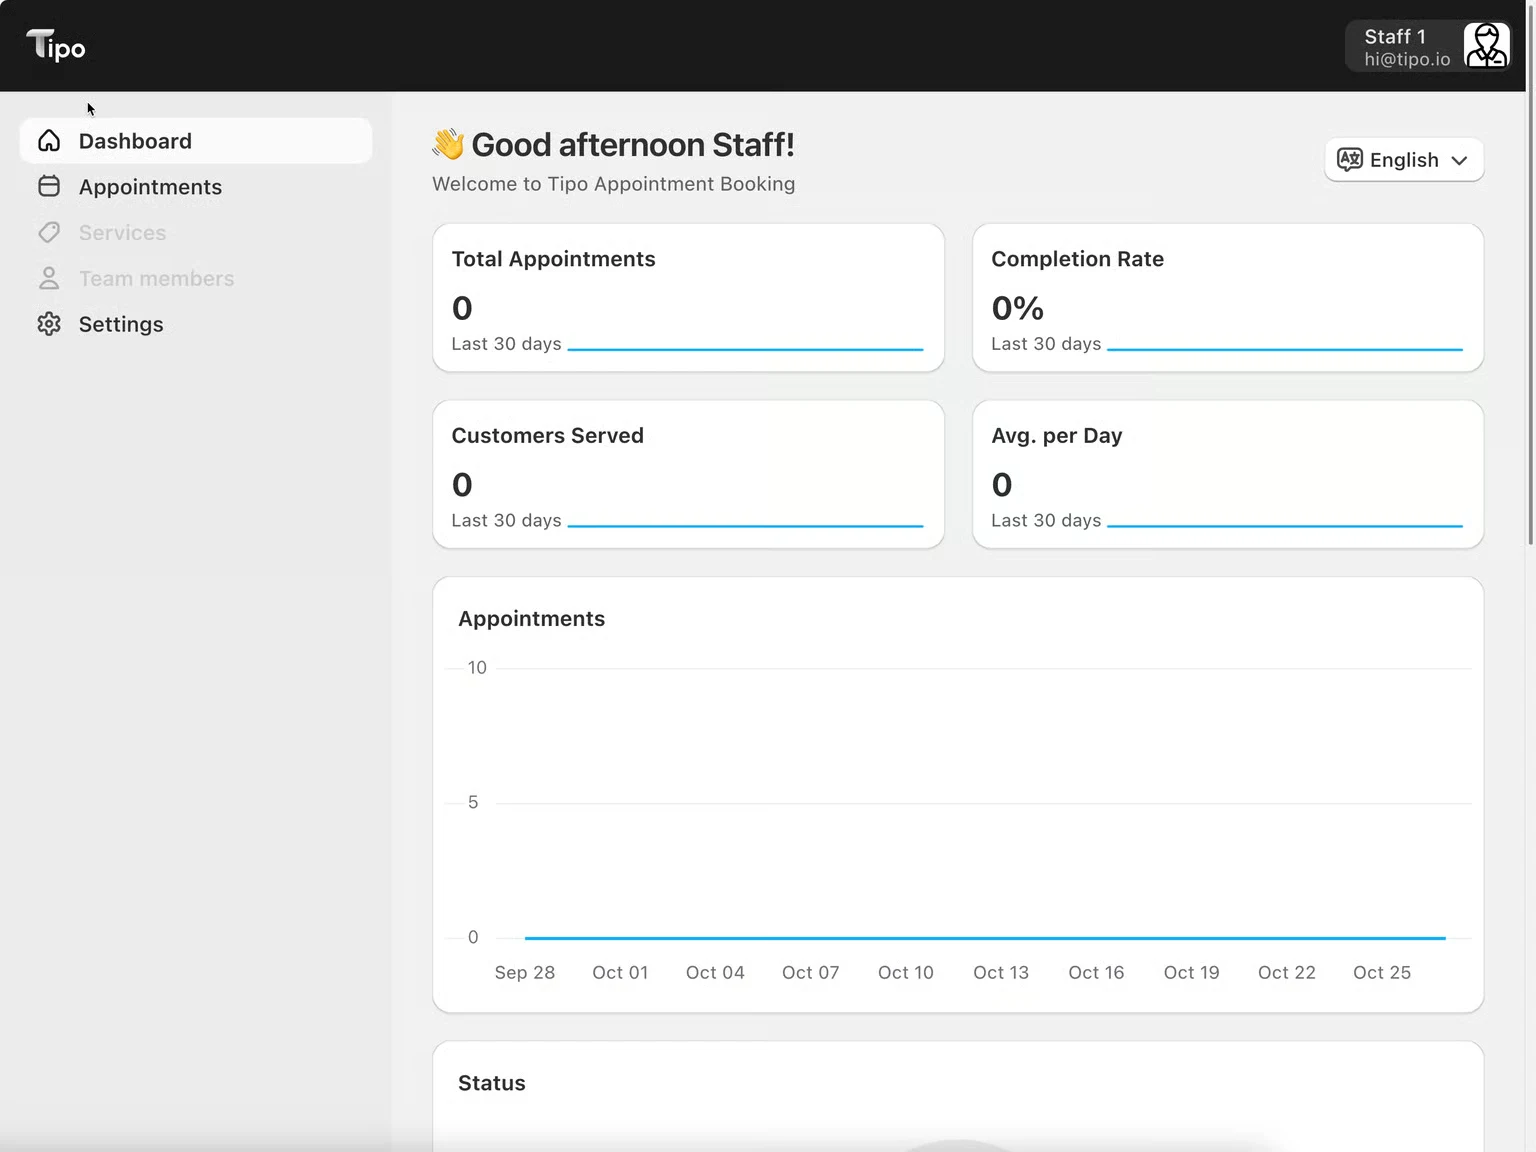
📌 Note: No password needed — each login is done by email link. If you didn’t get the email, check your spam folder, or ask your manager to confirm the correct email is on file.
🗓️ What You’ll See After Logging In
Section titled “🗓️ What You’ll See After Logging In”Your dashboard greets you by name and gives you a quick overview:
| Section | Shows |
|---|---|
| Total Appointments | Count over the last 30 days |
| Completion Rate | % of your appointments completed |
| Customers Served | Unique customers over the last 30 days |
| Avg. per Day | Average appointments per day |
| Appointments chart | Trend over time |
| Status | Breakdown — Approved, Pending, and more |
| Upcoming appointments | Your next bookings, with a View all link |
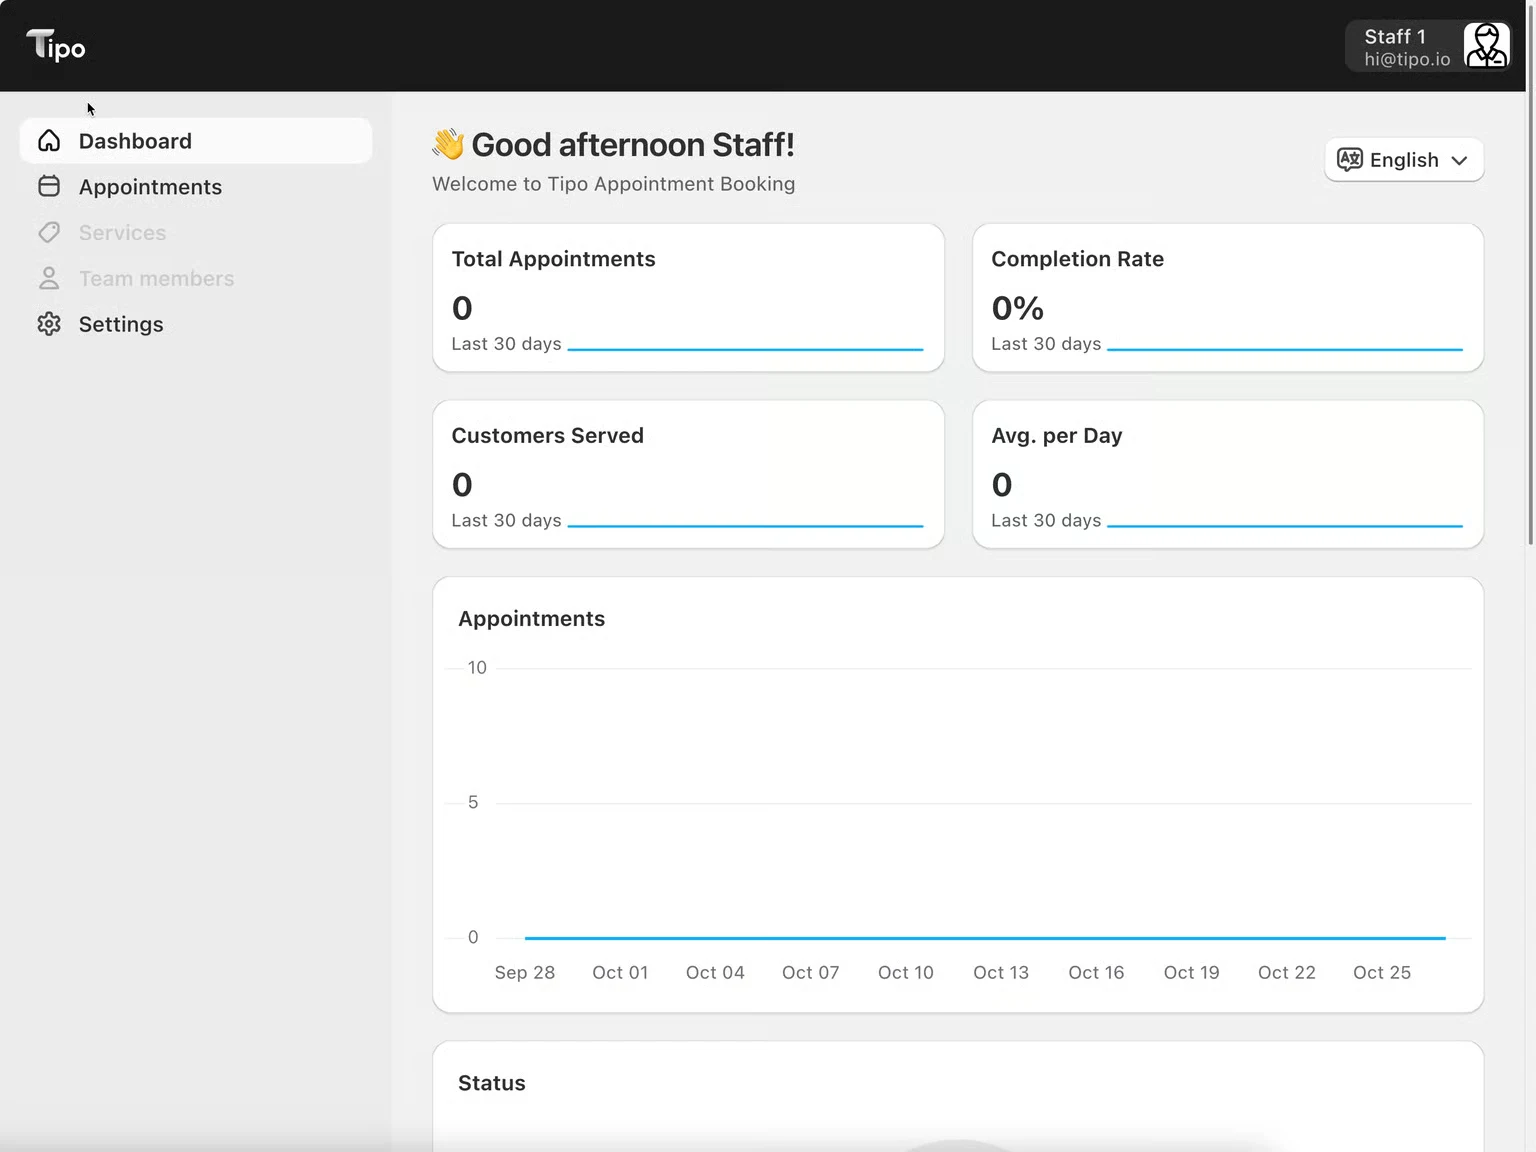
Sidebar menu: Dashboard, Appointments, Services, Team members, Settings.
📌 Note: Which menu items you see depends on the permissions your manager has granted you. If Services or Team members doesn’t appear for you, that’s expected — not every team member gets access to those.
✅ Managing Your Appointments
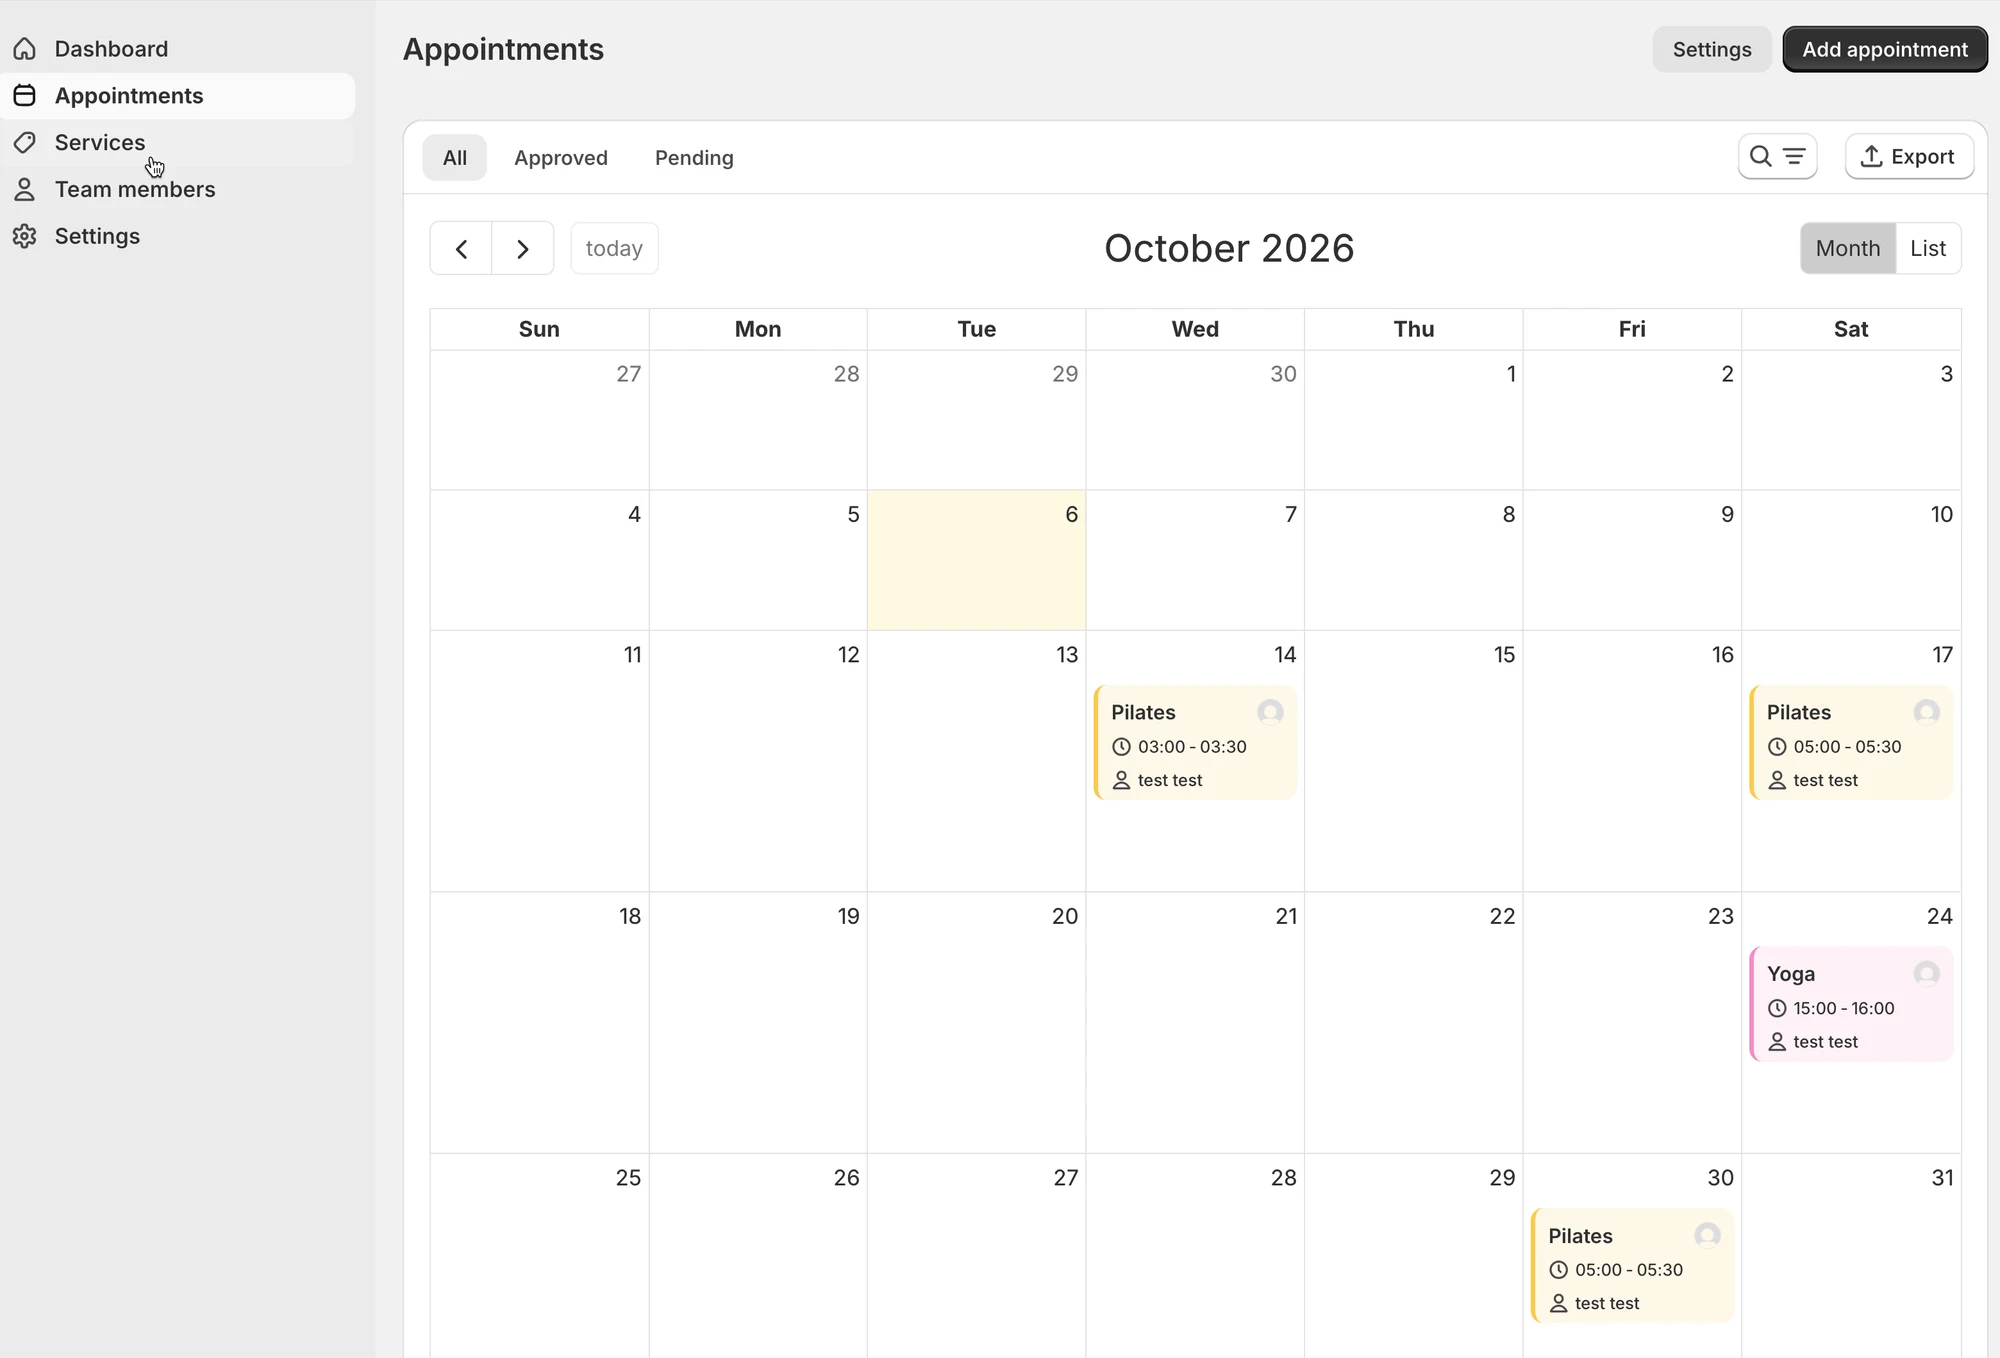
Section titled “✅ Managing Your Appointments”From your calendar, open any appointment to:
| Action | What It Does |
|---|---|
| Approve | Confirm a pending booking |
| Reschedule | Move it to a different date/time |
| Cancel | Cancel the booking |
| Manually create | Create a new appointment for customers without booking on online store |
⚠️ Note: These actions are only available for appointments where you’re the assigned staff member. If an action is missing, your manager may not have granted that permission — ask them to check.
⏰ Setting Your Availability
Section titled “⏰ Setting Your Availability”Your availability controls which time slots customers can book with you — so keep it up to date.
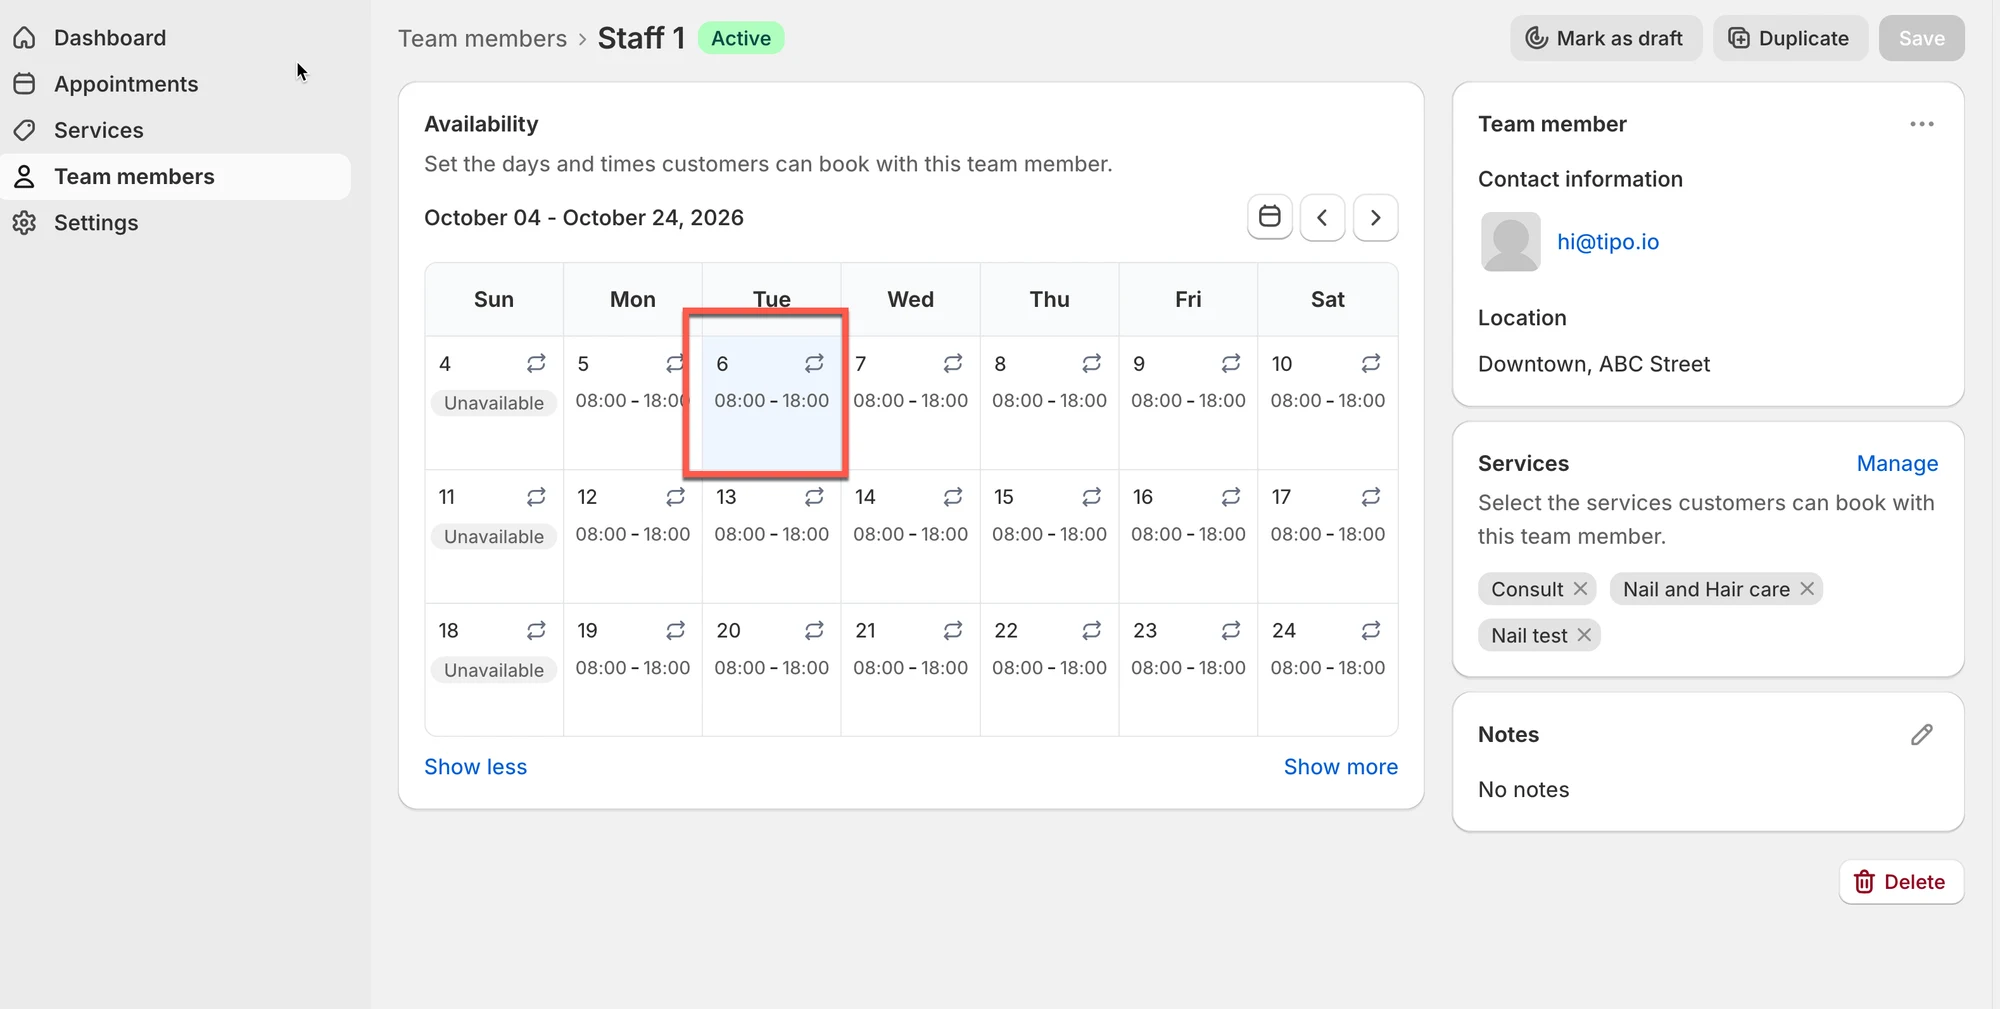
Open your Availability section in the portal
Click the date or day you want to set hours for.
Enter your Start time and End time
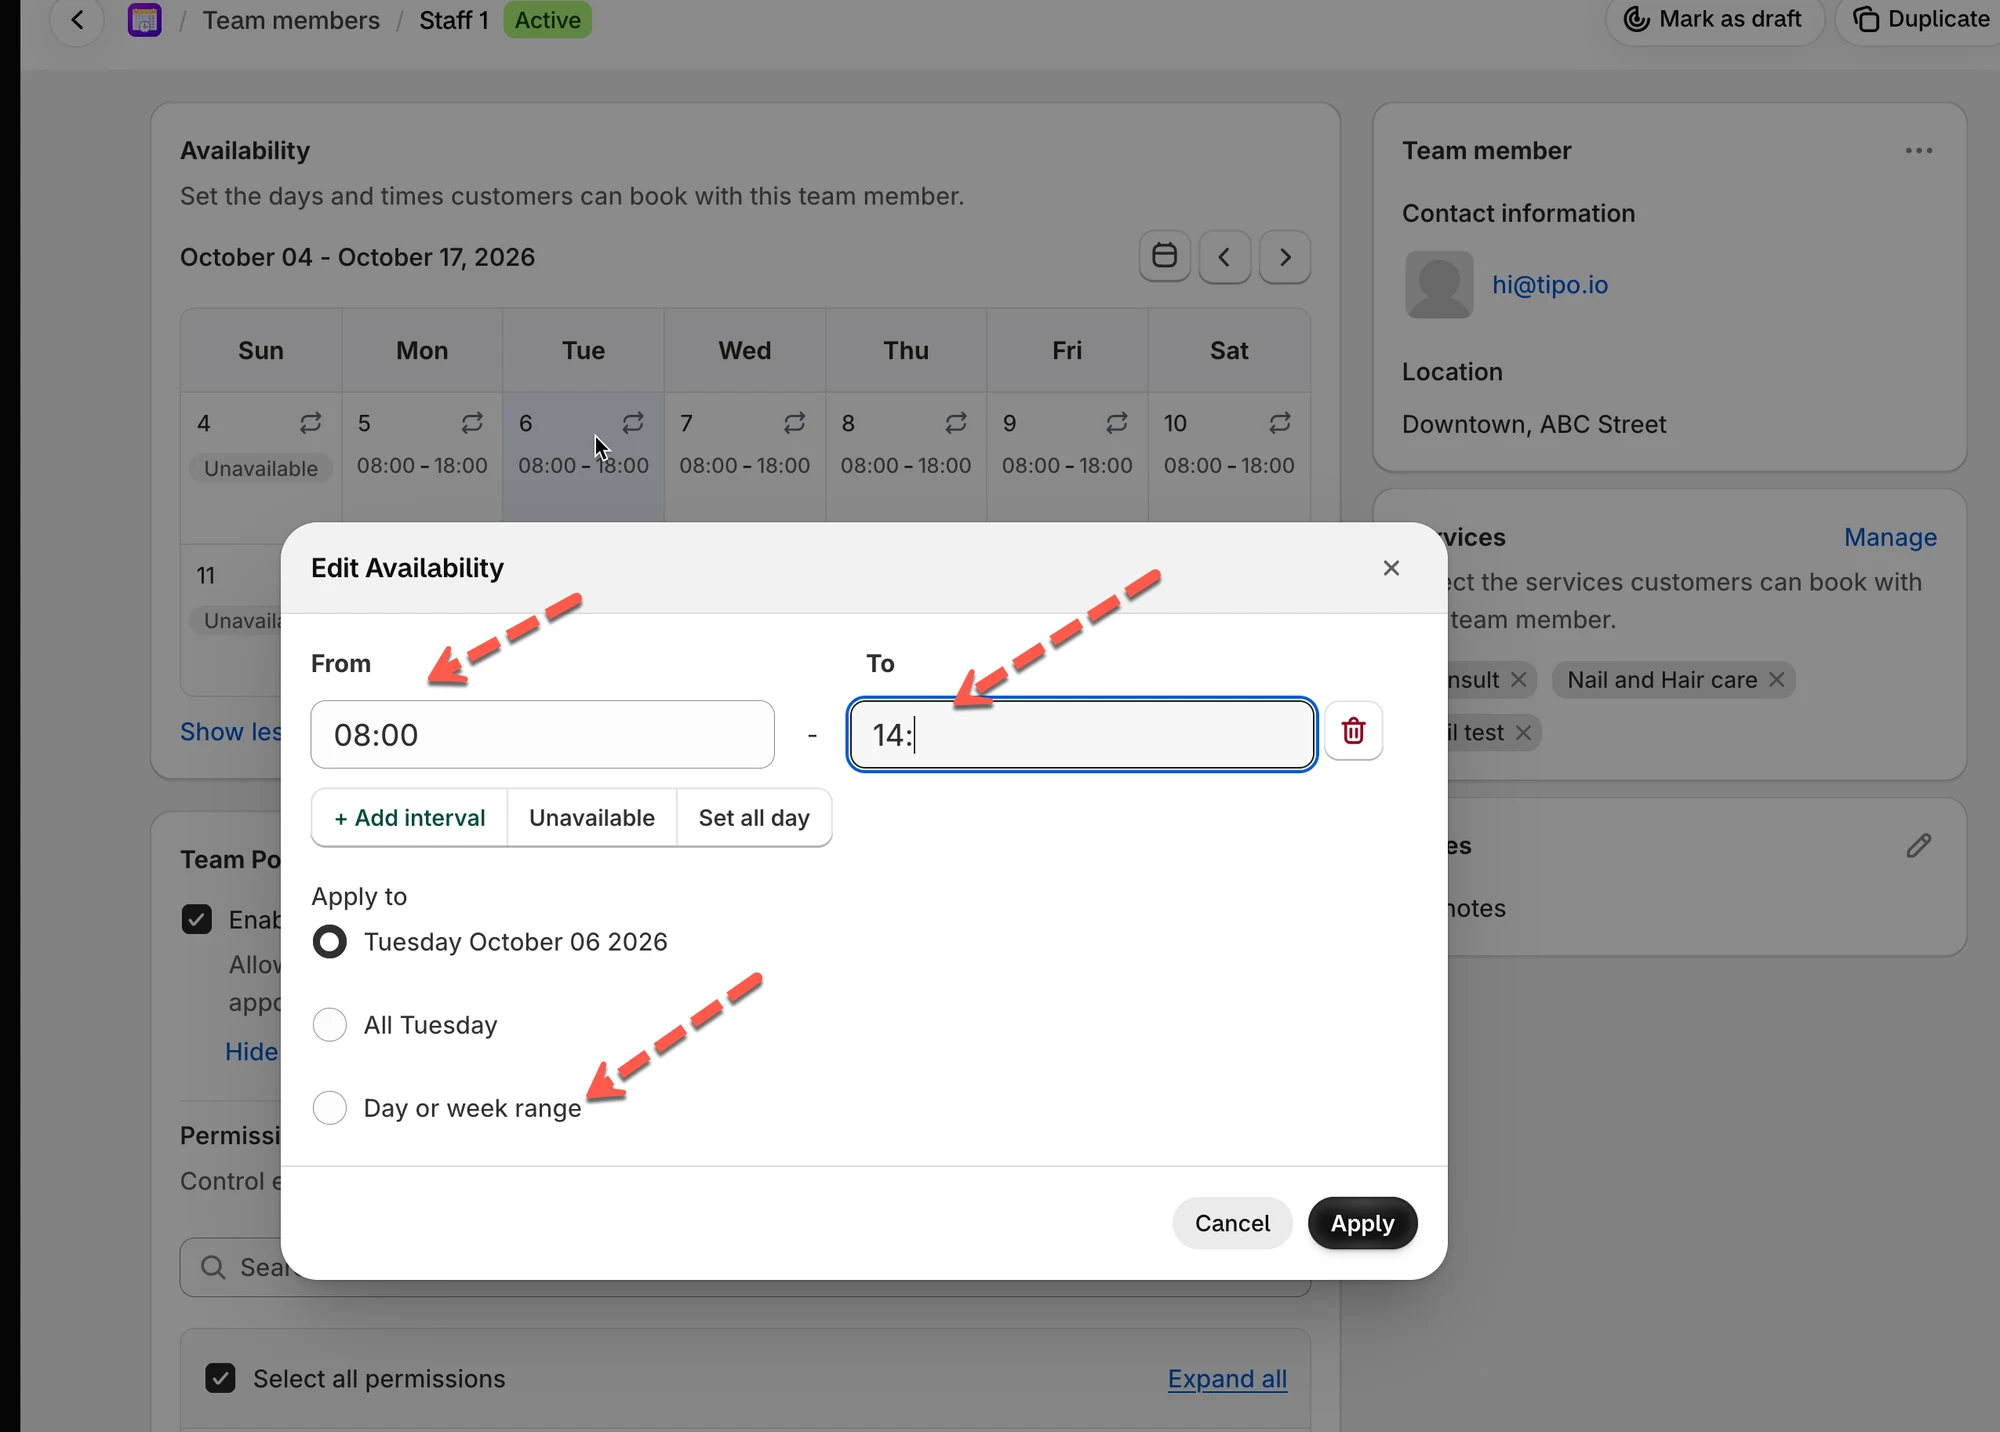
Choose how to apply it
| Apply to | Use When |
|---|---|
| Specific date | Only one date should use these hours (e.g. just Nov 3) |
| All Mondays | Every Monday should follow the same schedule |
| Day/week range | The same schedule applies across several days or weeks |
Click save
💡 Example: If you set
08:00–18:00for a 1-hour service, customers will see hourly slots —08:00–09:00,09:00–10:00, and so on, with the last slot starting at17:00.
📌 Note: You can only set availability for services your manager has assigned to you. If a service you provide isn’t listed, ask your manager to assign it.
▶️ Tutorial video
Section titled “▶️ Tutorial video ”📂 Services
Section titled “📂 Services”If your manager has granted access, Services works the same way it does for admins — you can view, create, and edit services normally, not just look at them.
| You Can | How |
|---|---|
| View the list | Name, status, capacity, duration |
| Create a new service | Click New service, same as an admin would |
| Edit an existing service | Open the service and update its details |
⚙️ Settings
Section titled “⚙️ Settings”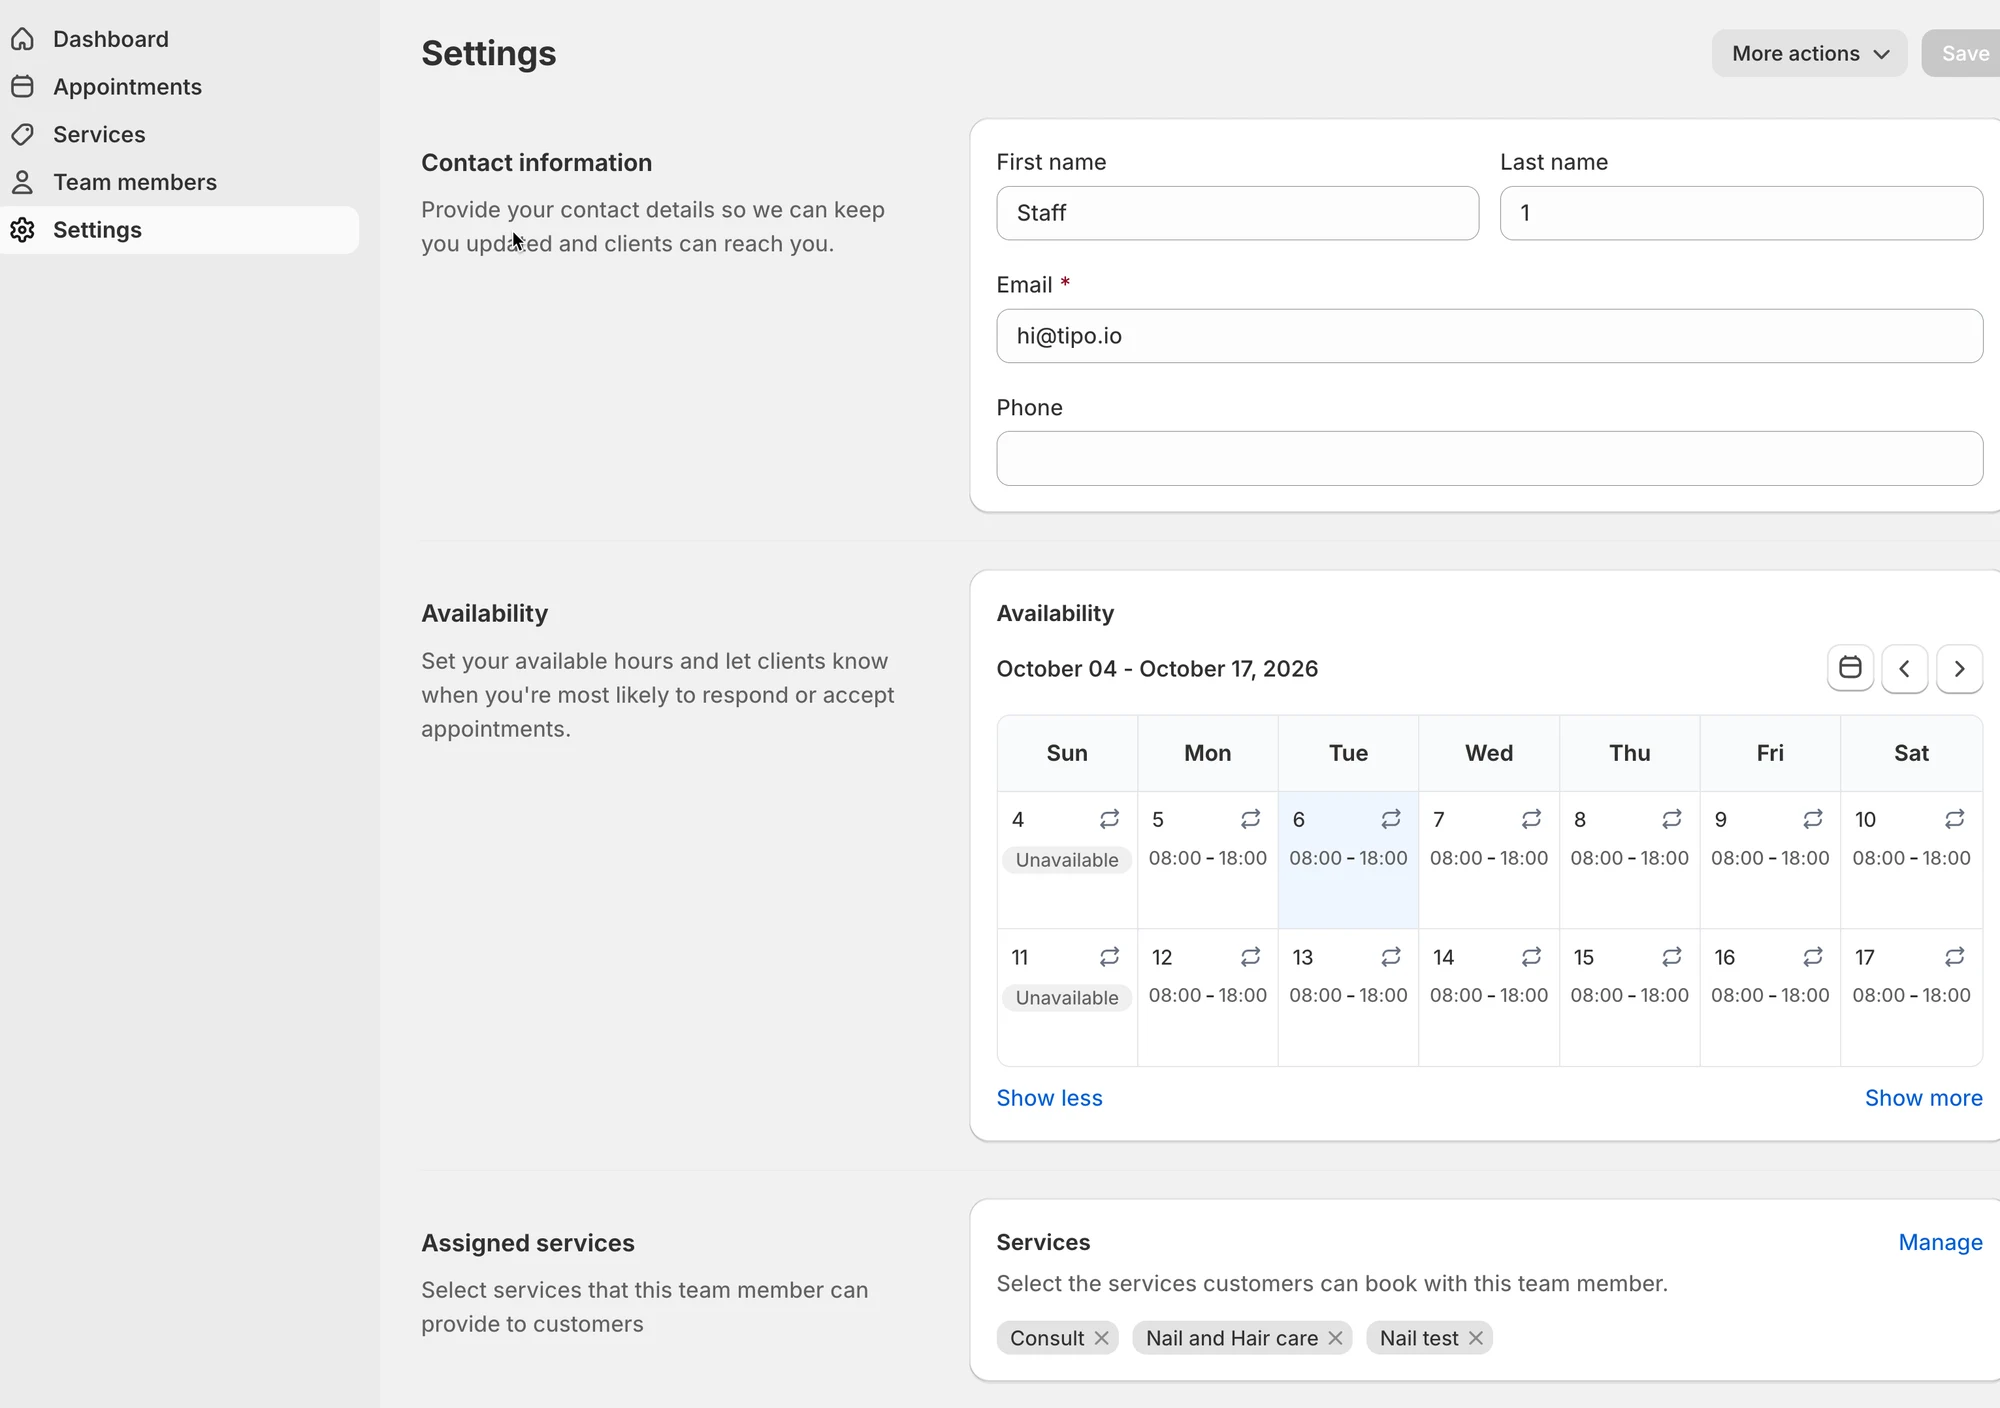
Contact Information
Section titled “Contact Information”- First name / Last name — how you appear on the schedule
- Email — where your login link and notifications are sent
- Phone (optional)
Keep this accurate — it’s how customers and your manager identify your bookings.
Availability
Section titled “Availability”Covered in detail above — your working hours calendar.
Assigned Services
Section titled “Assigned Services”Shows which services customers can book with you specifically.
⚠️ Note: This list is managed by your manager, not editable here. If a service is missing and you do provide it, ask your manager to assign it to you.