
Quickstart: your first backup
AI Overview
A ten-minute walkthrough for taking your first backup with Backup & Restore Tipo, checking that it worked and optionally trying a safe test restore. You need the app installed from the Shopify App Store and, for the test restore, a product you don't mind editing.
View moreView less
- Install the app and pick a test product for the optional restore.
- Open the app and complete the Get started wizard: choose what to protect, schedule and email.
- Select Start first backup and watch it run on Home until the Protected badge appears.
- Find the backup in the Backups list and open a product to compare Live store with Backup.
- Restoring overwrites the live item; a single-item restore doesn't create a safety backup.
Summary generated by AI. It can make mistakes, so check the full guide below.
Go from opening the app to a finished, verified backup and an optional test restore.
In about ten minutes you will take your first backup, check that it worked, and optionally try a safe test restore.
Before you start
Section titled “Before you start”- Install Backup & Restore Tipo from the Shopify App Store.
- For the optional test restore at the end, pick a product you don’t mind editing, such as a test product.
Open the app from your Shopify admin
Section titled “Open the app from your Shopify admin”In your Shopify admin sidebar, open Apps and select Backup & Restore Tipo. The app name opens Home, and Settings and Contact us appear below it.
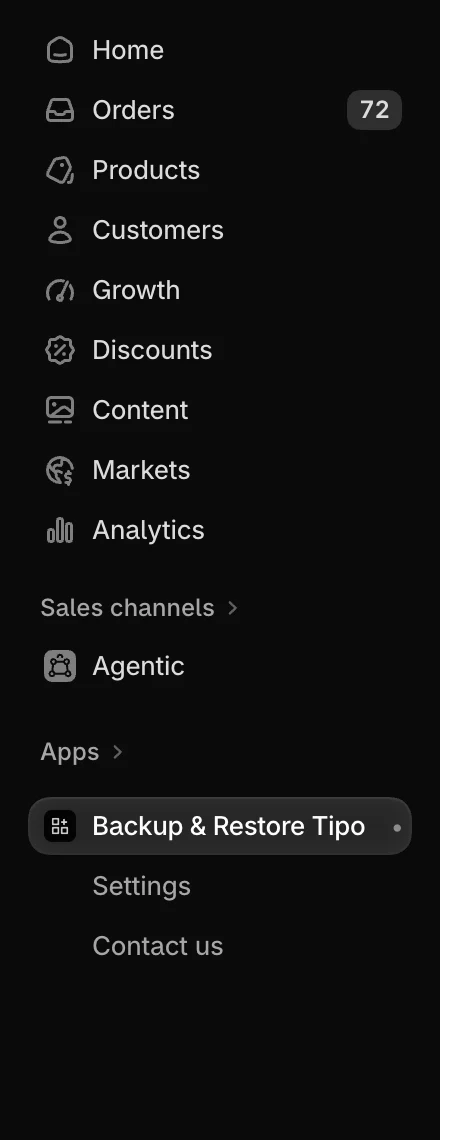
Select the app name to open Home. Settings and Contact us sit below it.
On a new install, the Get started wizard opens. If you installed the app earlier and finished the wizard, skip to Watch the backup run. Open Home and select Back up now first.
Choose what to protect
Section titled “Choose what to protect”On the What to protect step, keep Everything selected. While Orders is included, the line Order history: All orders shows that every order will be backed up. Keep it, then select Continue.
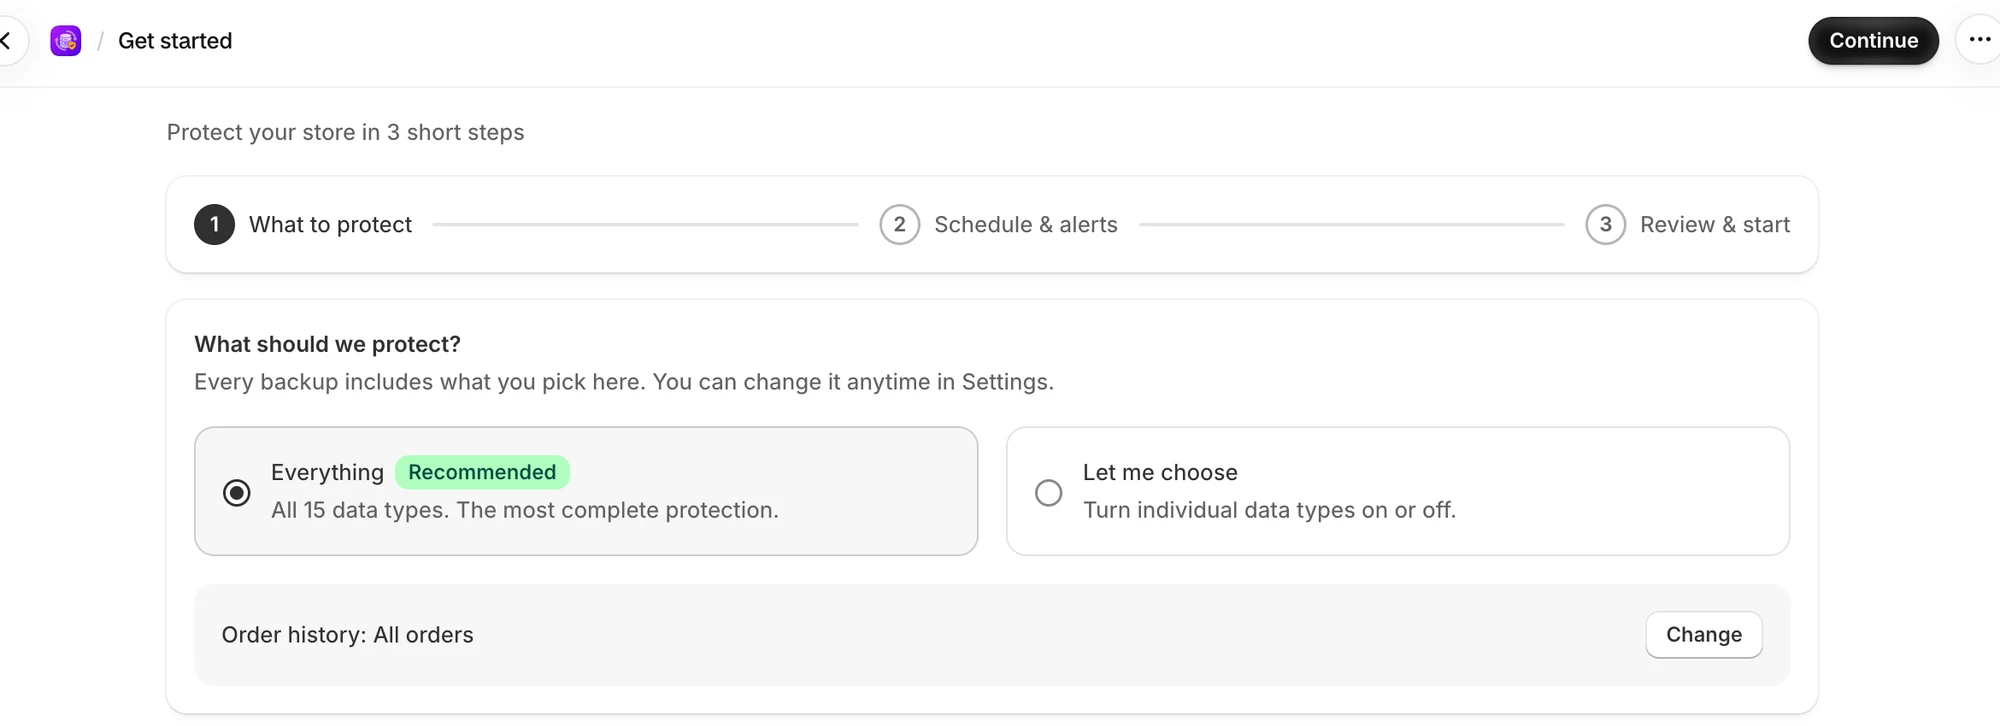
Everything backs up all 15 data types.
Check the schedule and email
Section titled “Check the schedule and email”On the Schedule & alerts step, keep the recommended Every day and the default Time and Time zone. Under Notifications, check that Send to shows an email address you read. Select Continue.
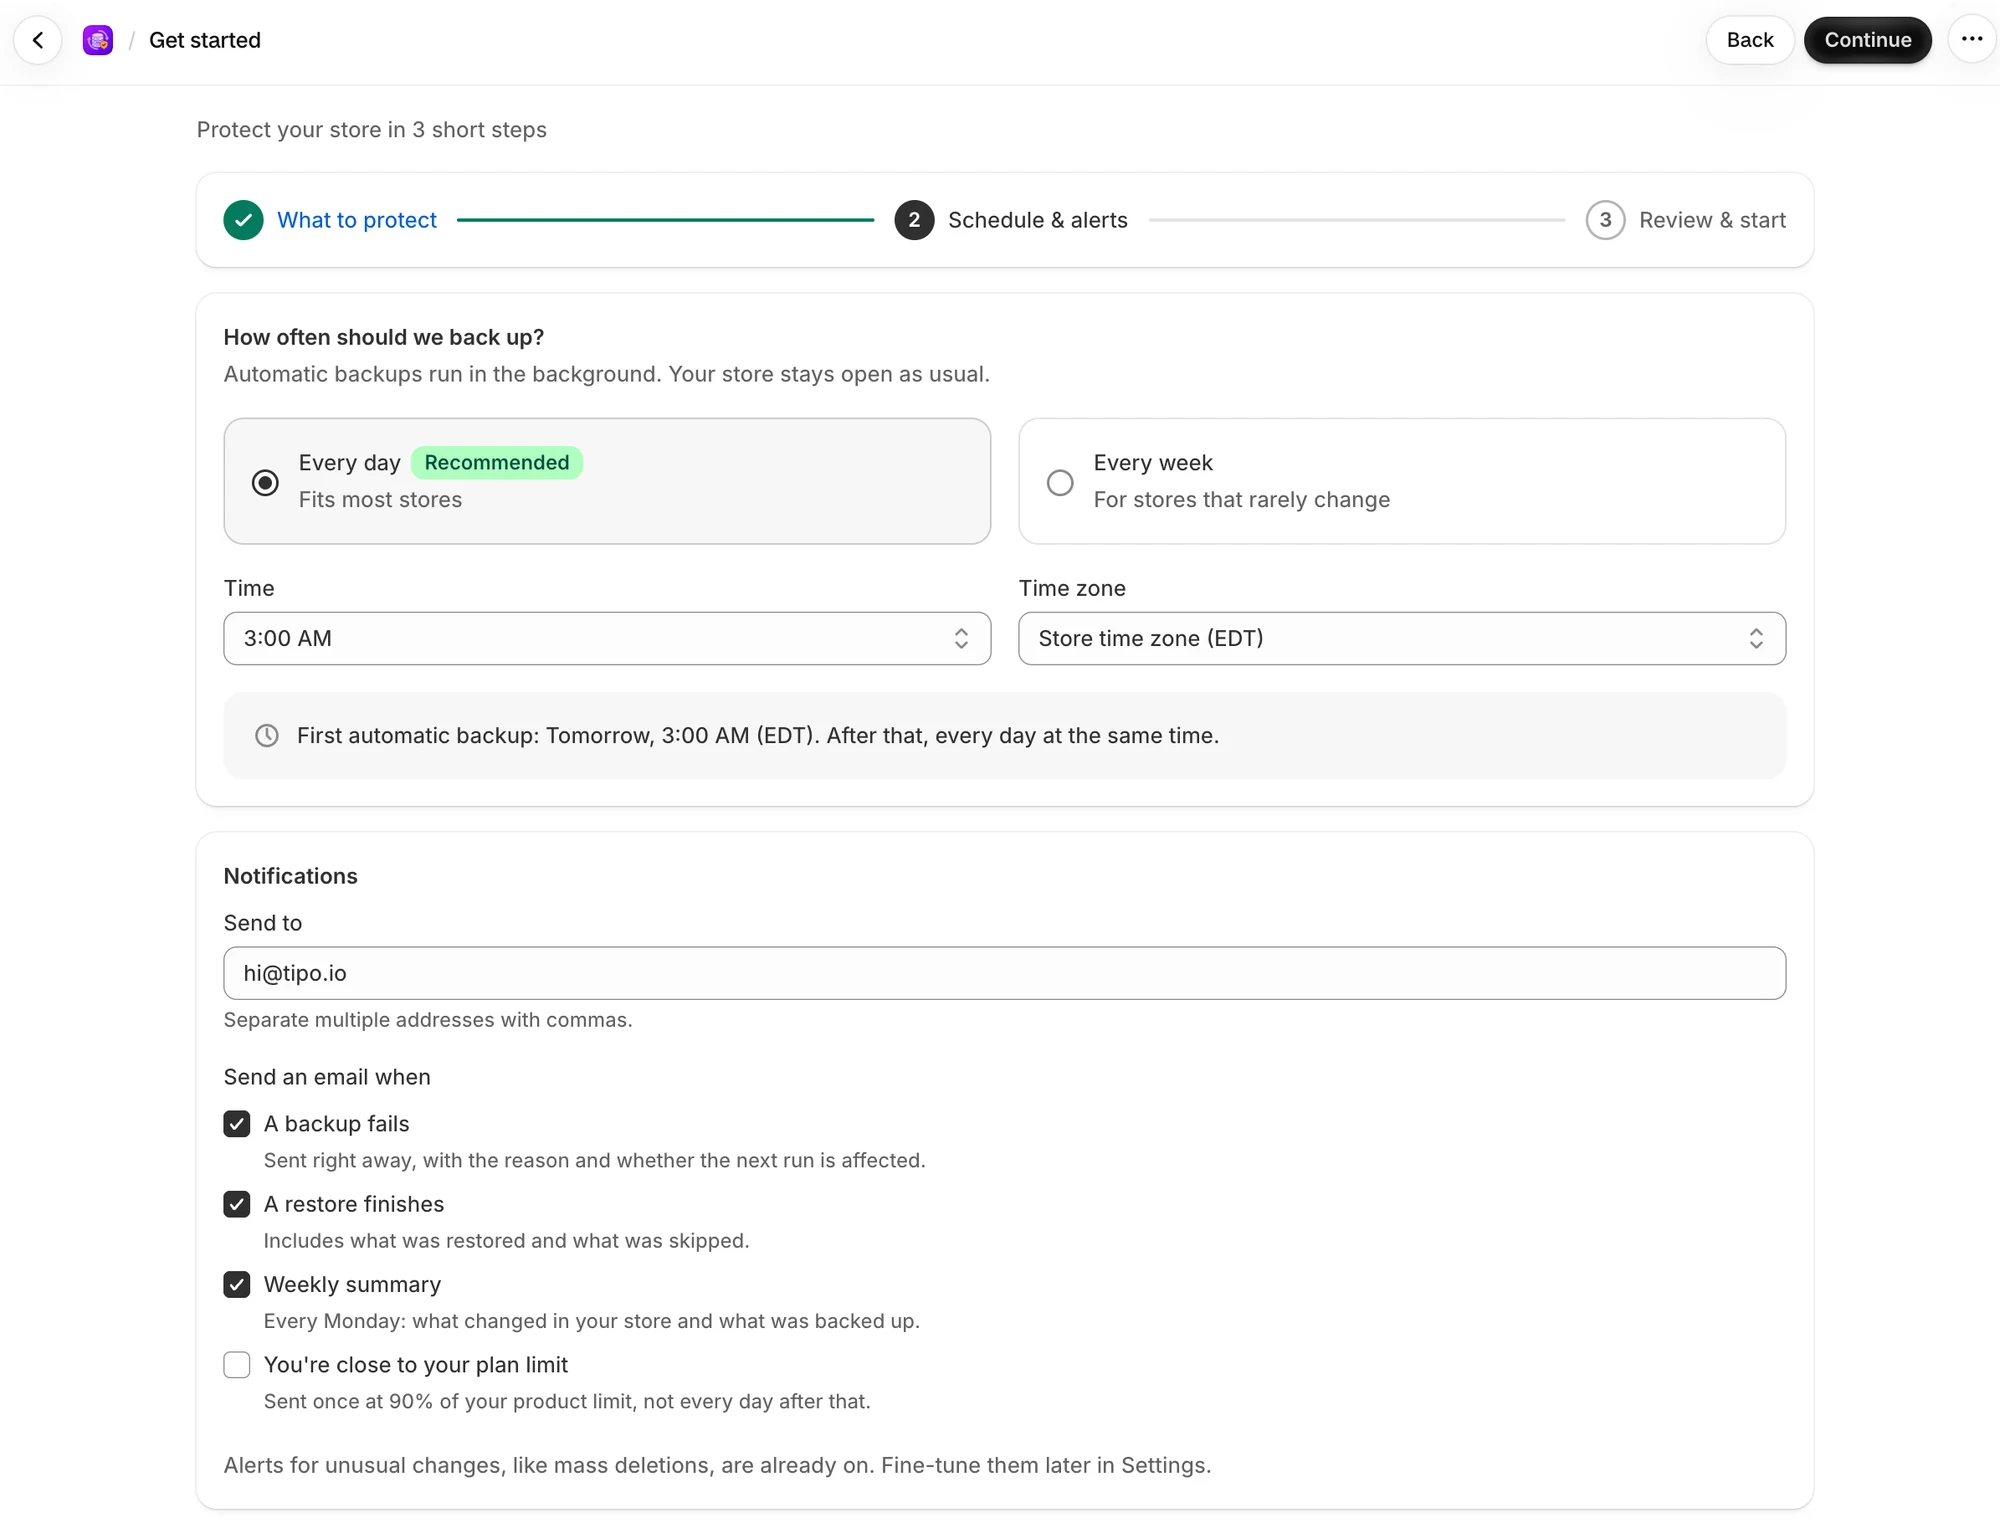
This step sets when backups run and who receives emails.
There is no plan to pick: the app is currently free for stores that install it during this period. See Pricing.
Start your first backup
Section titled “Start your first backup”The Review & start step sums up your choices. Select Start first backup.
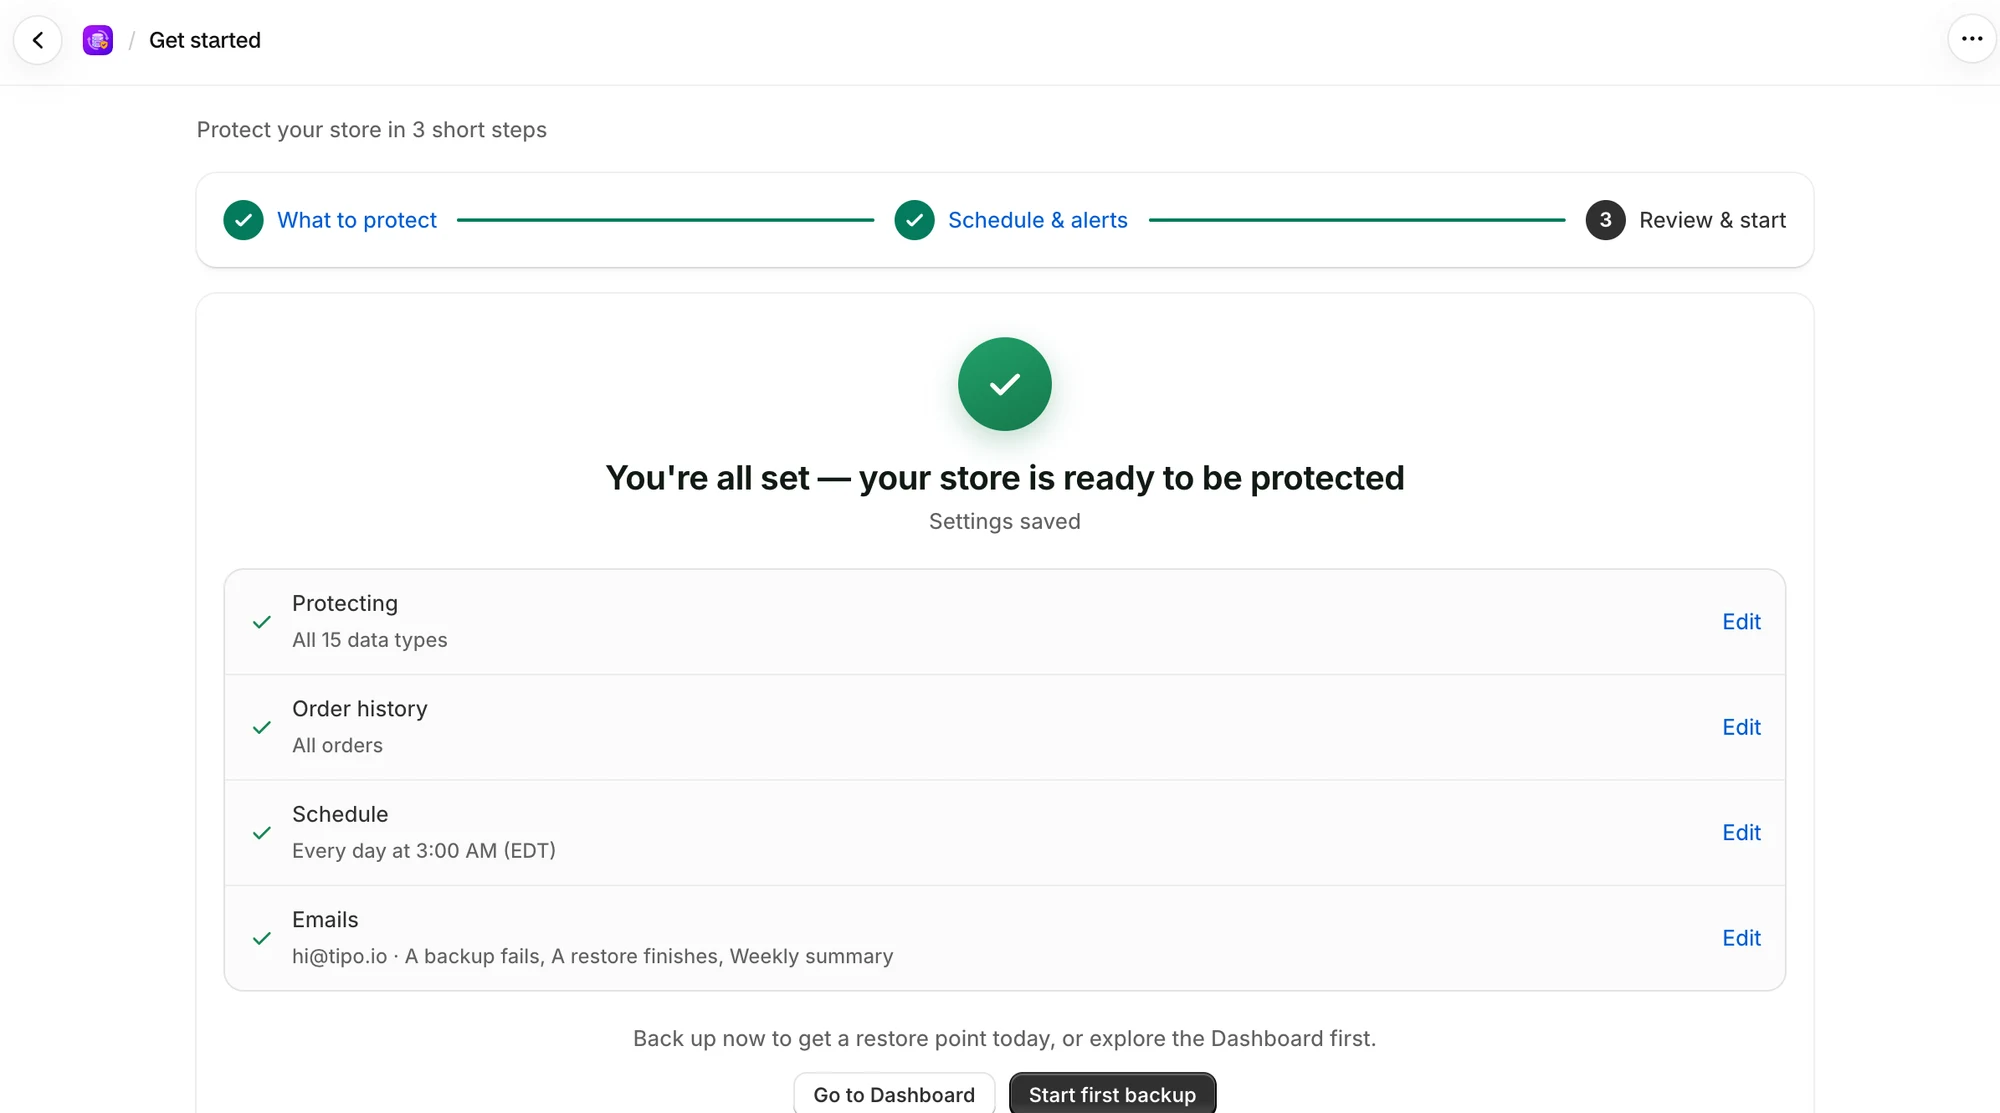
Select Start first backup to start your first backup straight away.
Watch the backup run
Section titled “Watch the backup run”On Home, the status card at the top shows Backing up your store. In the Store data card, each data type shows Waiting, then Backing up…. As soon as a data type finishes, its record count and size appear.
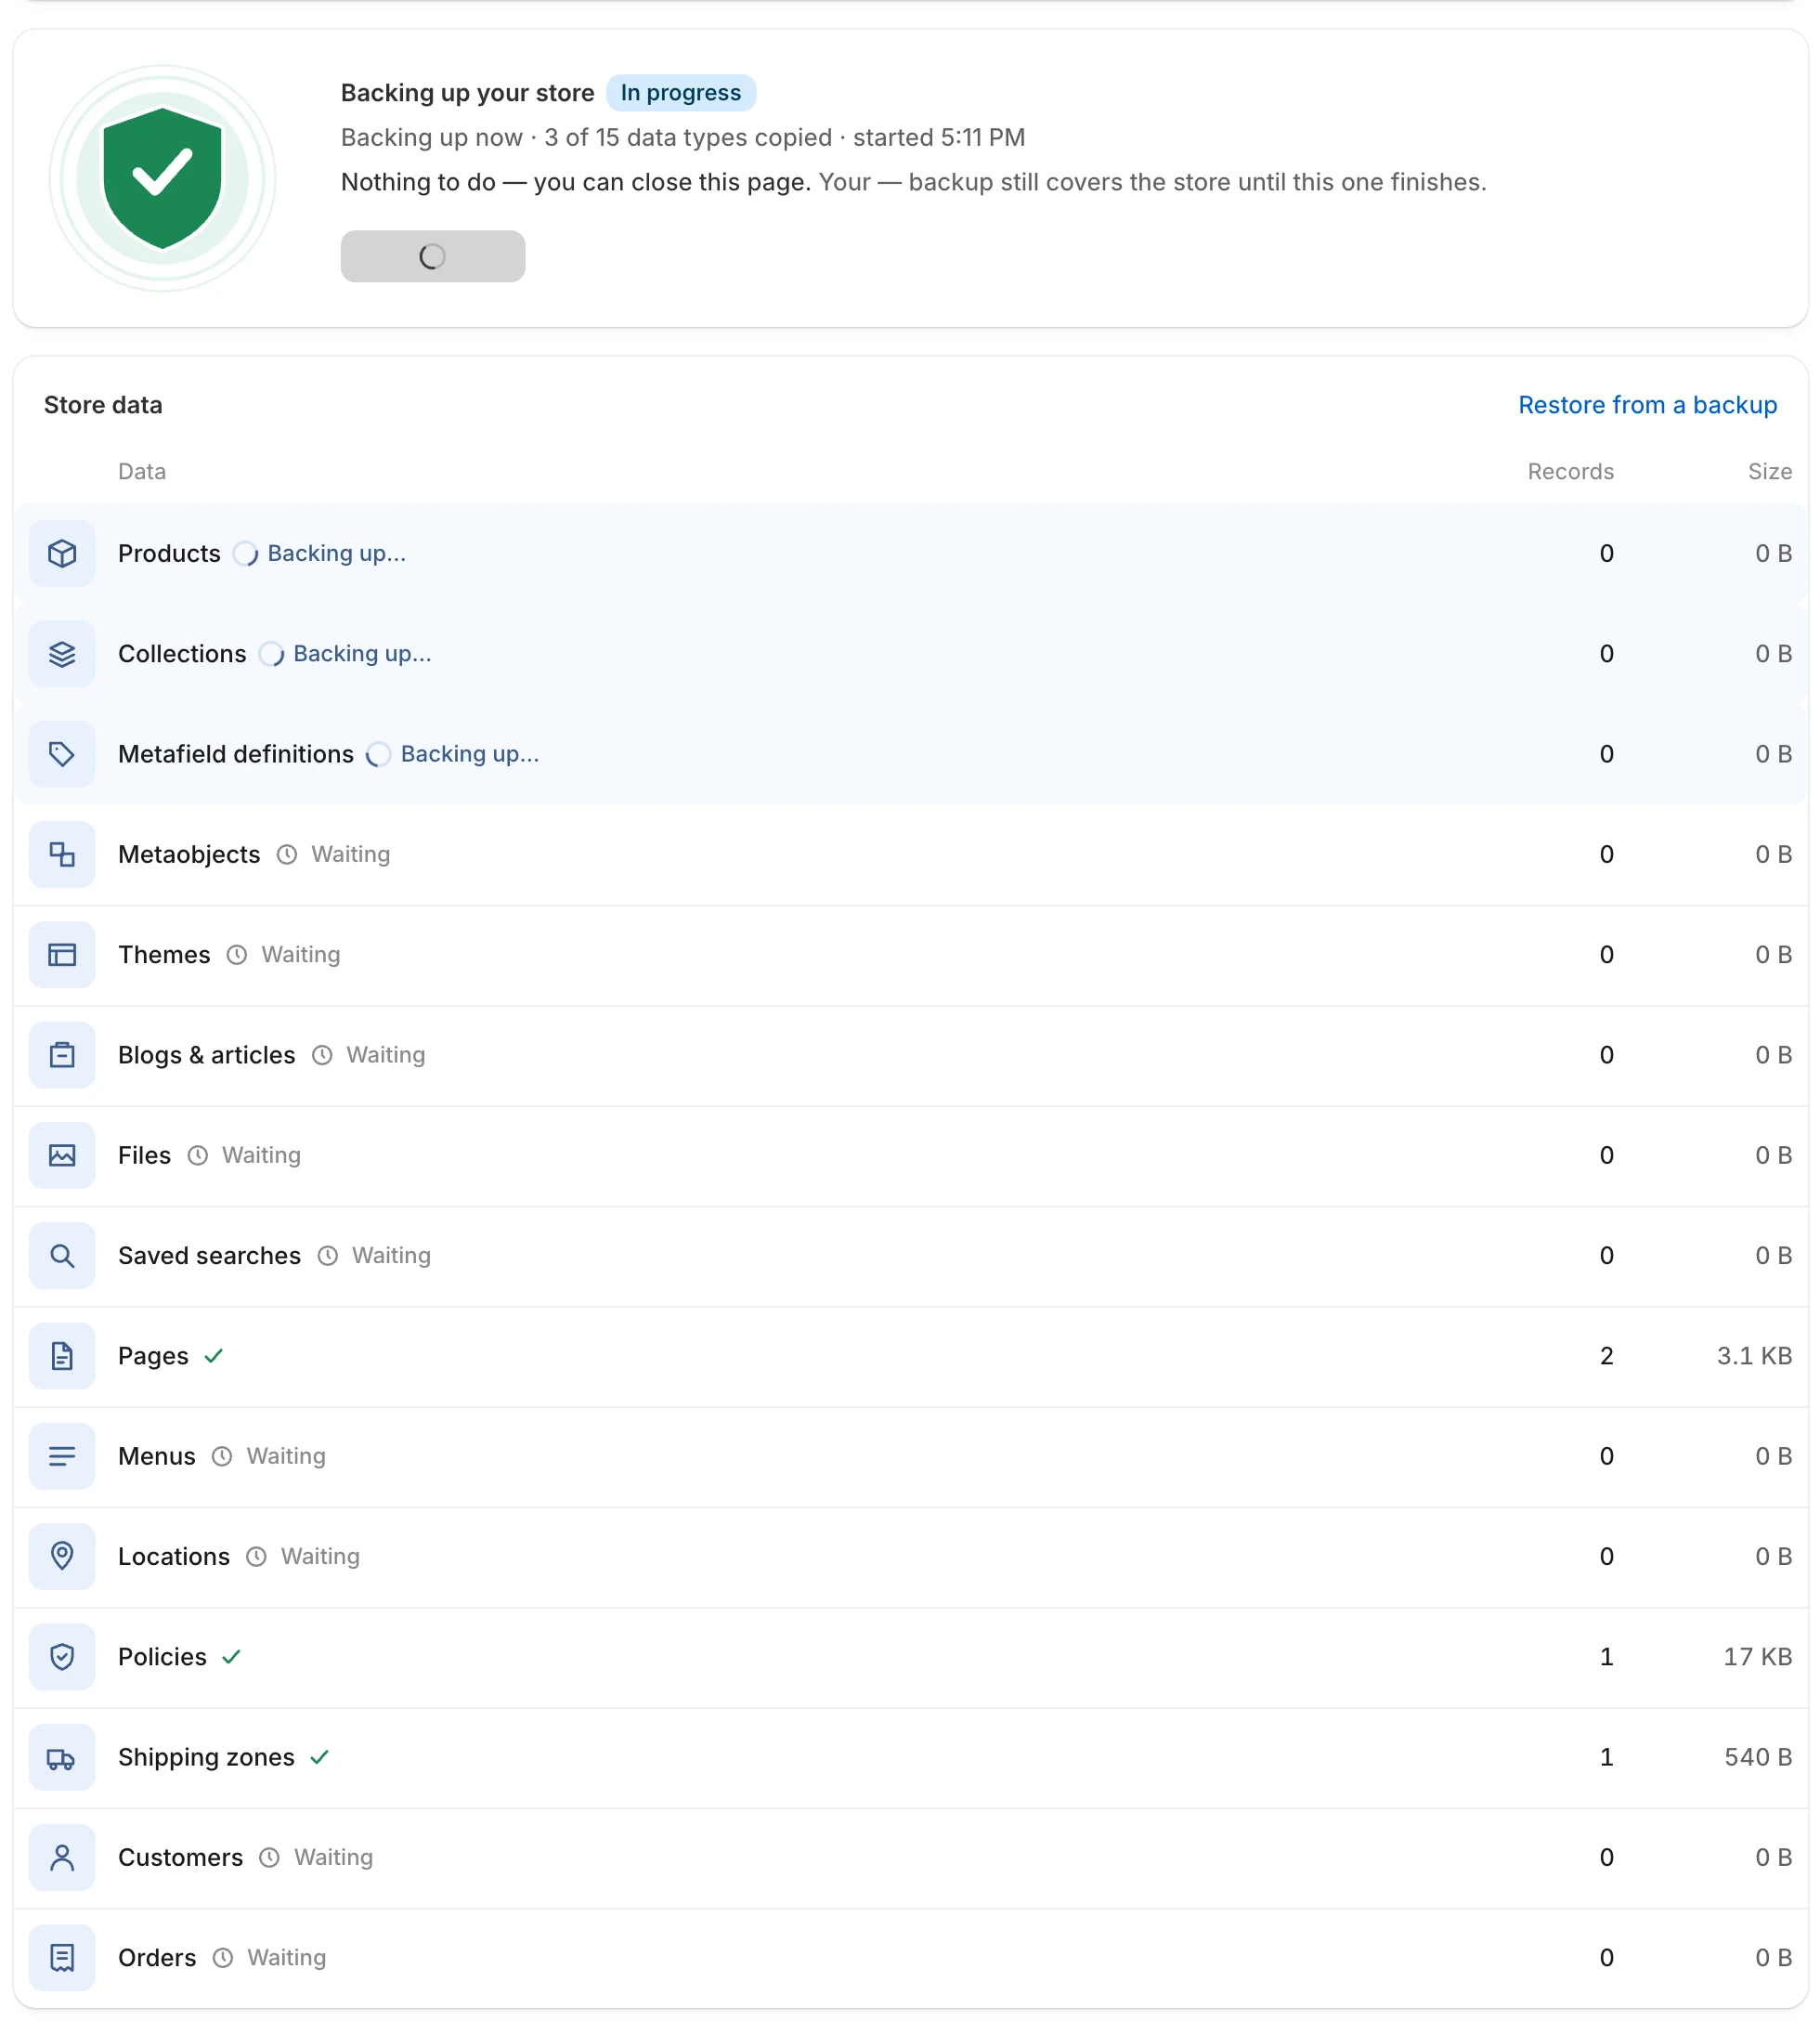
You can close the page while the backup runs. It keeps going in the background.
Check that you are protected
Section titled “Check that you are protected”When the backup finishes, a Backup completed message appears and the card says Your store is backed up with a Protected badge. The Store data card shows a record count and size for each data type, with a green check next to its name.

The Protected badge means you have a recent completed backup.
Right after a backup ends, some rows can show Calculating for a short time while the app adds up the final totals.
Find the backup in your list
Section titled “Find the backup in your list”On Home, in the Store data card, select Restore from a backup. The Backups list opens. Your first backup is at the top with the status Completed. Select the number in the items column to see what the backup added.

A finished backup shows Completed in the Status column.
Look at one backed-up item
Section titled “Look at one backed-up item”Go back to Home, select Products in Store data, then select a product. The page shows Live store on the left and Backup on the right. Nothing is highlighted, because the product hasn’t changed since the backup.
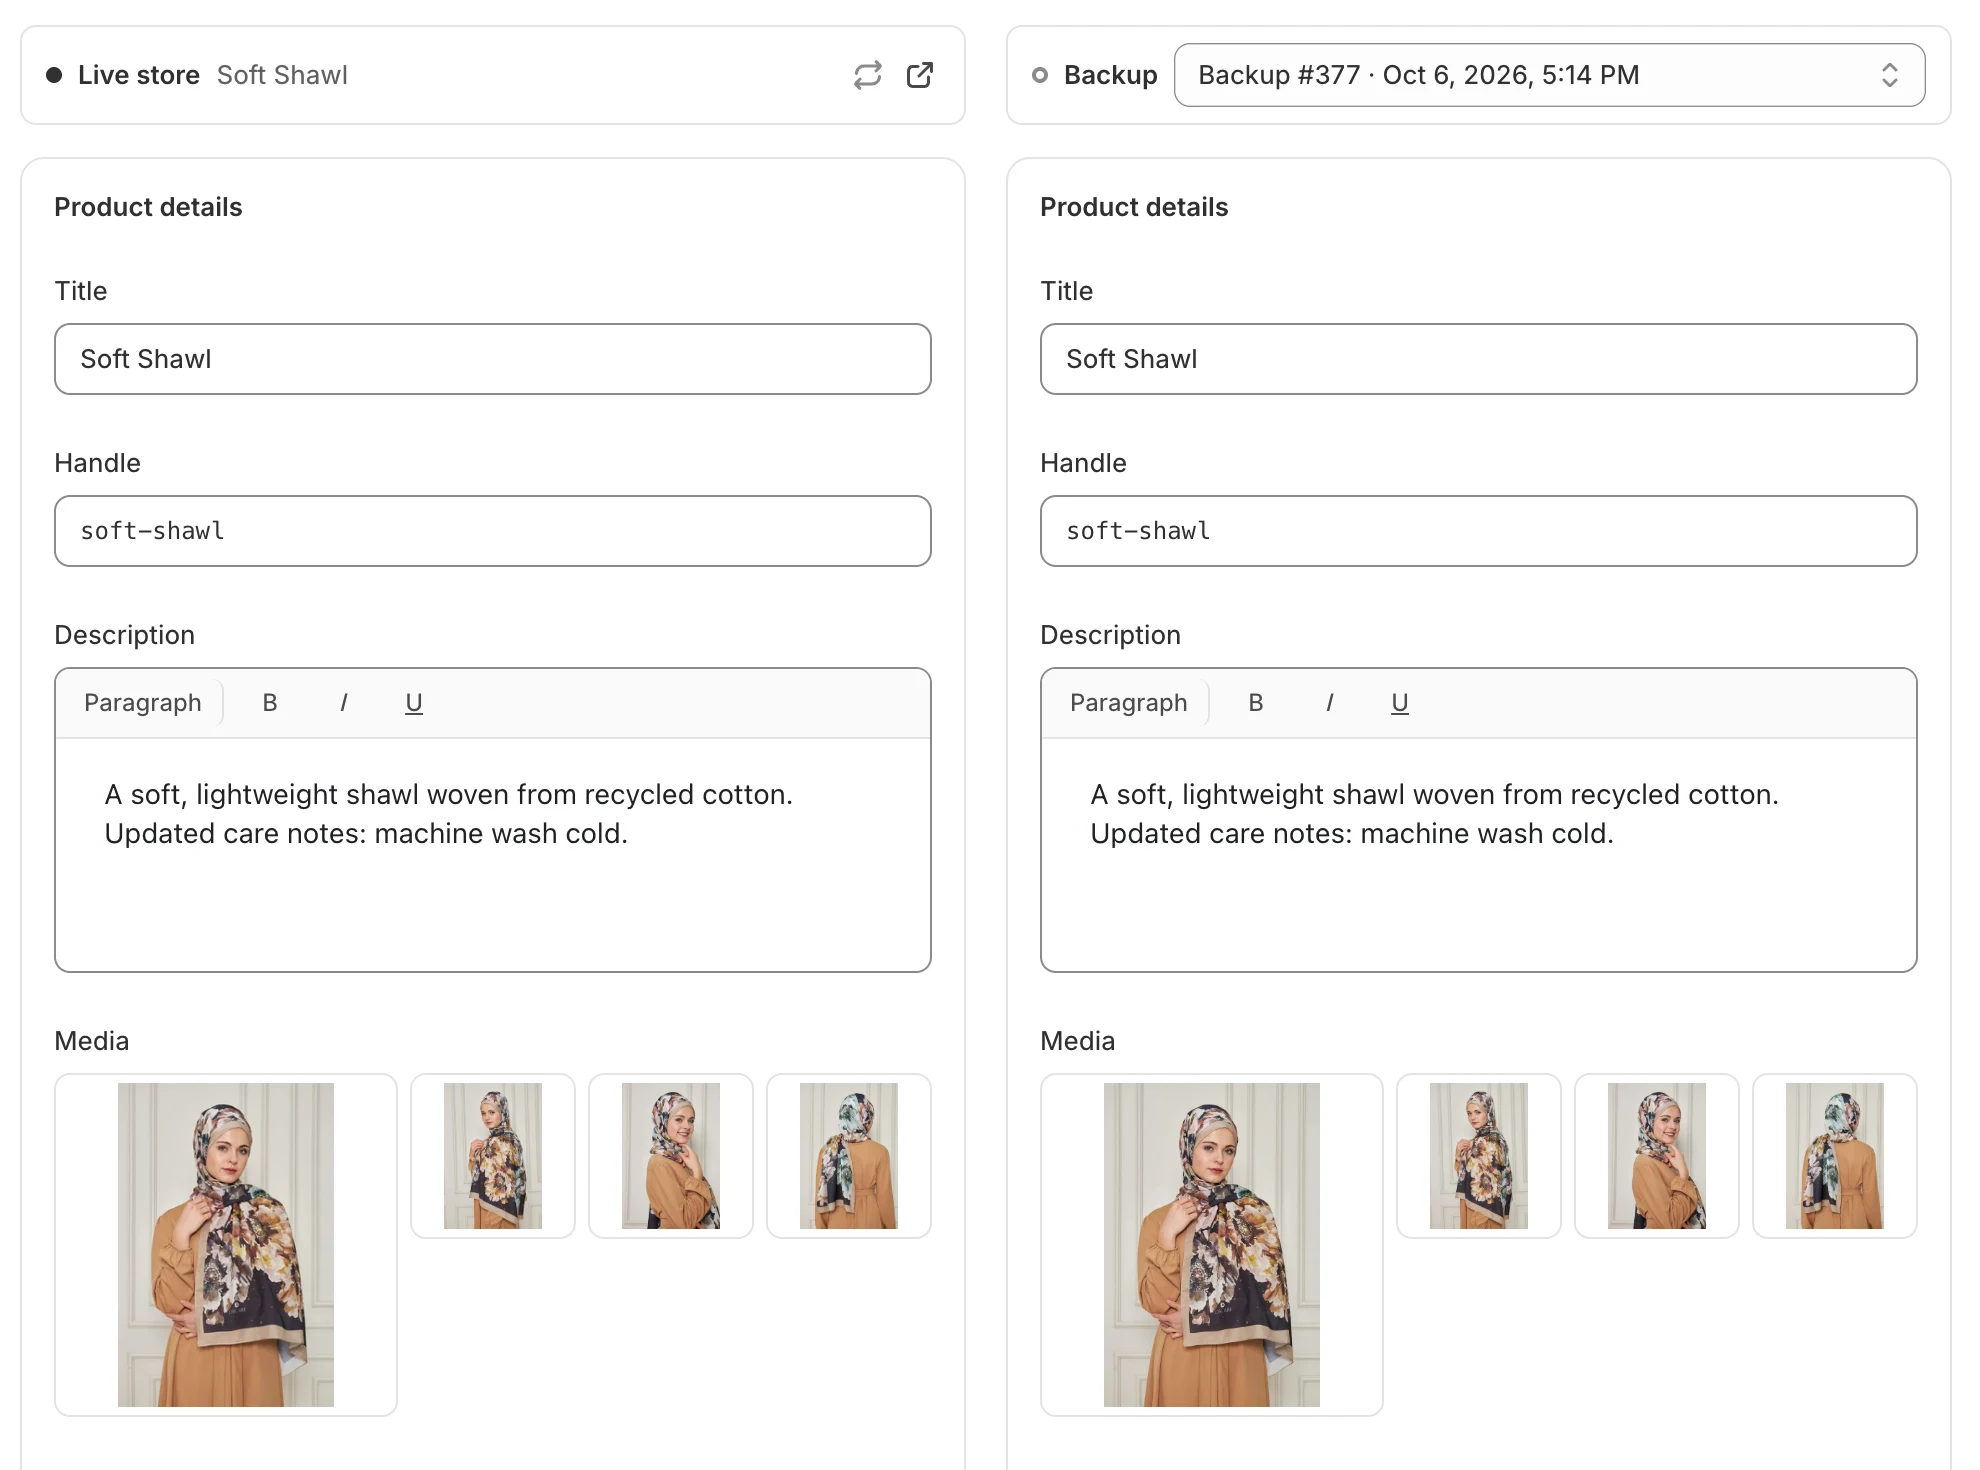
When nothing has changed, the two columns match.
Optional: try a test restore
Section titled “Optional: try a test restore”Use a test product for this step.
-
In your Shopify admin, change the product’s title and save it.
-
Back in the app, open the same product and select Refresh live data. The changed row is highlighted.
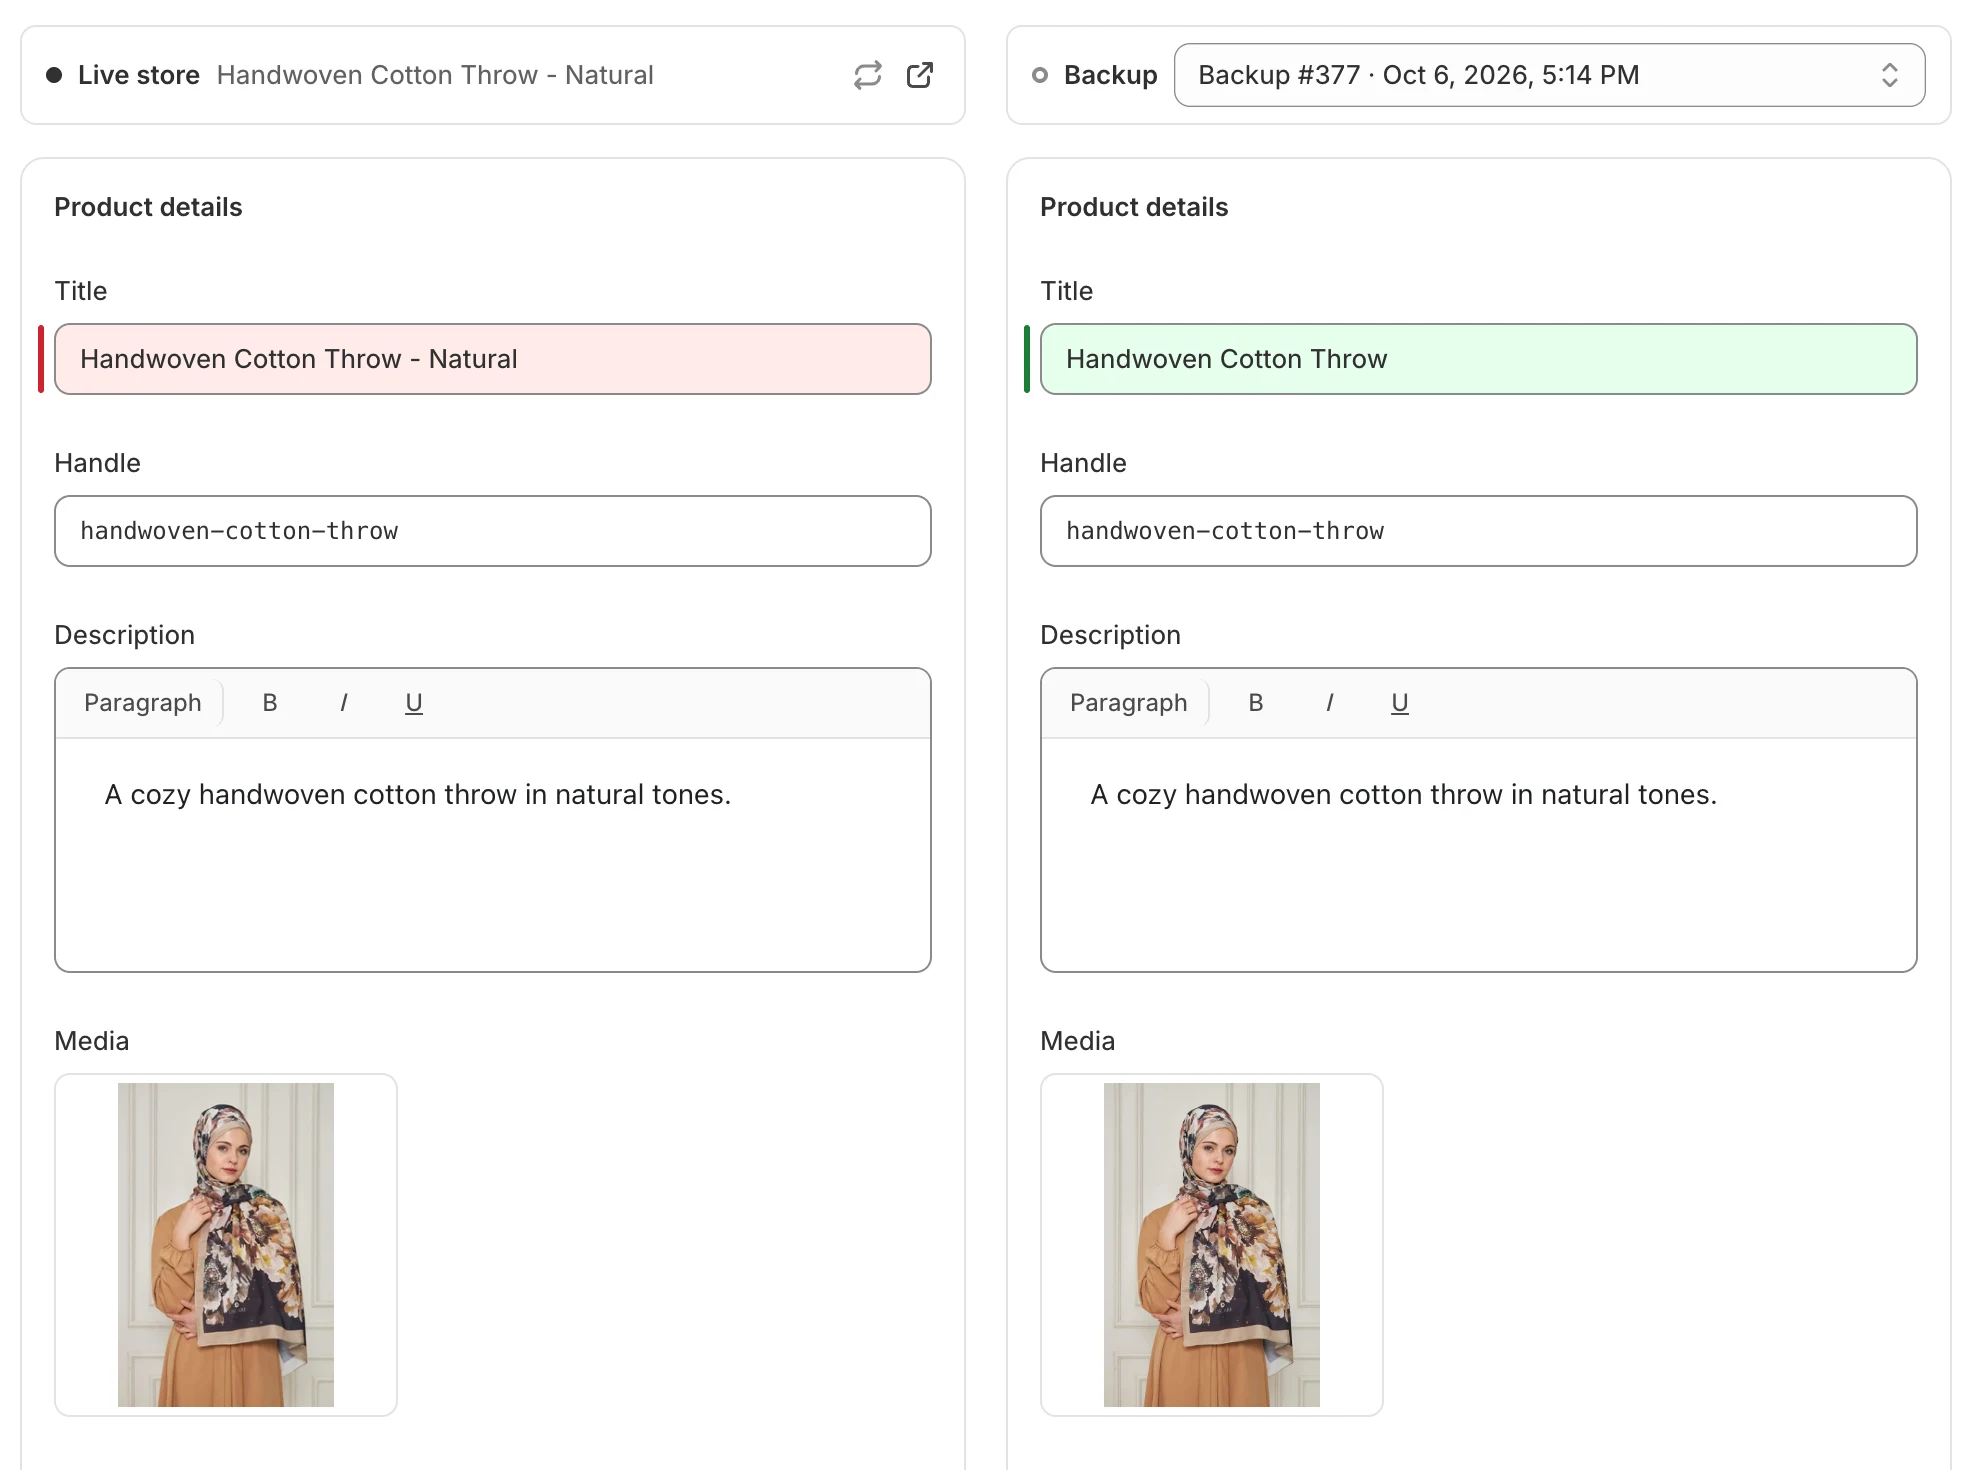
Highlighted rows show what is different between your live store and the backup.
-
Select Restore. In What to restore, tick only Product details, then select Restore.
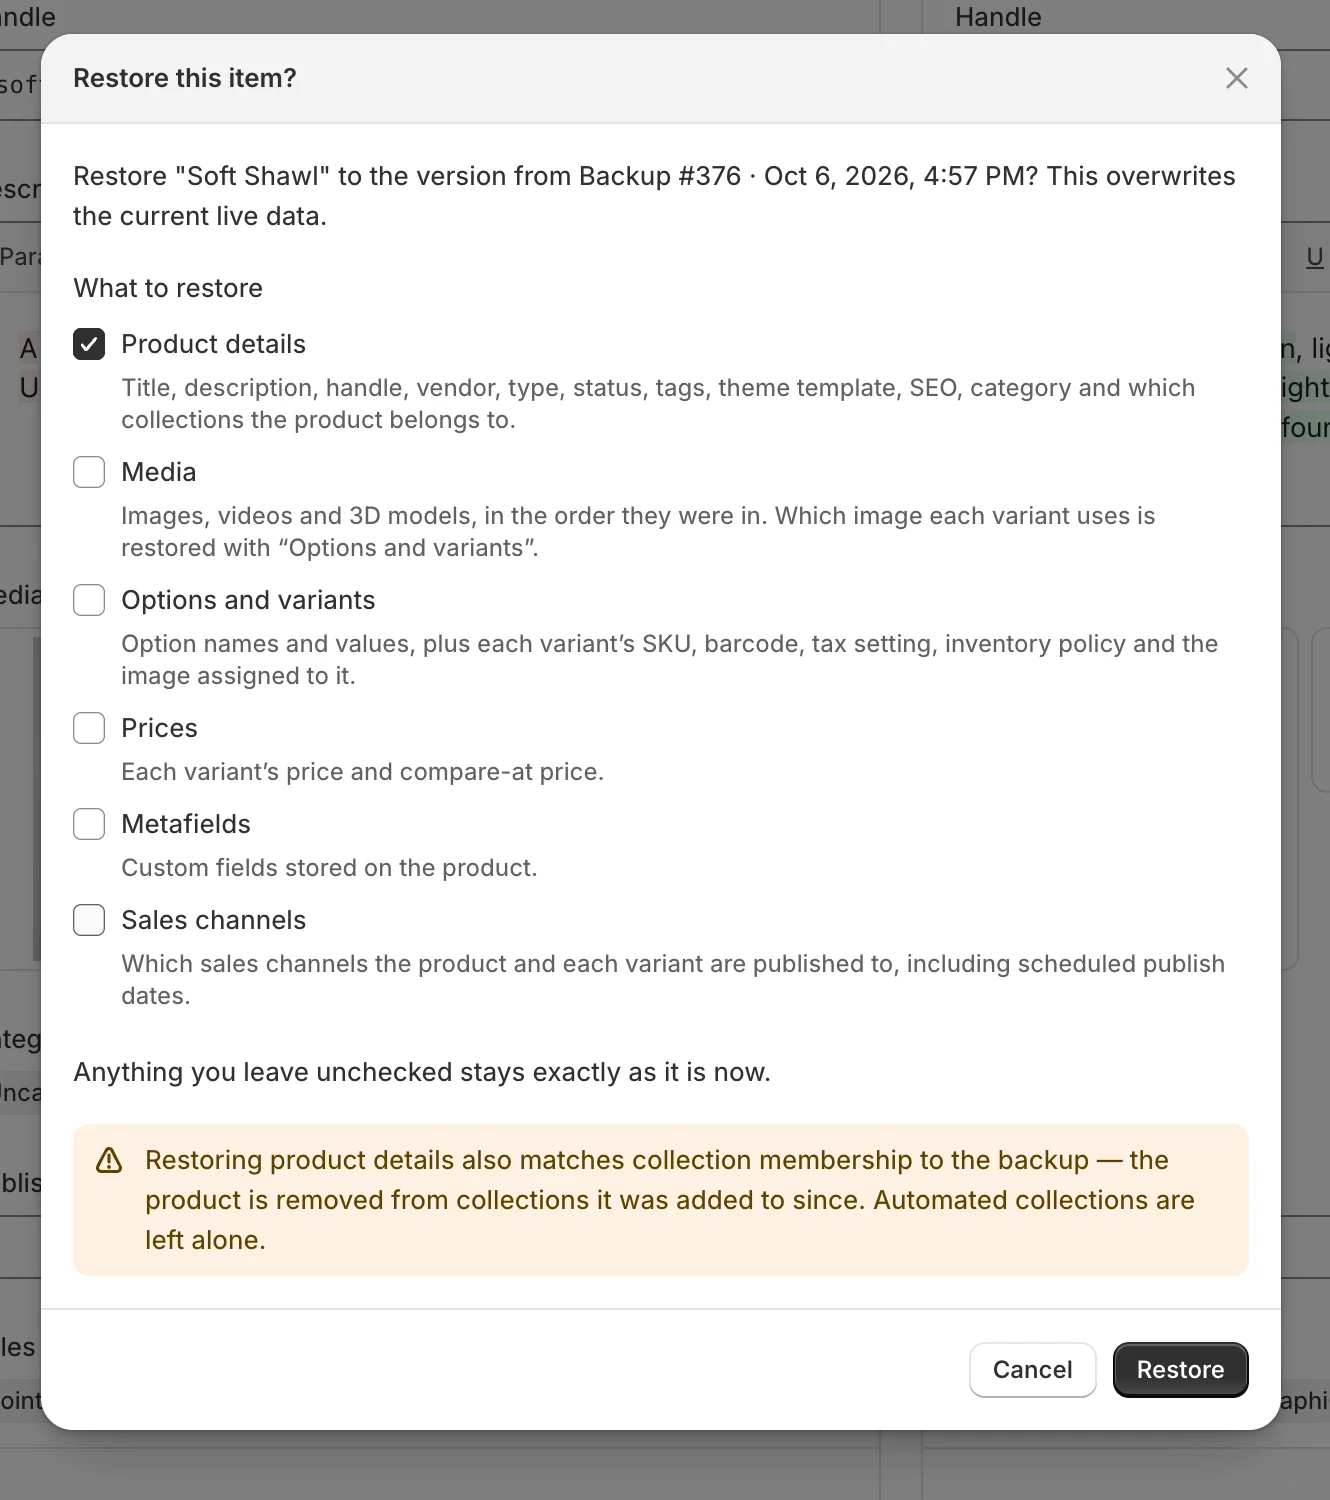
Anything you leave unticked stays exactly as it is now.
-
Wait for Restored successfully, then check the product in Shopify. The original title is back.
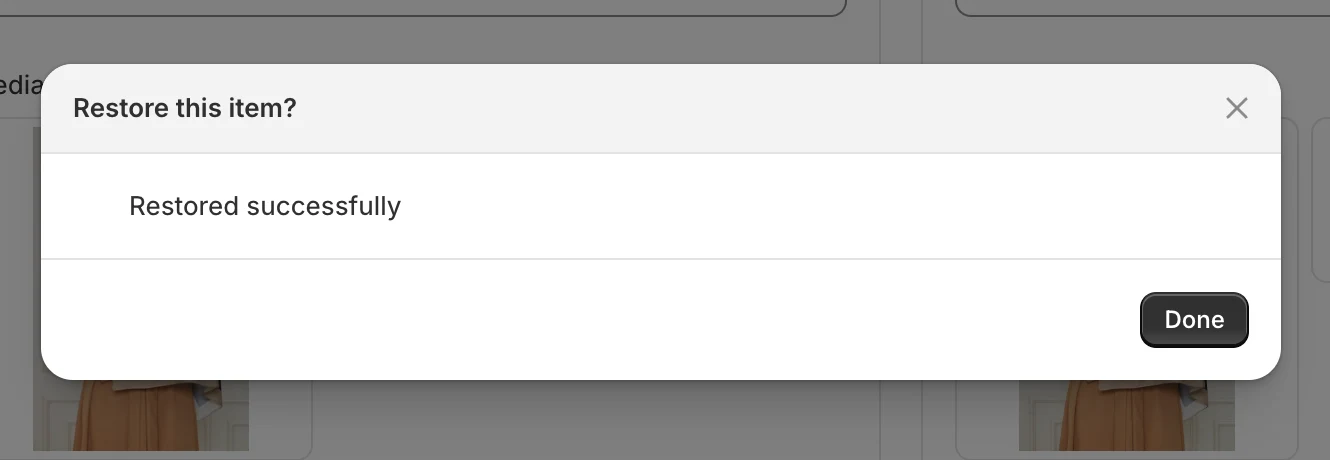
The item now matches the backup again.
What’s next
Section titled “What’s next”- Change when backups run in Backup schedule.
- Make sure alert emails reach the right person in Email notifications.
- Learn every way to bring data back in Restore data.