# Team Portal (Employee Login Access)
Allow your staff to log in, view schedules, and manage their own appointments without giving them full access to your Shopify admin.
### 🎯 What this is for
When Team Portal access is enabled, a team member can:
* View and manage their own appointments
* Set/update their availability
* Block off time when they’re unavailable
This helps keep scheduling organized and lets each staff member manage their own workload.
***
### 🔐 Enable Team Portal access for a team member
The app allows you create the account for each team member to log in and view all appointments.
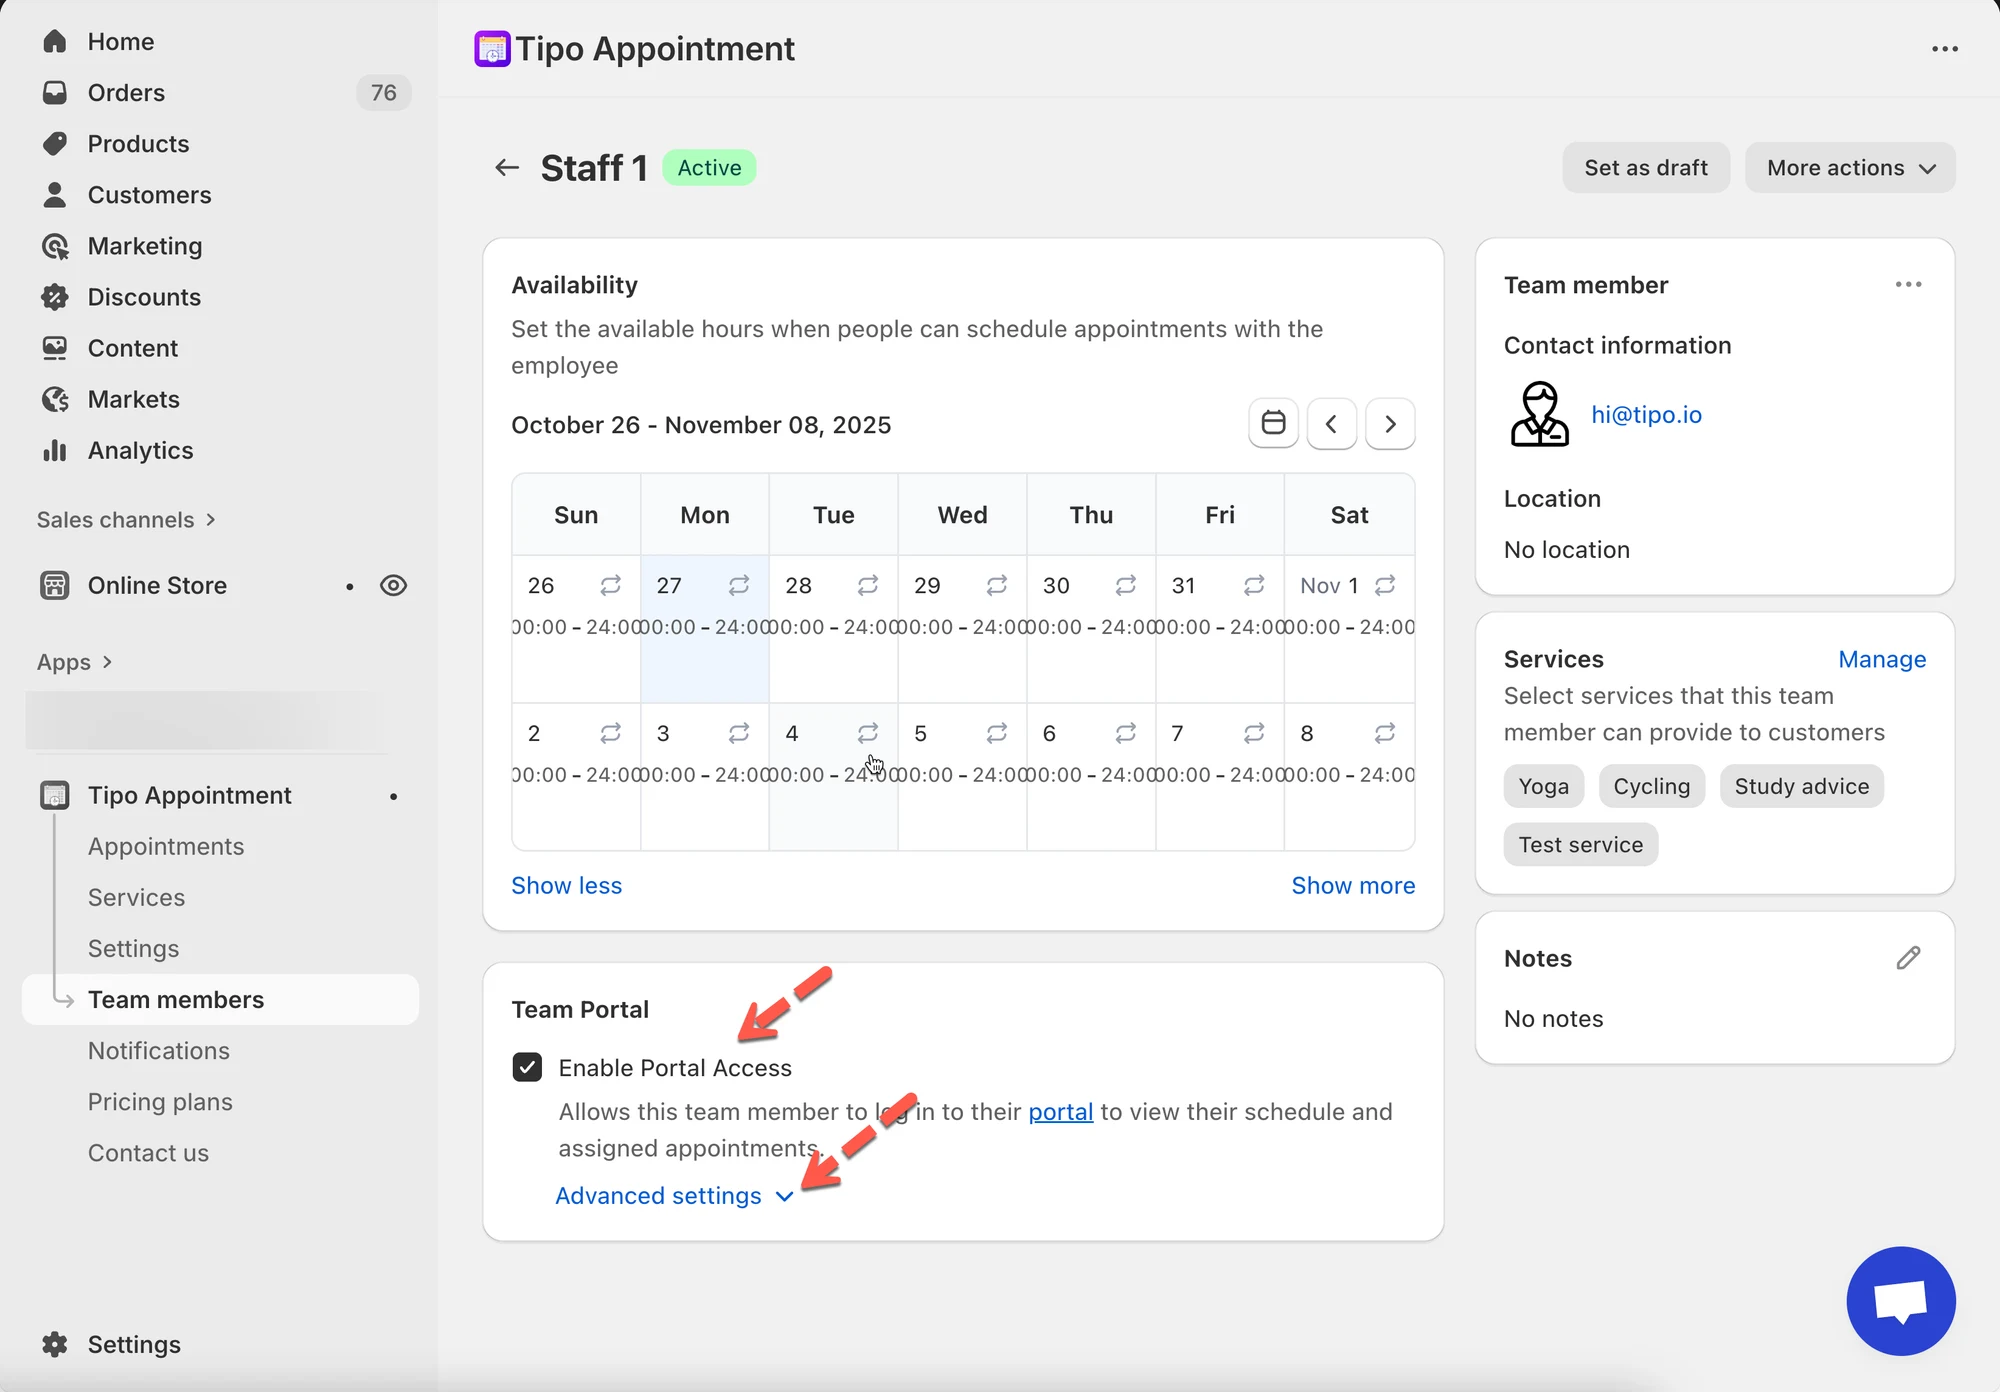
1. Open the app > click **Team members** > open the team member detail you want to give login access
2. In **Team Portal** > tick on checkbox **Enable Portal Access**
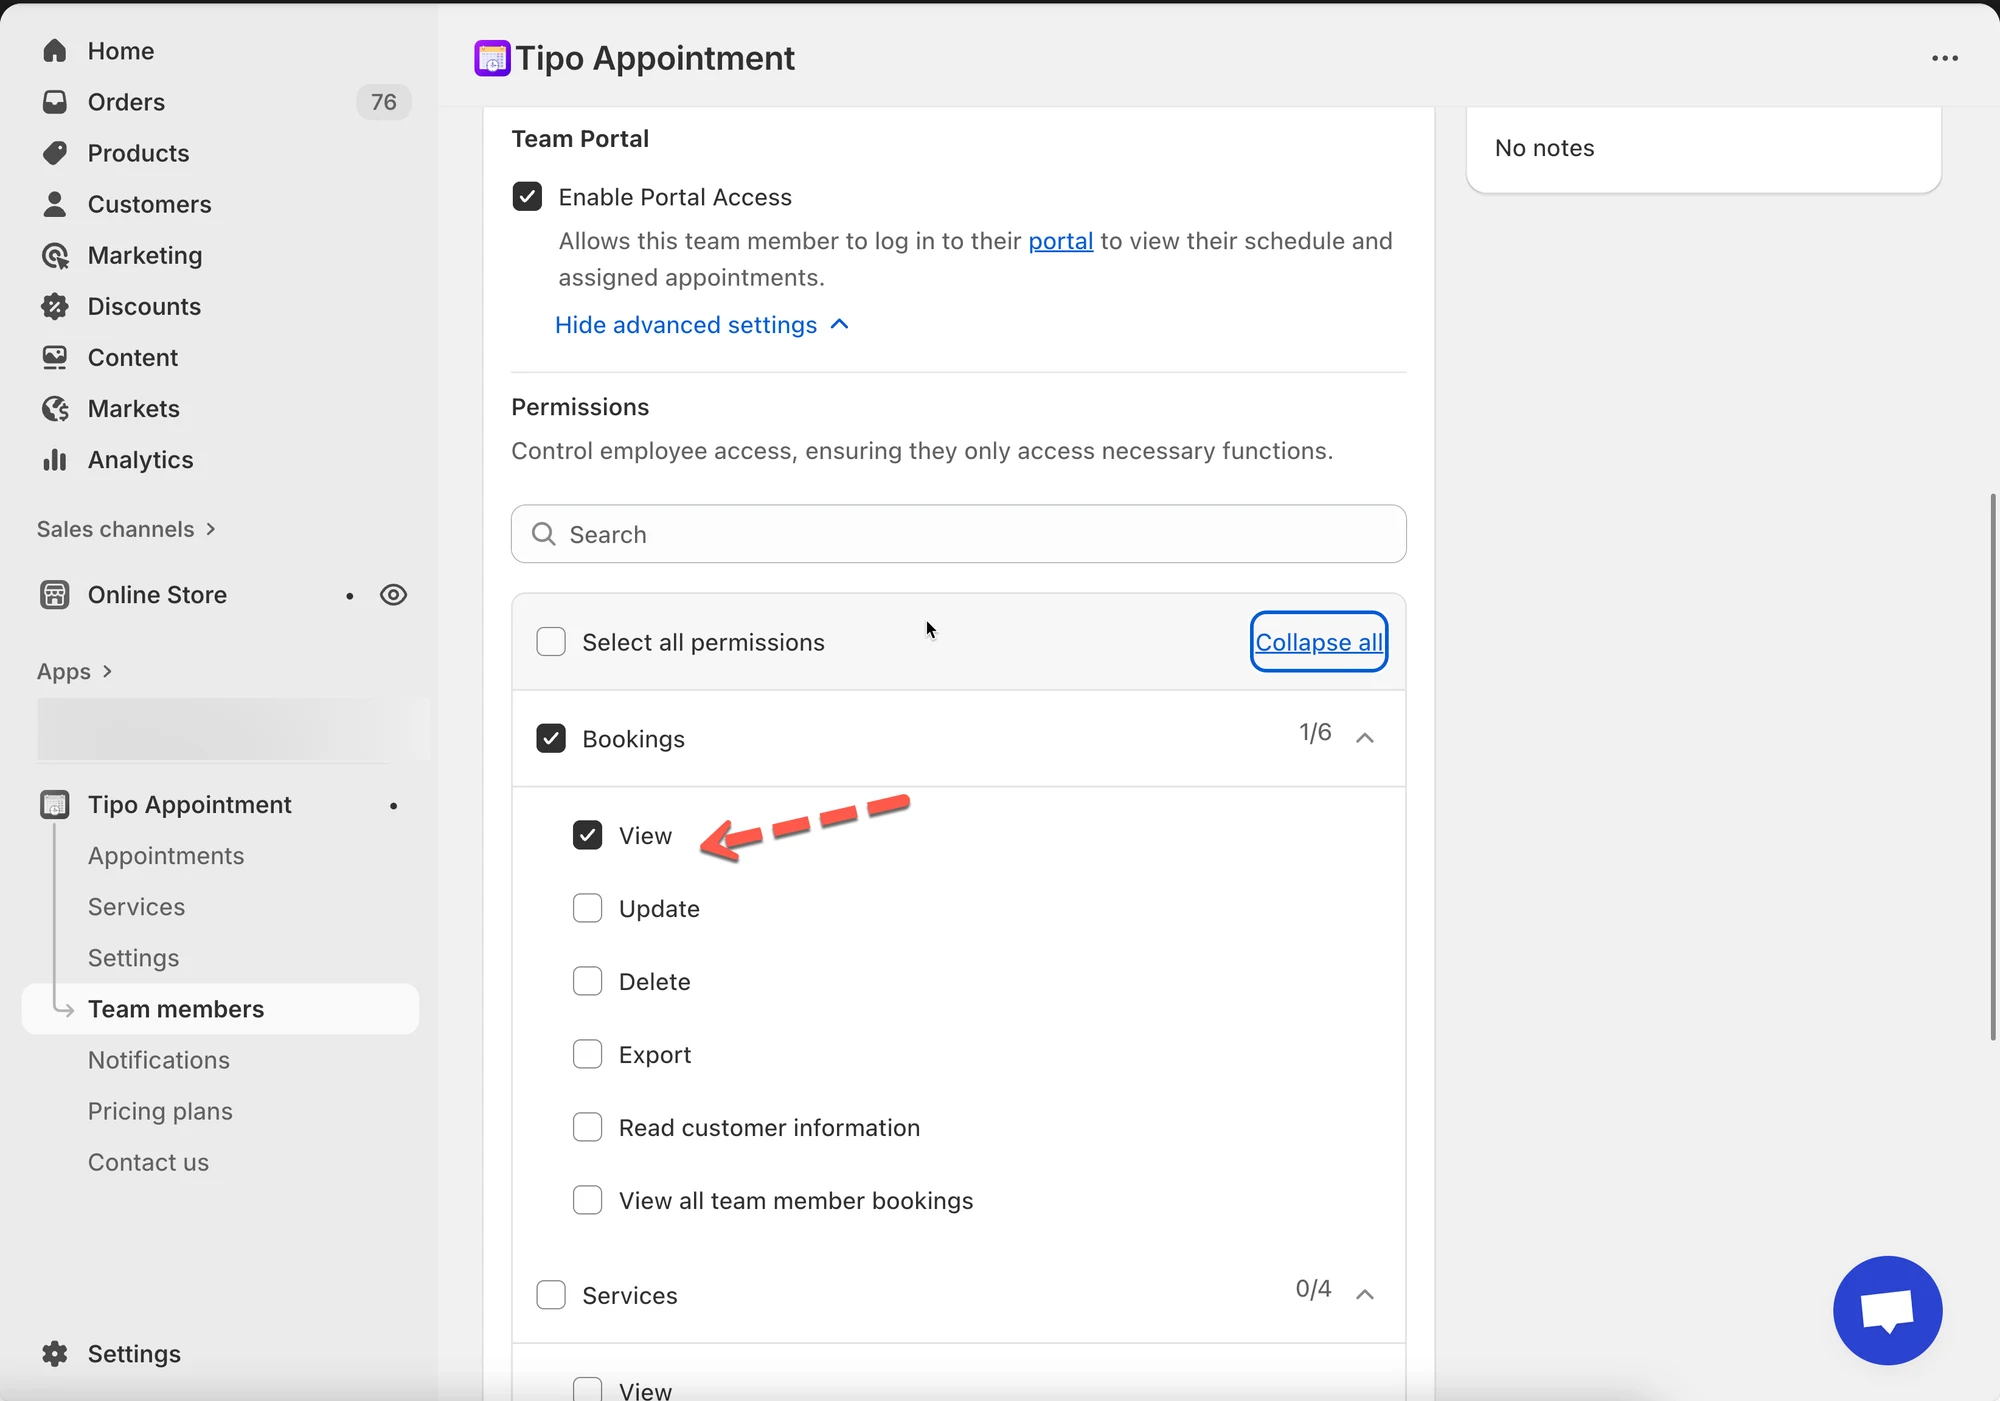
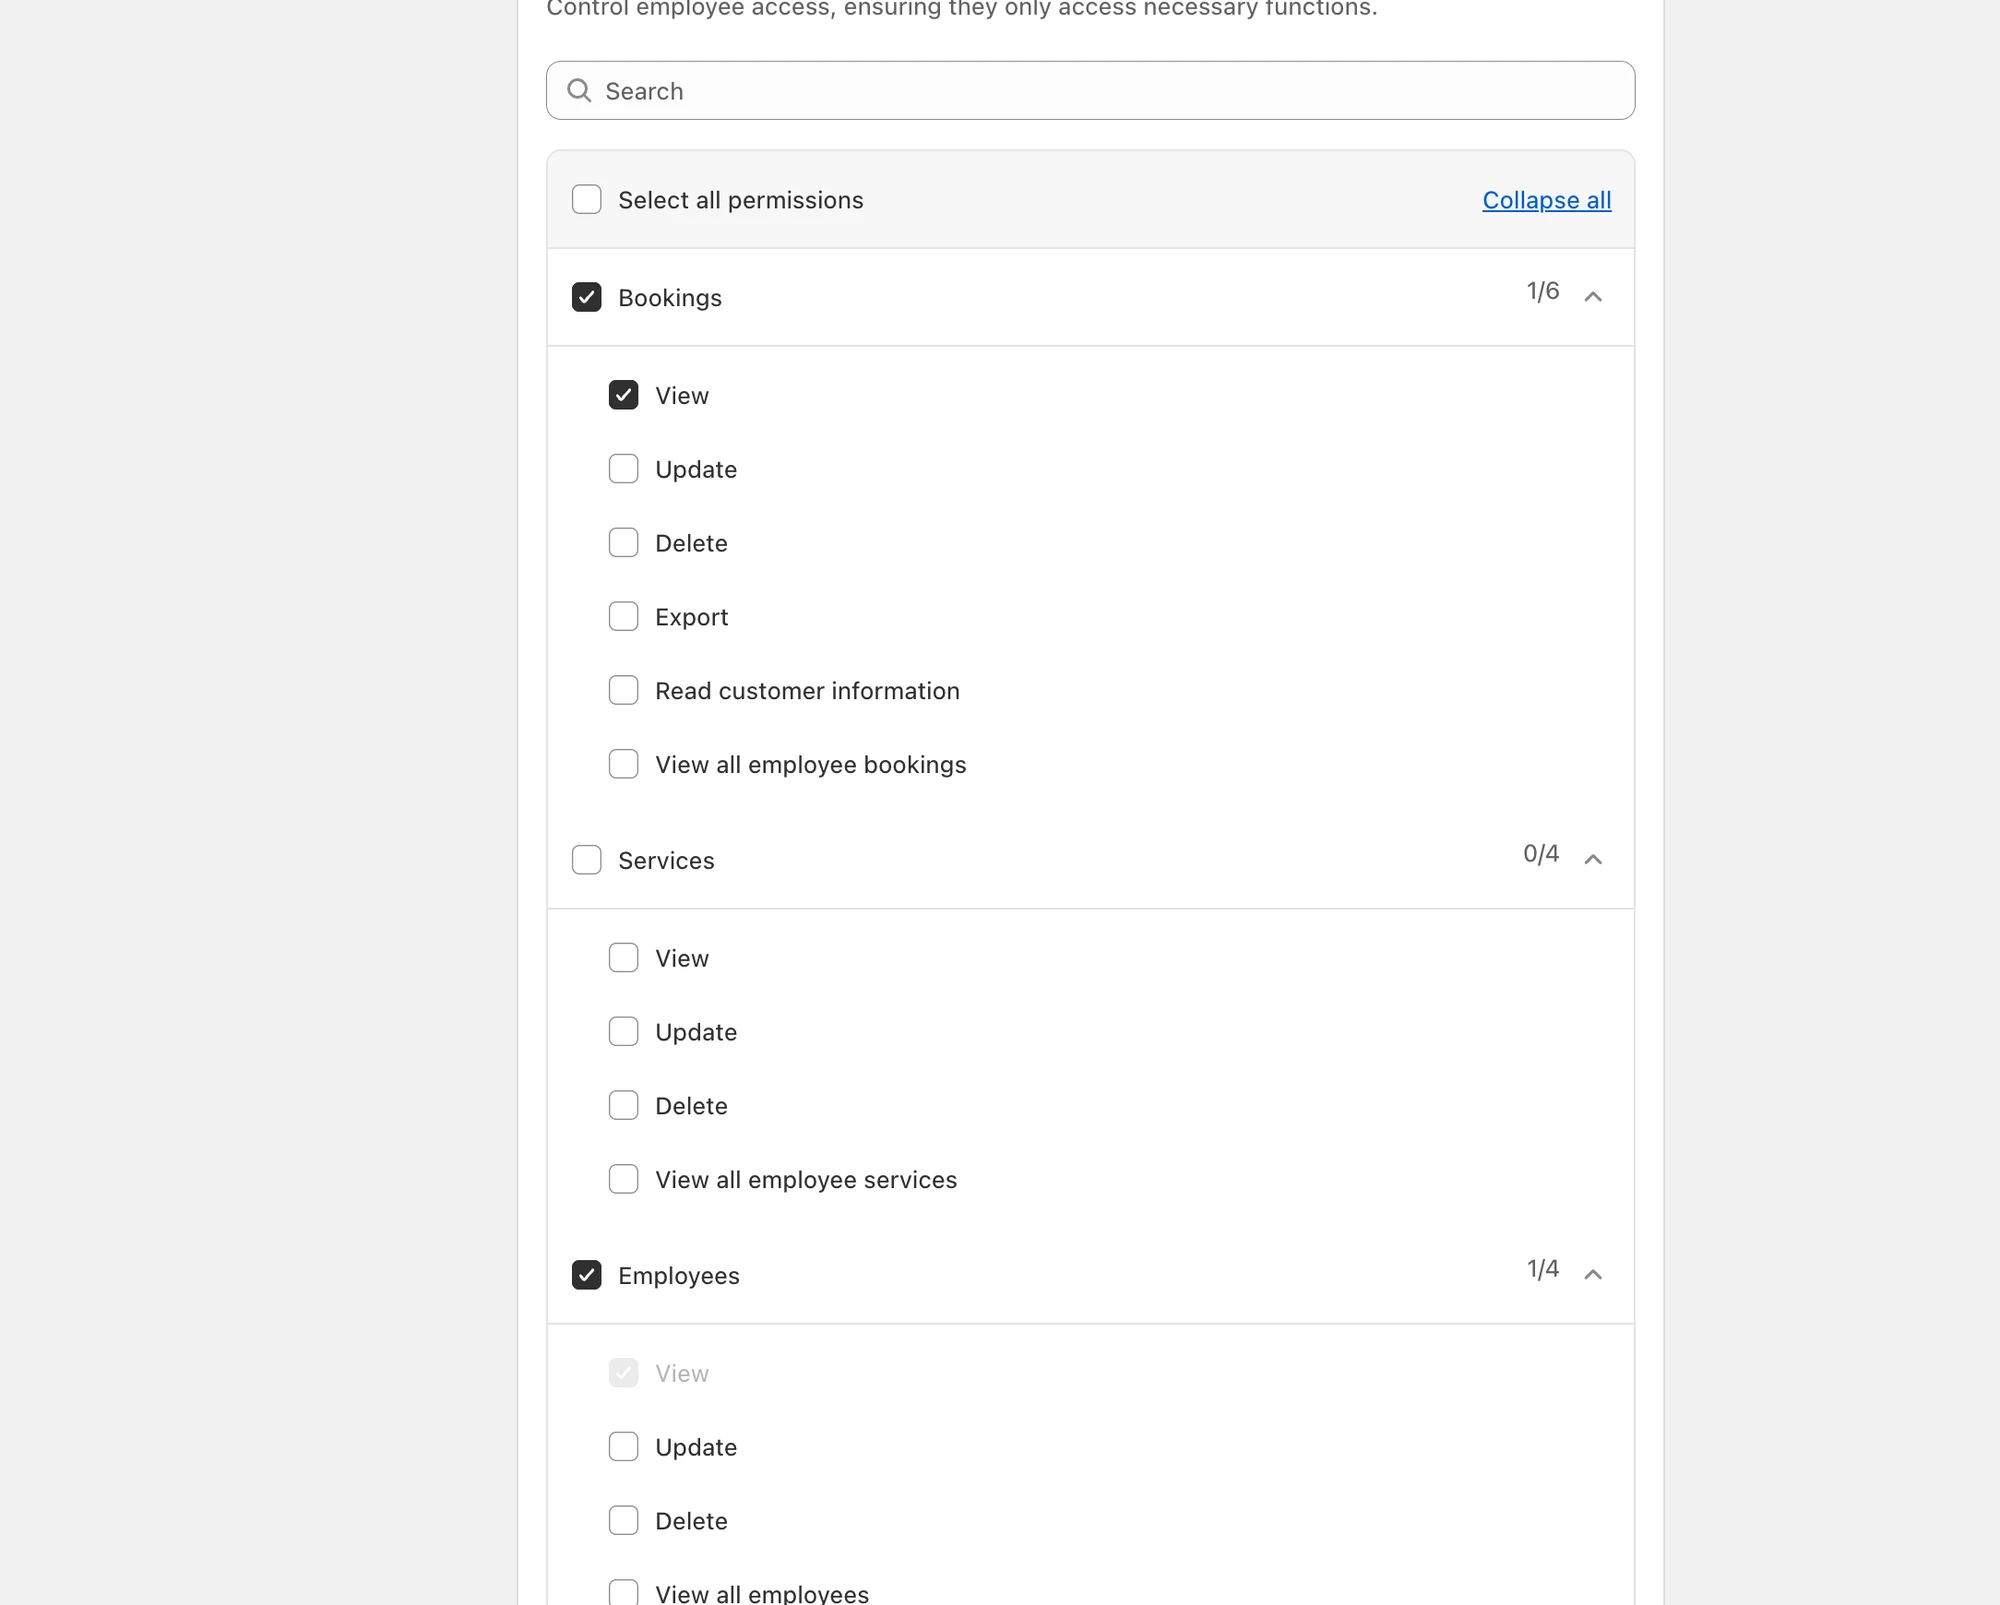
3. Click **Advance settings** > select the **permissions** you want to grant to the team member
4\. Click **Save**
#### 🧰 Set permissions (recommended)
Use permissions to control what the team member can do (for example: only view appointments they are assigned to).
Tip: If you only want a staff member to see **their assigned bookings**, configure permissions accordingly.
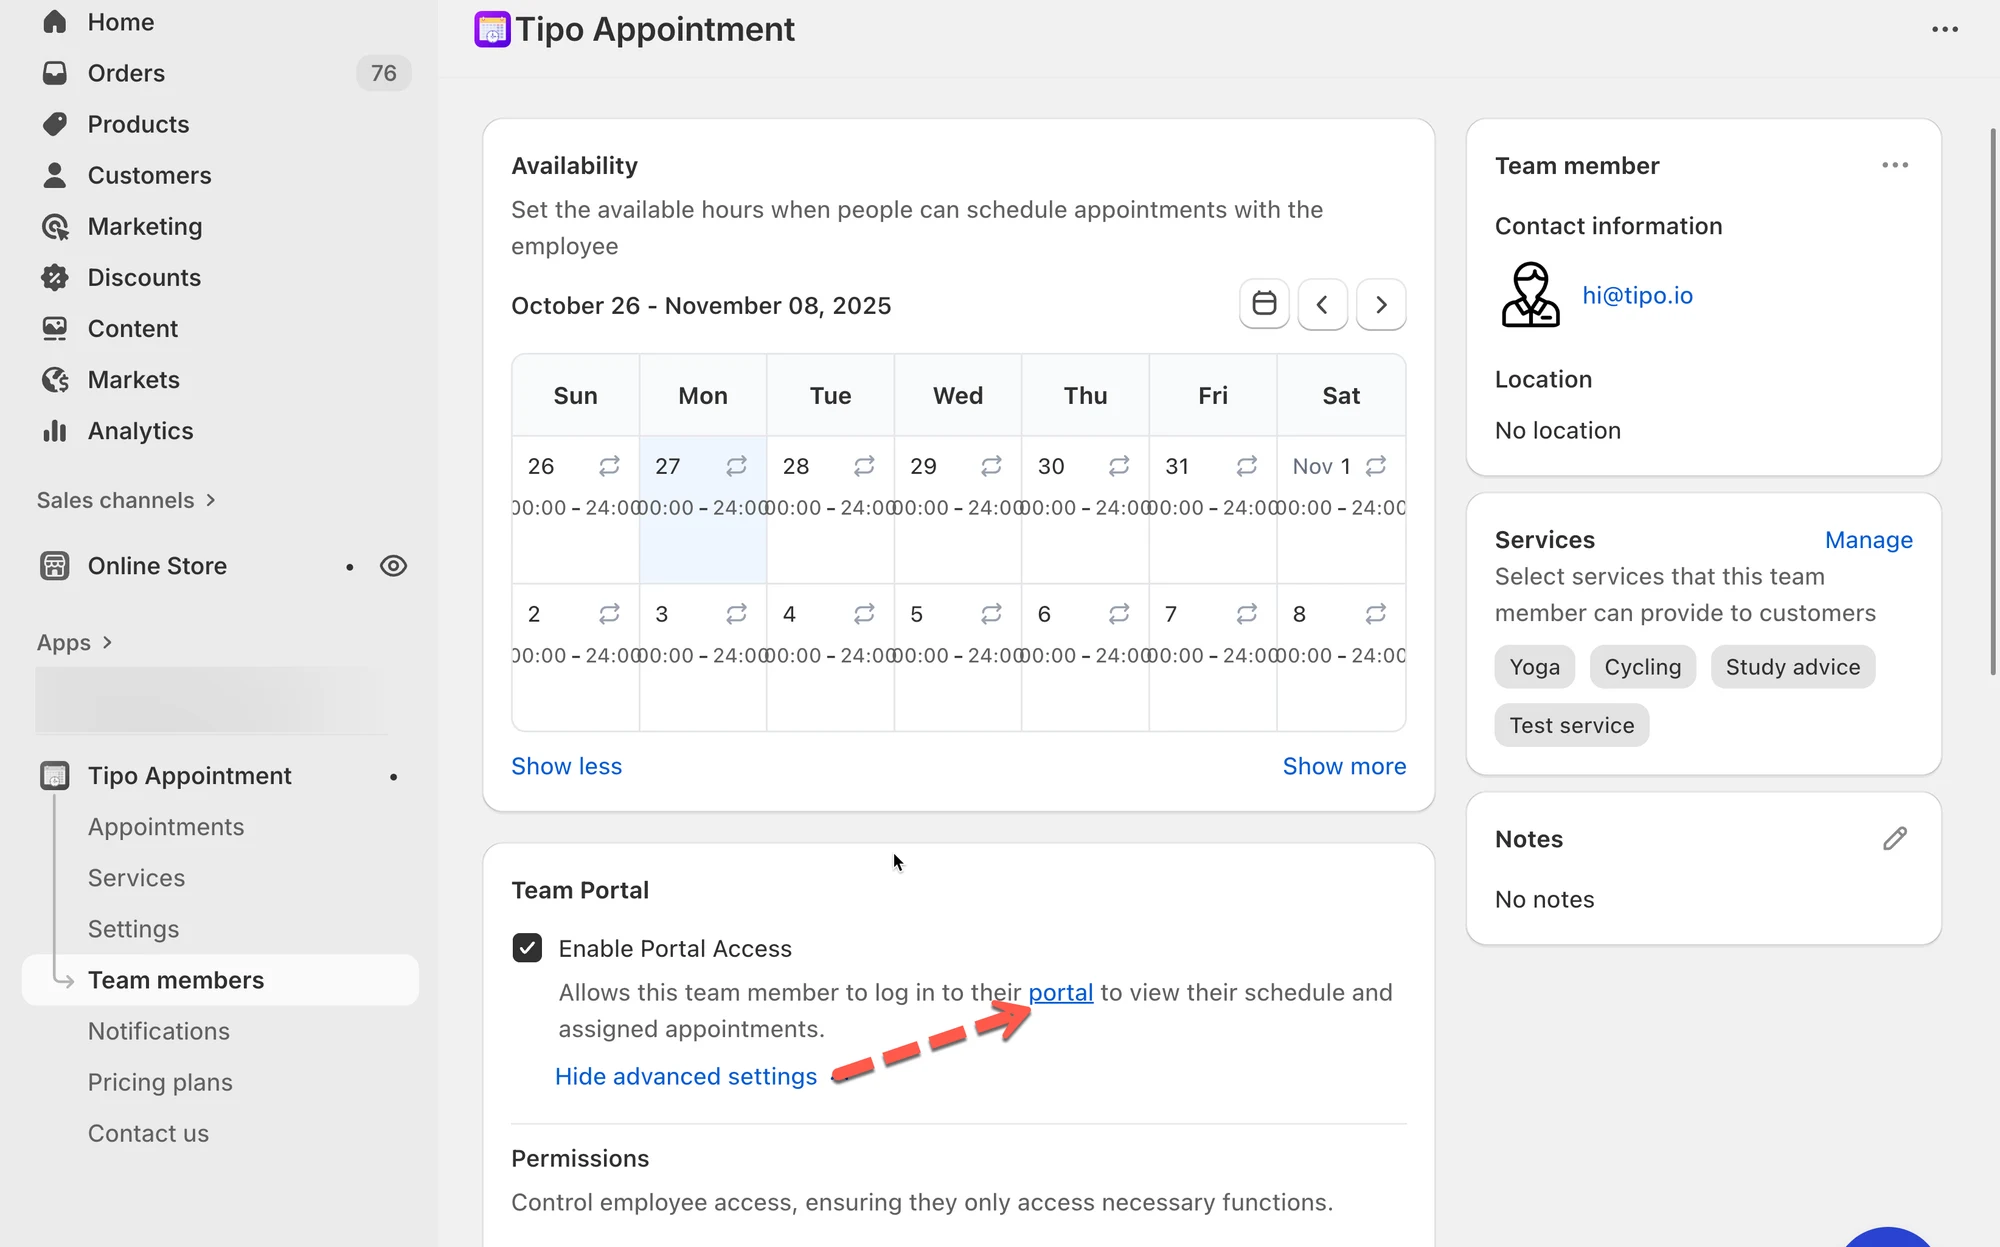
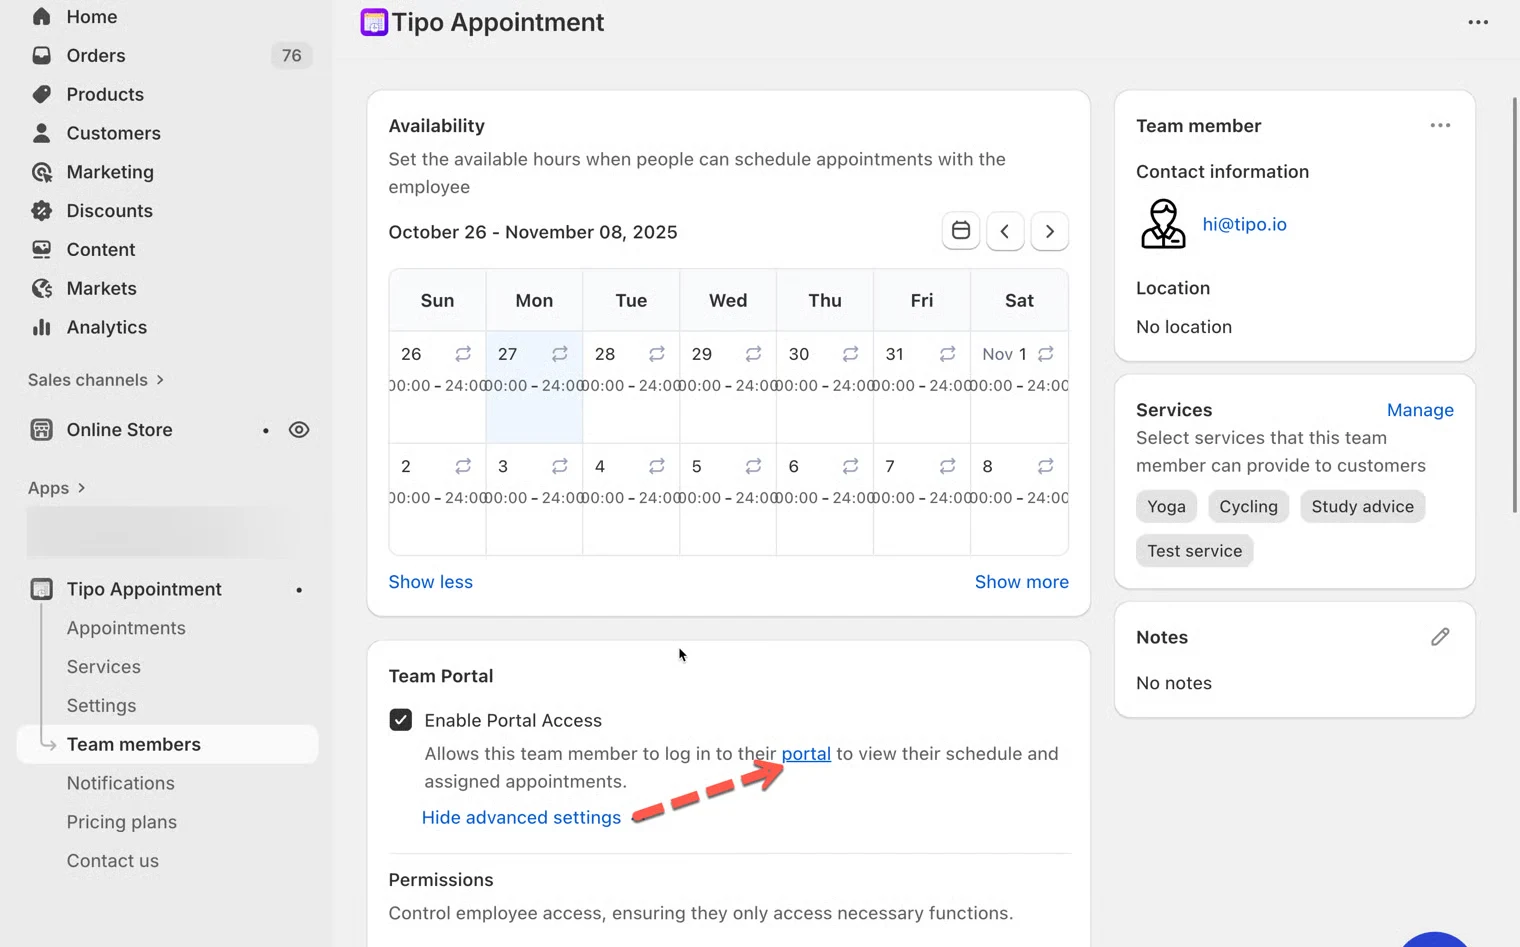
Then allows this team member to log in to their portal to view their schedule and assigned appointments via the portal link here
***
### 🔗 How team members log in
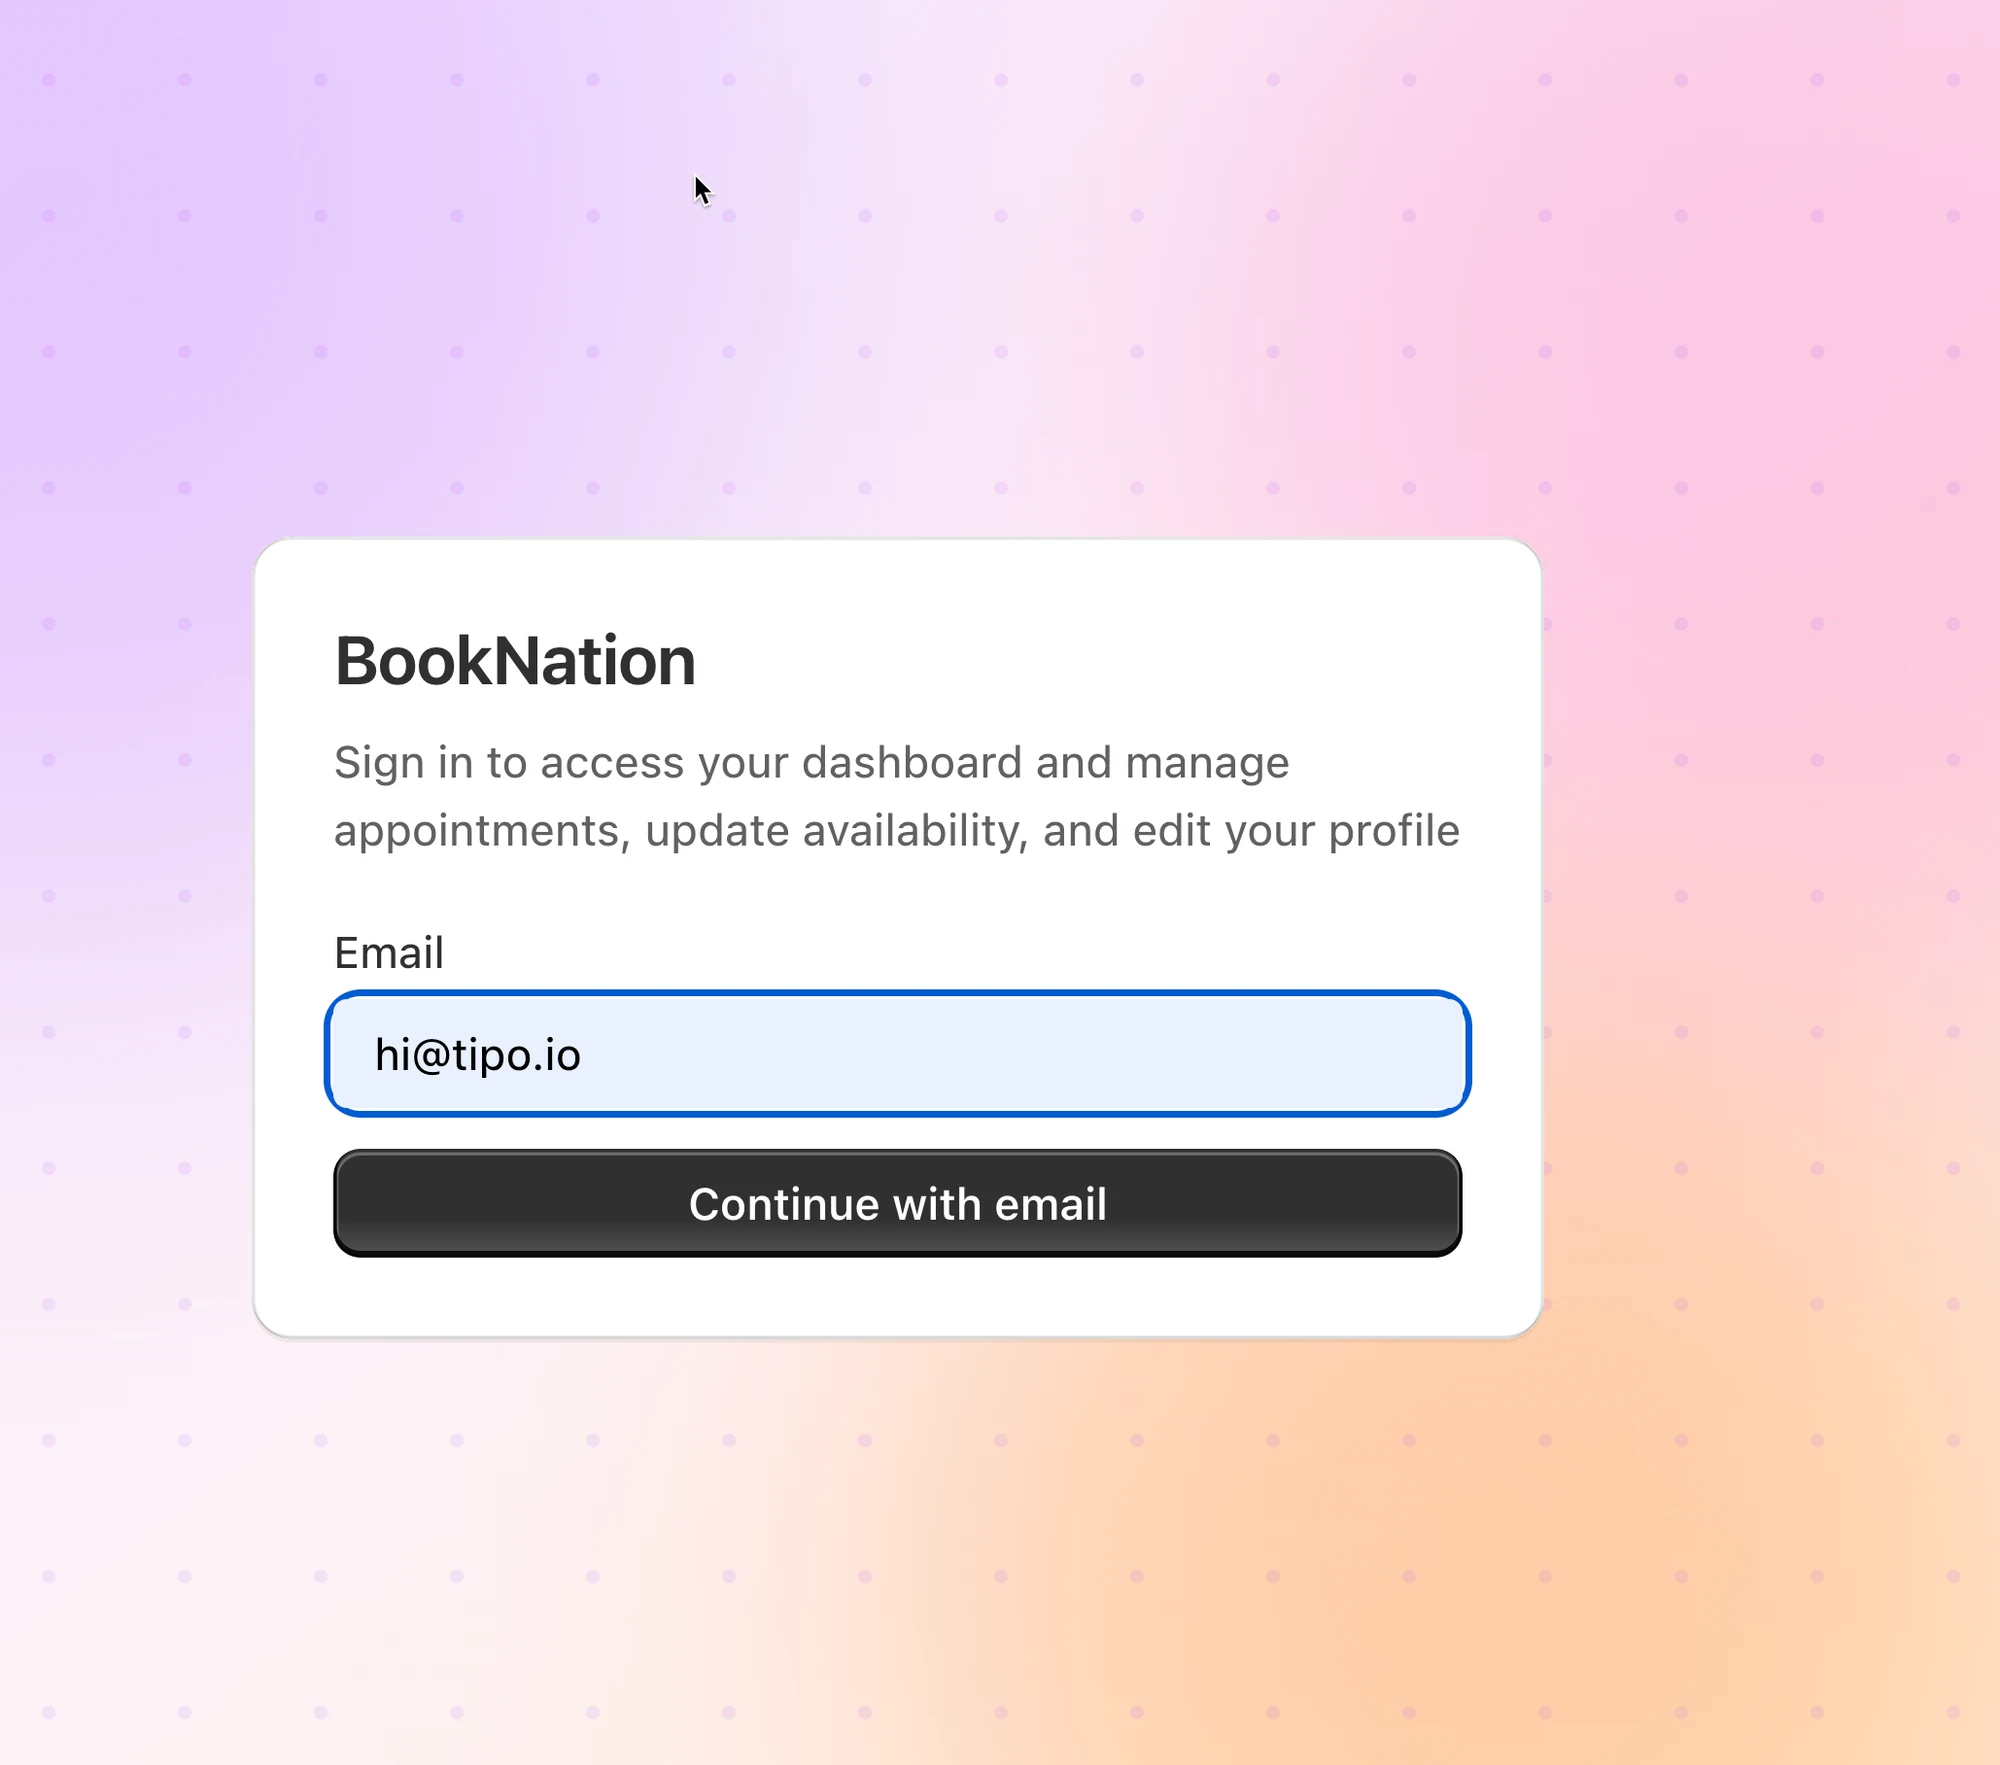
1. The app provides you the login link here > you need to share this link with your team member
2. Team member enters his email address
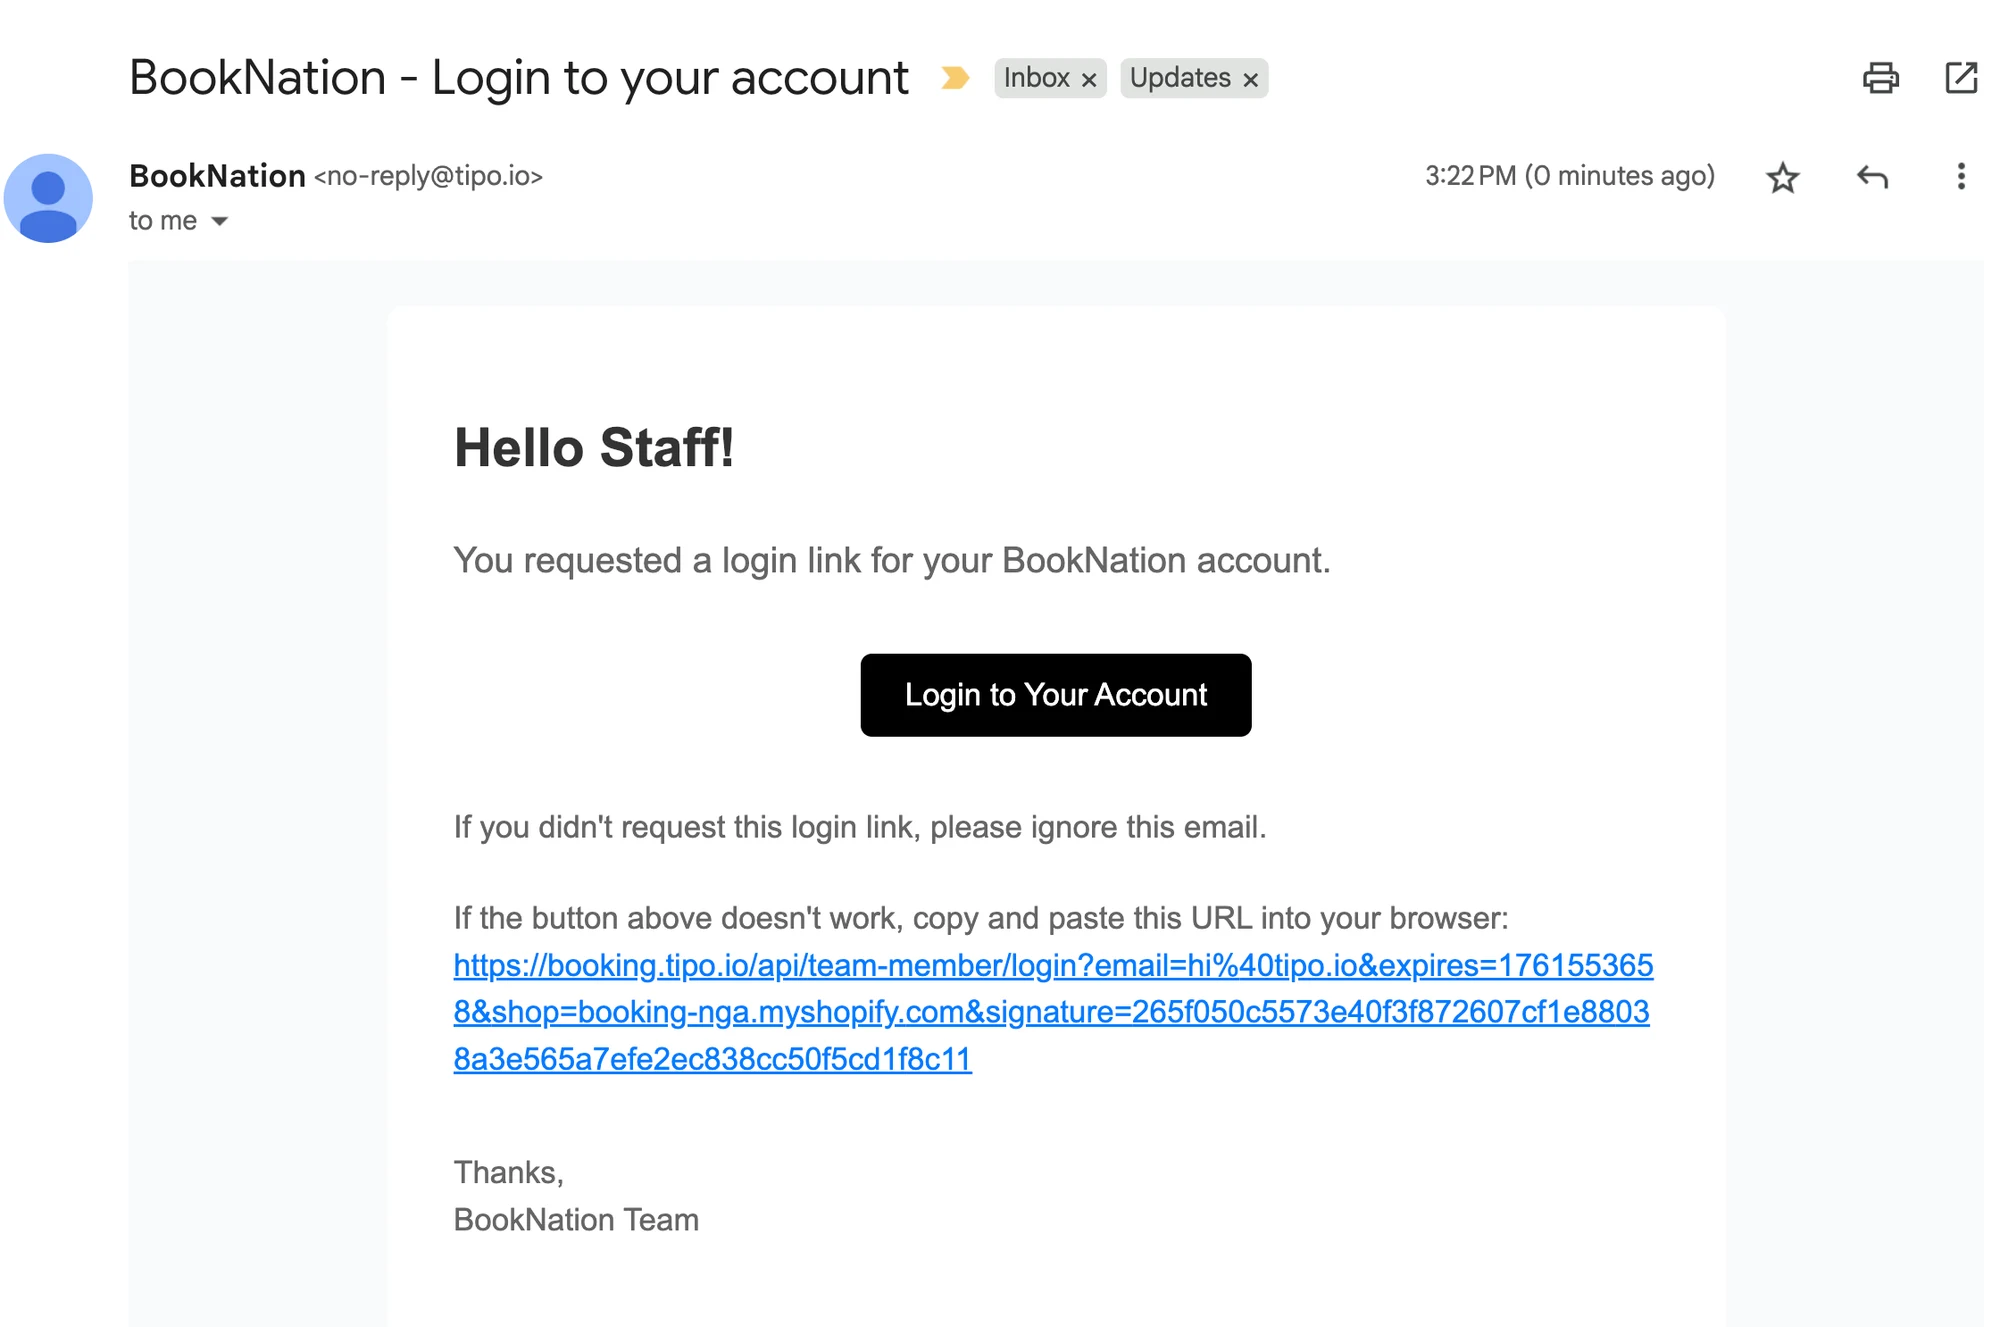
3. A login link has been sent to email address of the team member
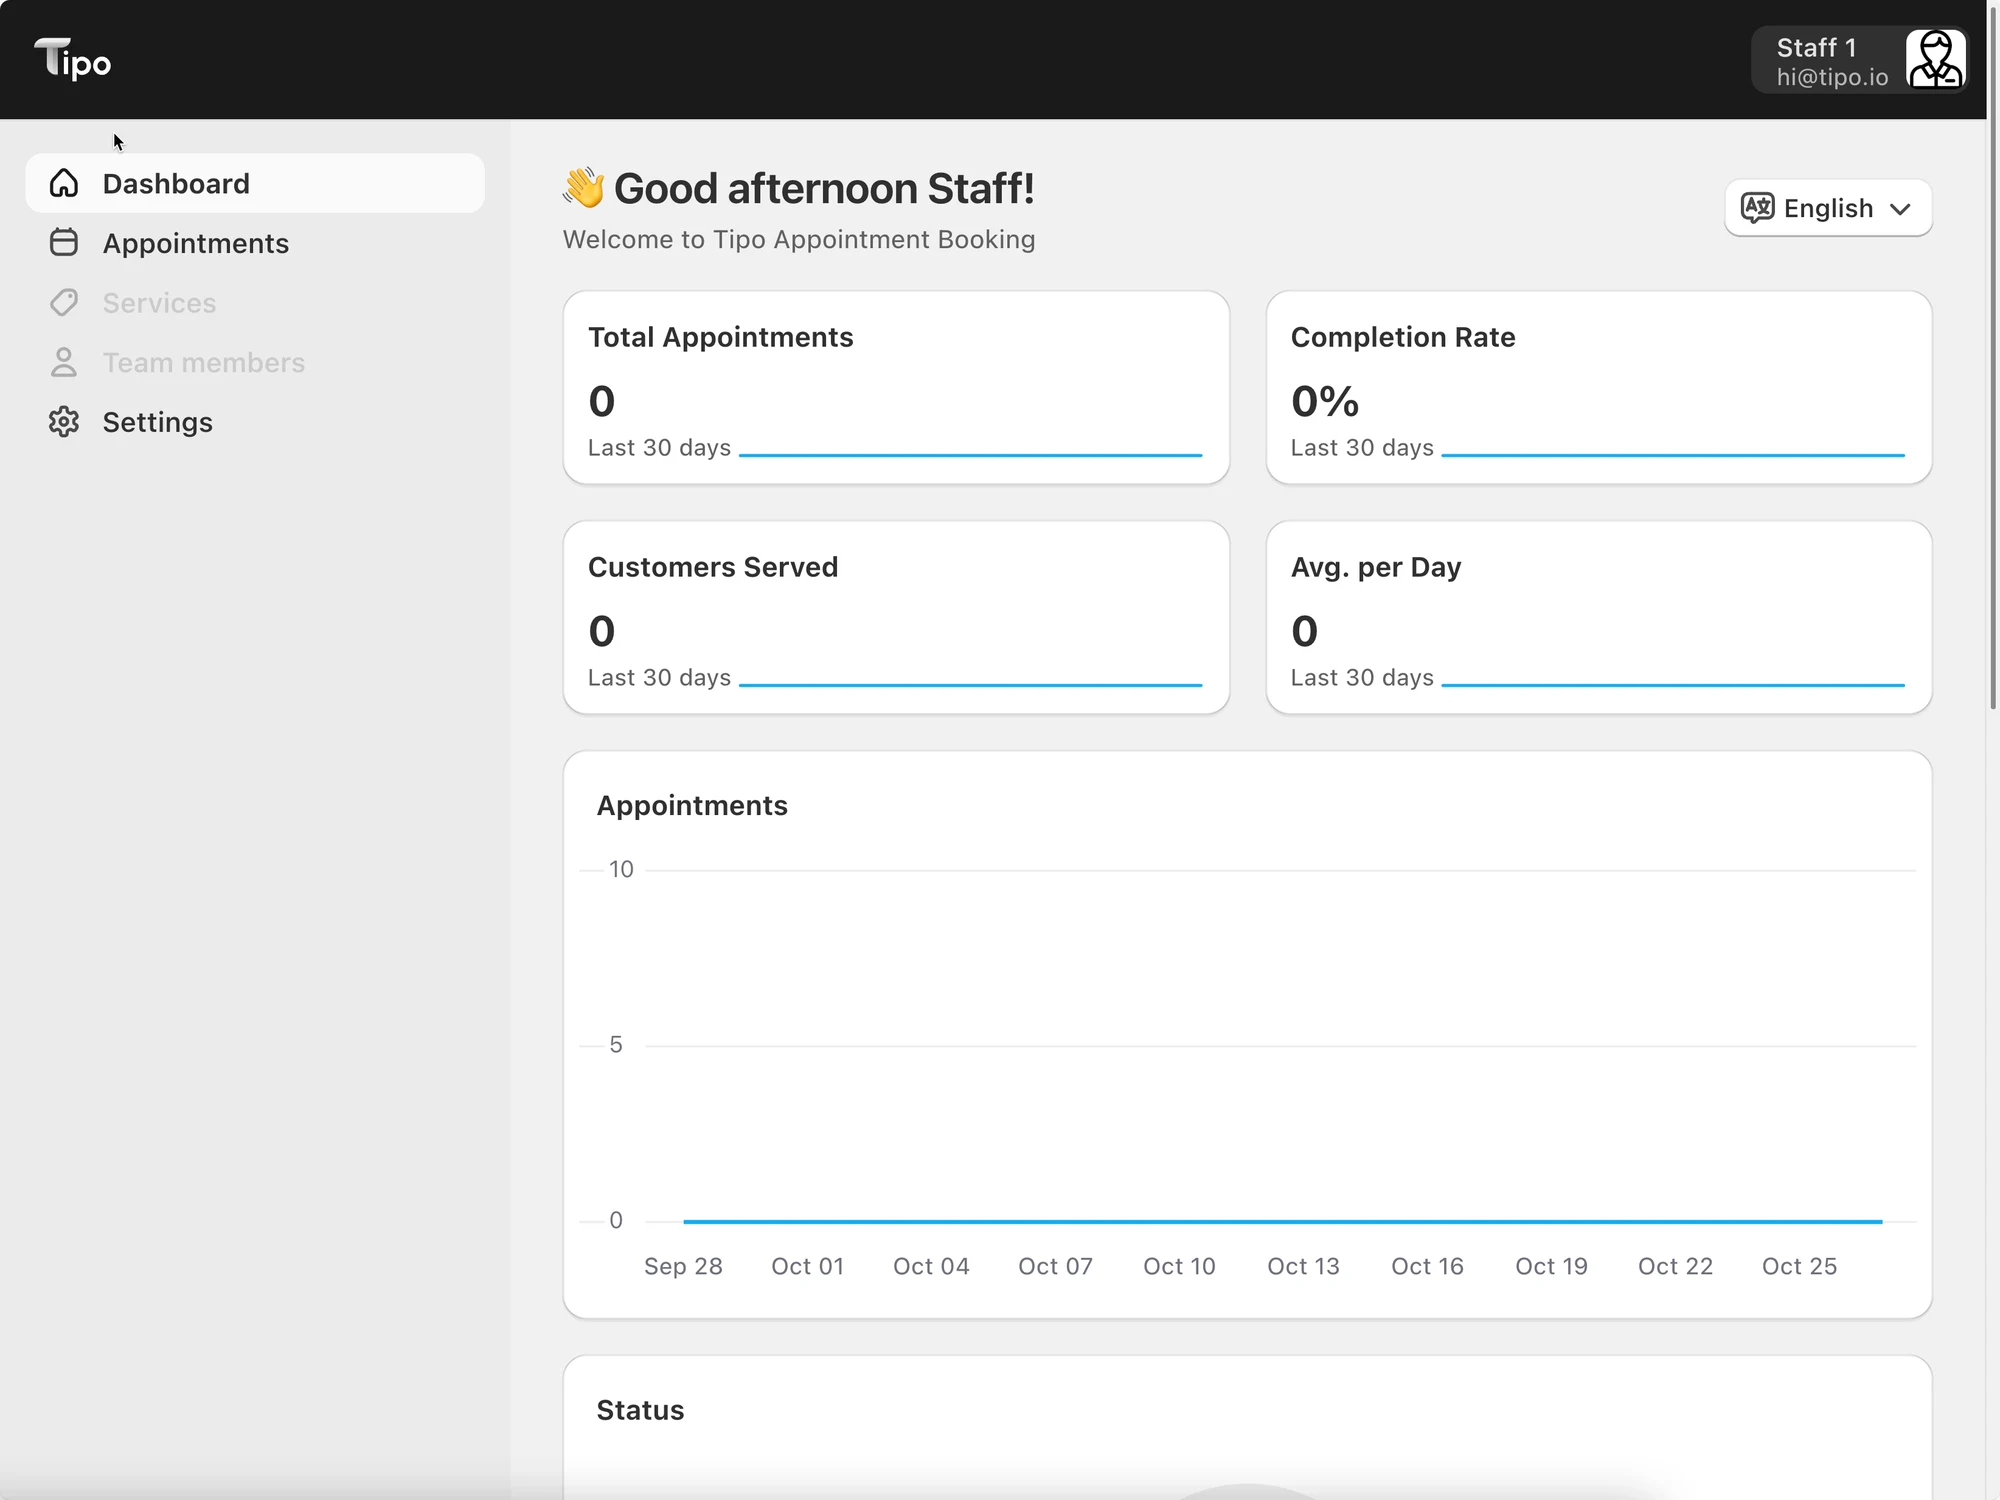
4. Then the team will be able to access the team member dashboard with limited access.
Note: if you only want the team member view the appointments he is assigned to, please set up permissions like this
***
### ✅ **What a team member sees after login**
* A personal calendar showing their upcoming appointments.
* Options to **approve**, **reschedule**, or **cancel** bookings where they are the assigned staff member.
* Their availability settings (e.g., working hours, break times).
* Notifications for new or changed bookings.
***
**🙋 Still need support?**
If you still need help, please feel free to contact us at . We’ll be happy to assist you further.